
Collaborators
We worked on this assignment with Maurits Dijkman, Bianca Filip, Ewoud Janus, Emilia Pavel, and myself of course. For this session and the final product I worked mostly on the physicalization of the robot. I made the sketches and concepts for the toolkit with feedback from the group. I worked out the CAD files in Fusion 360 for the attachments to the robot, and created renders from these for the poster in session 8. I also created the cardboard prototype for the toolkit itself housing the cardboard shell, the modules and the cards.
Motivated Direction Choice
We selected scenario design where we do interactive testing as our design direction. Our design is focused on the interaction between the Alan robot and dogs. Directly testing most early-stage robot iterations with live animals creates ethical and safety issues. Because of these constraints, and the need of this project for a safe and structured method to simulate interactions and the corresponding behavior before exposing it to actual animals.
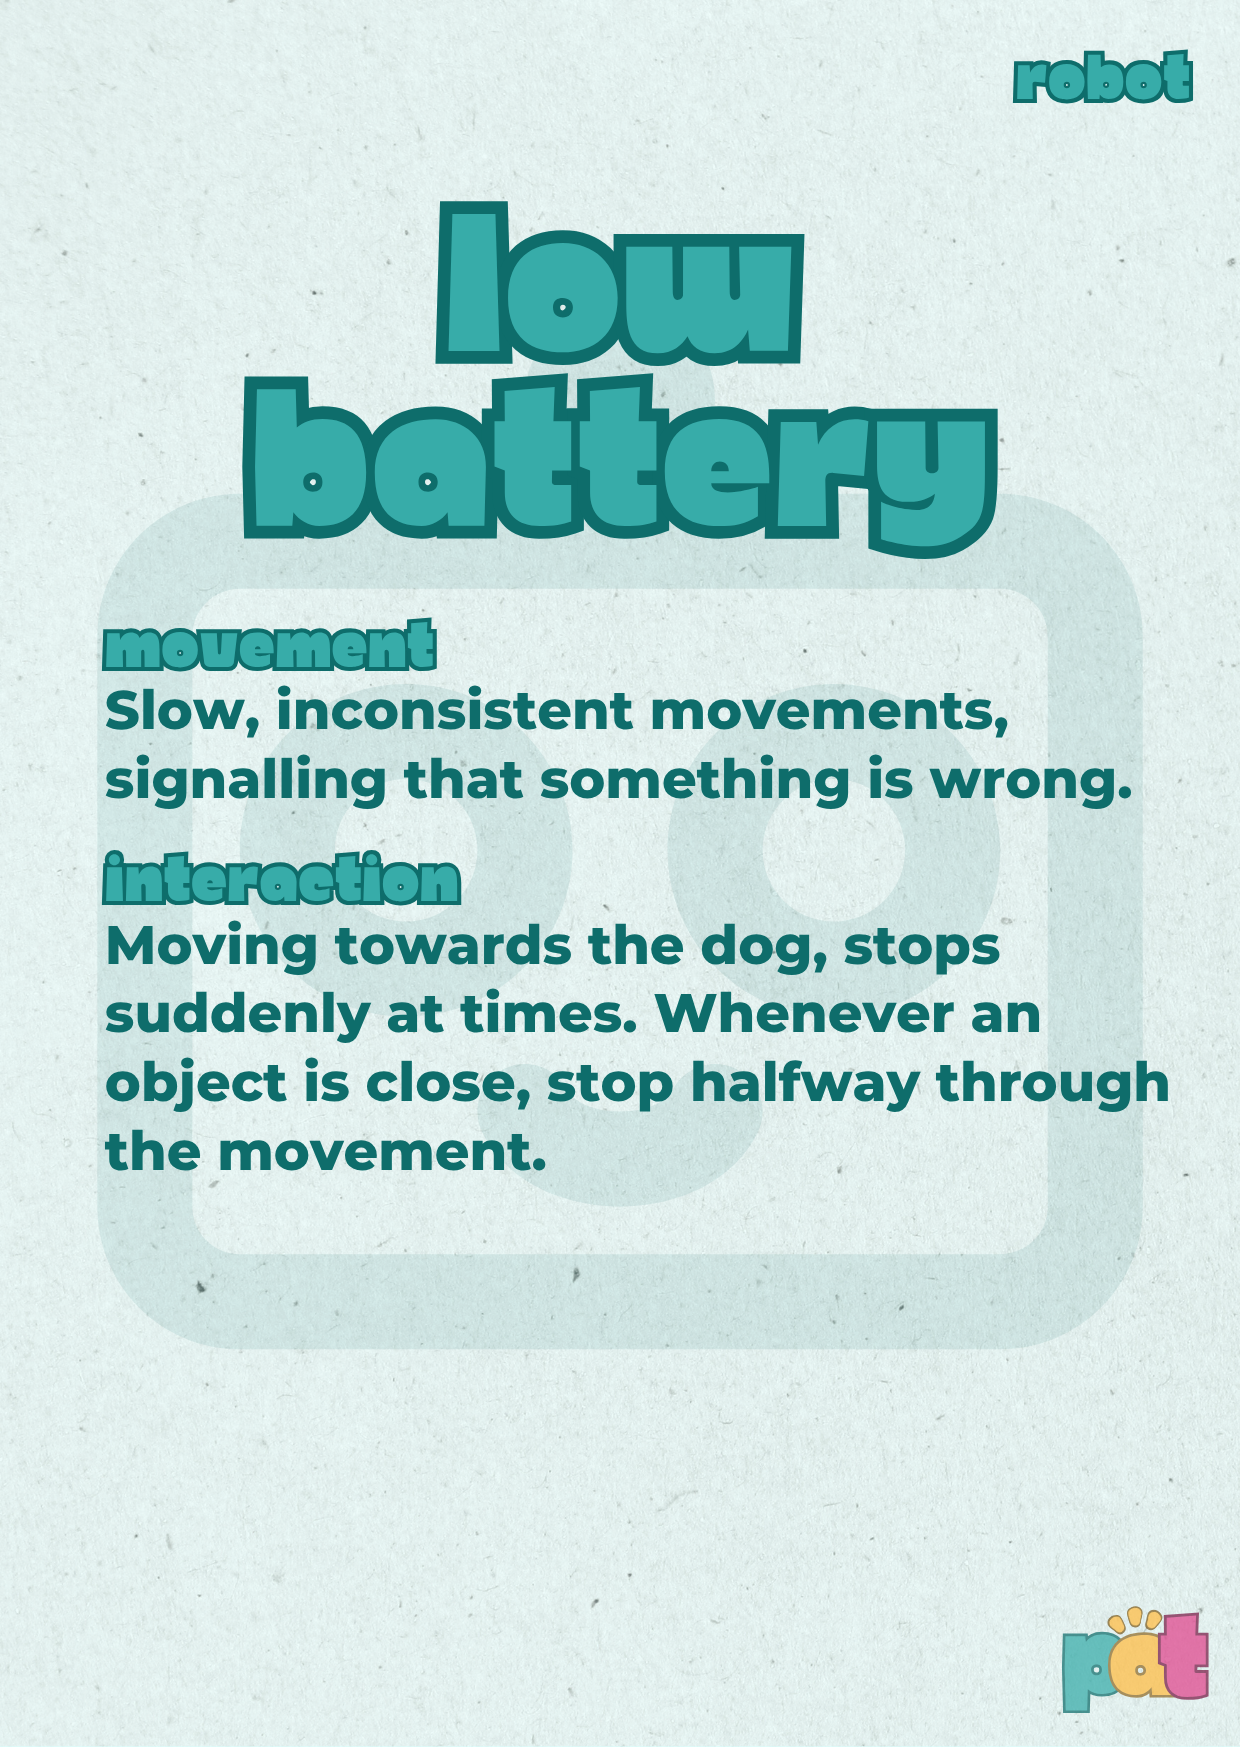
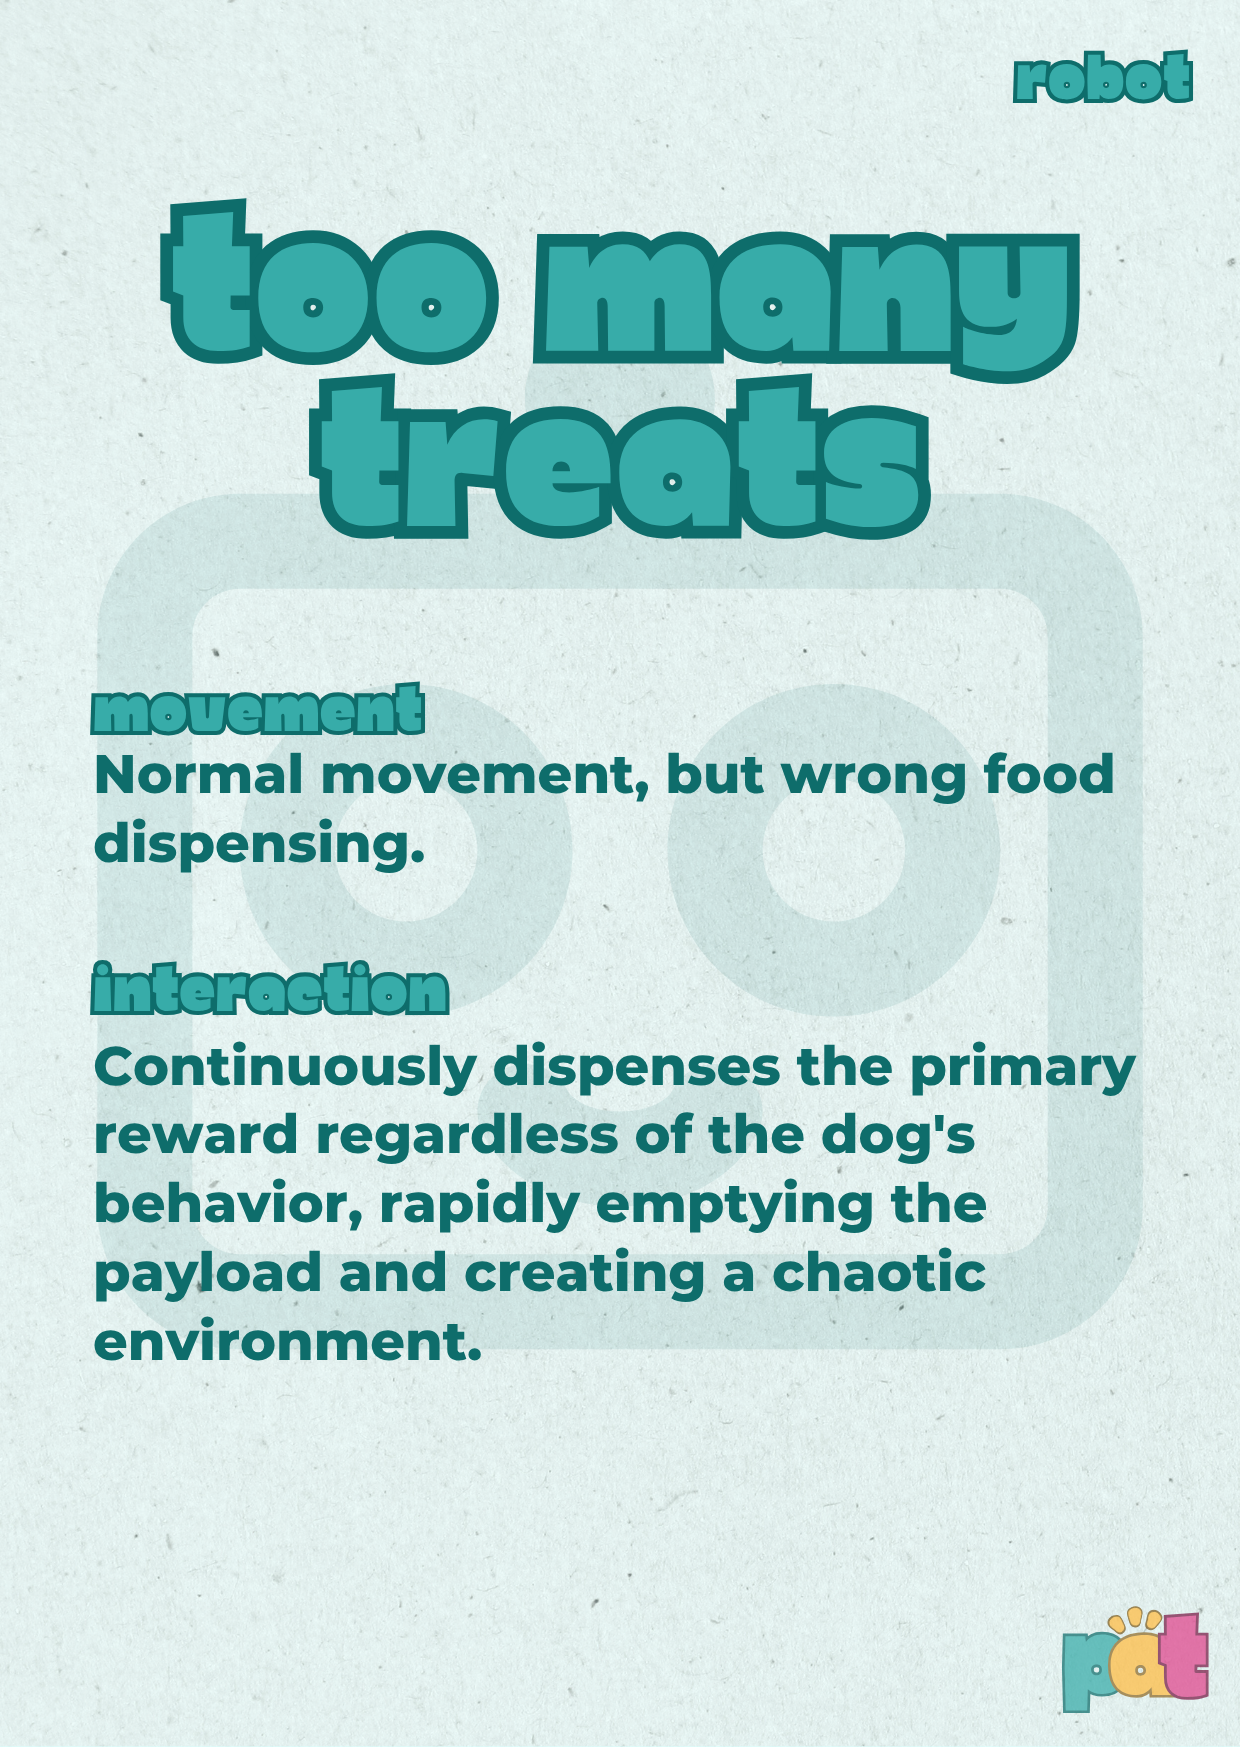
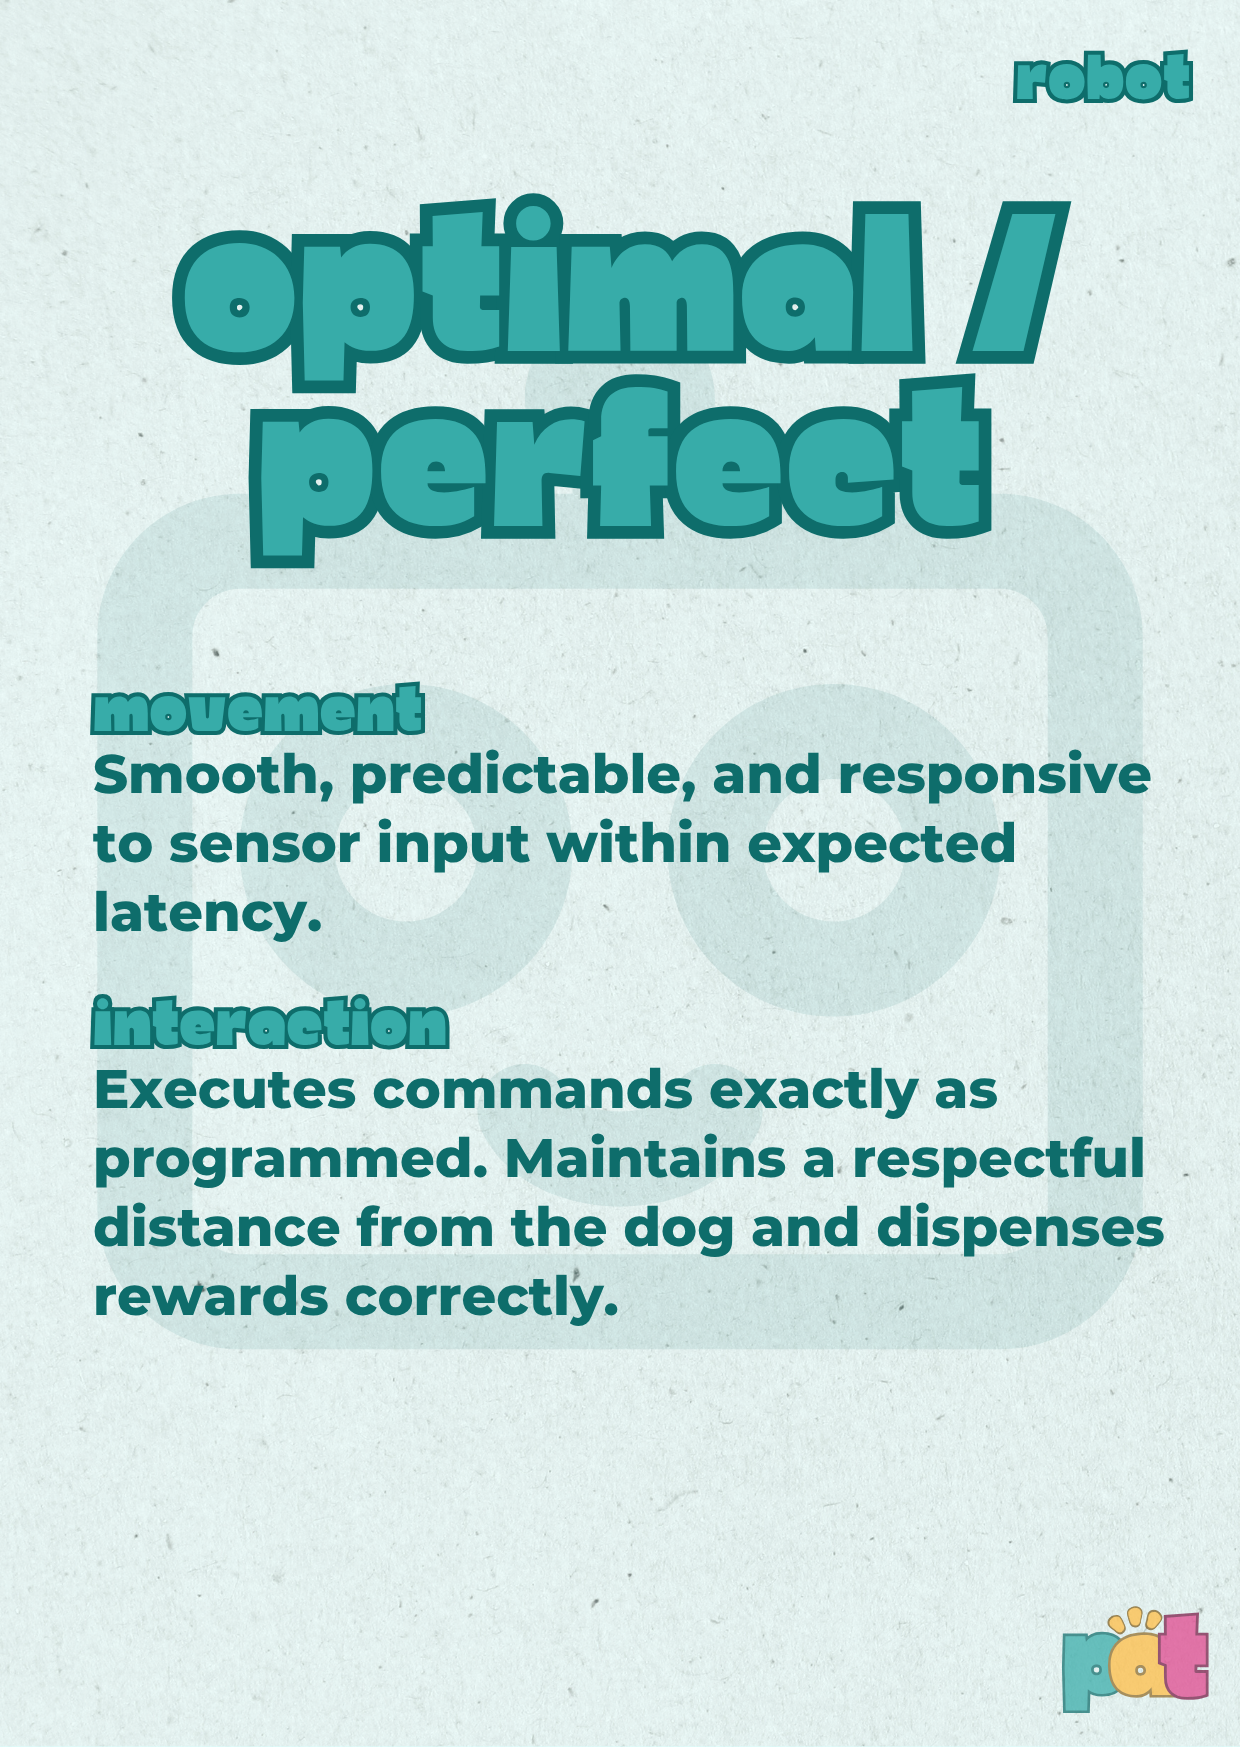
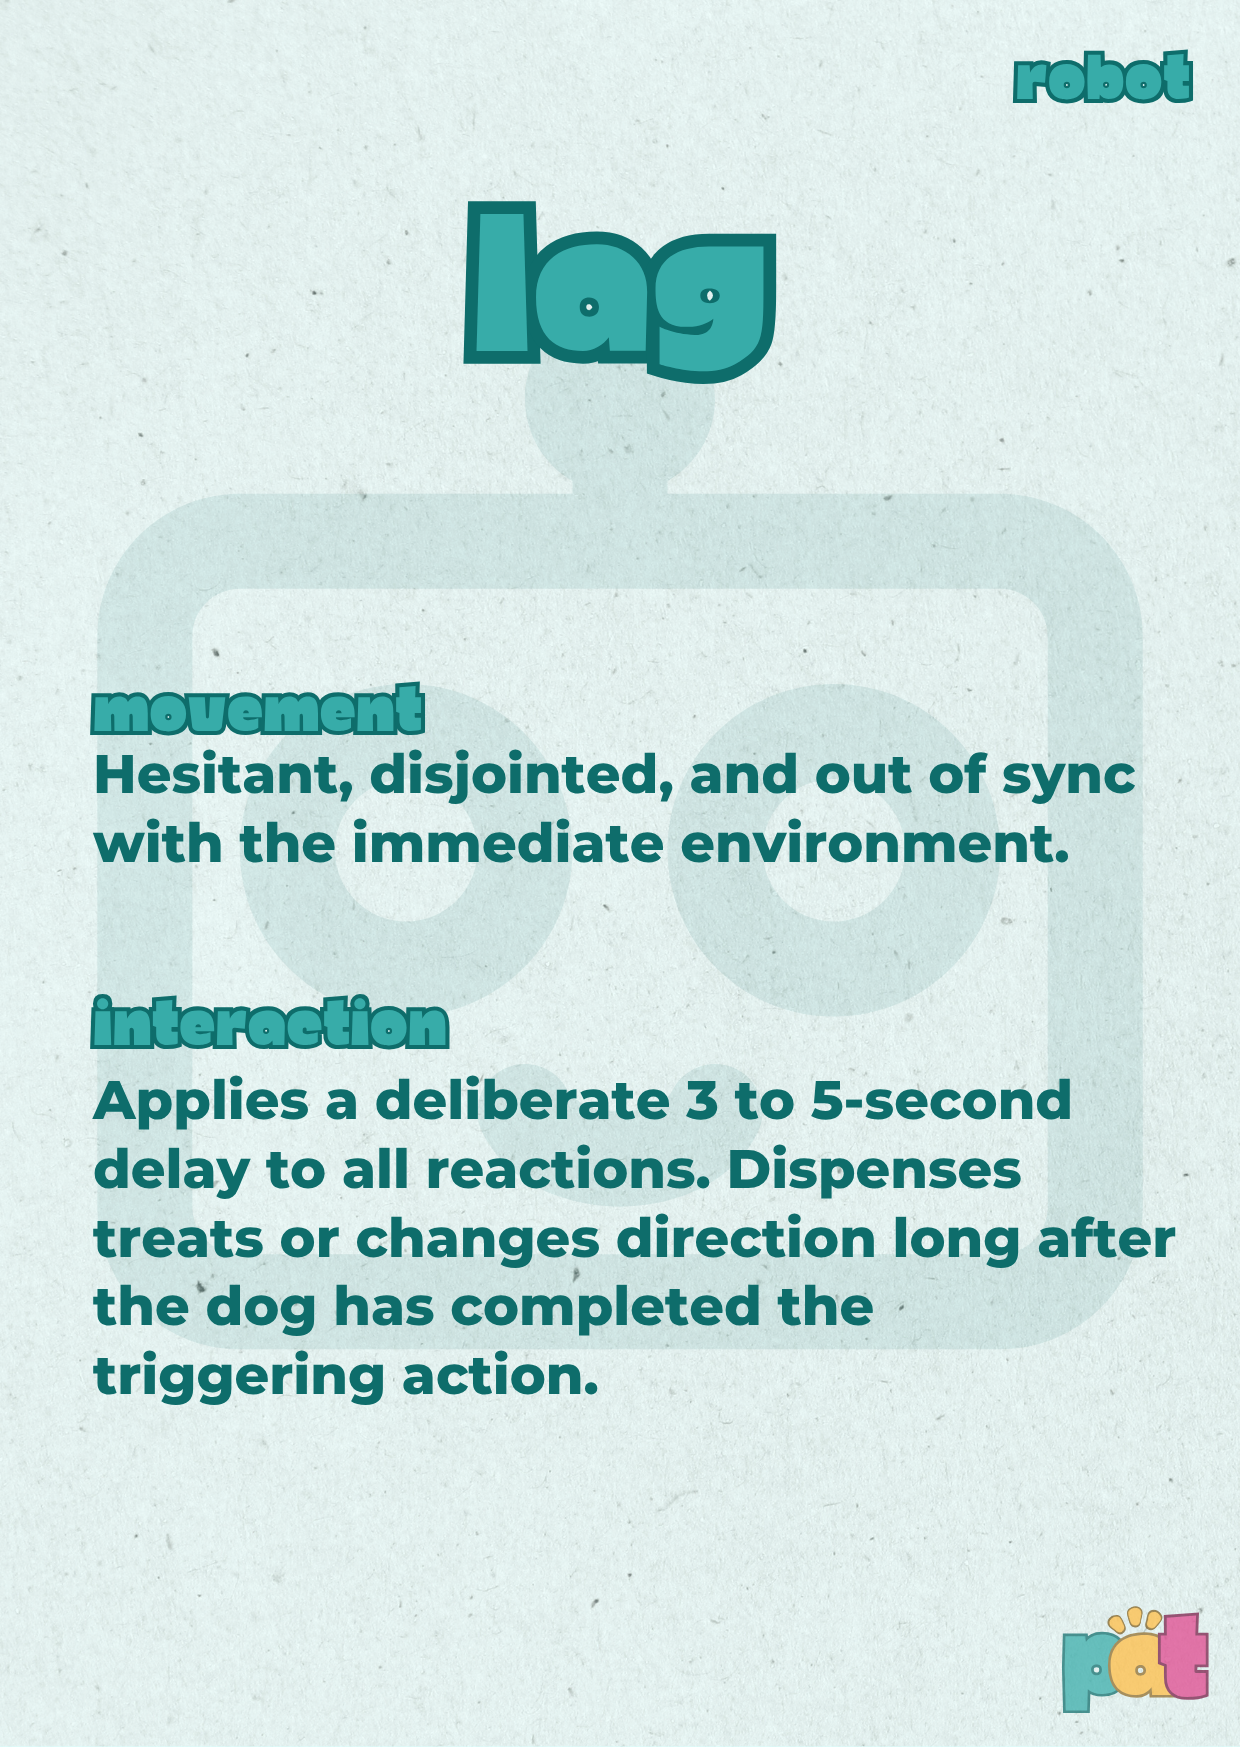
To fill this gap, we are developing a card-based scenario generation tool. Combining multiple cards (think cards against humanity), users can create multiple, varied and unpredictable interaction scenarios. A human then acts as a proxy for the dog to execute the generation scene. This direction helps find errors and tests out the robot’s logic and interaction flow, allowing designers to safely identify edge cases and failure points (for example where the robot reacts surprisingly).
Conceptualization stage
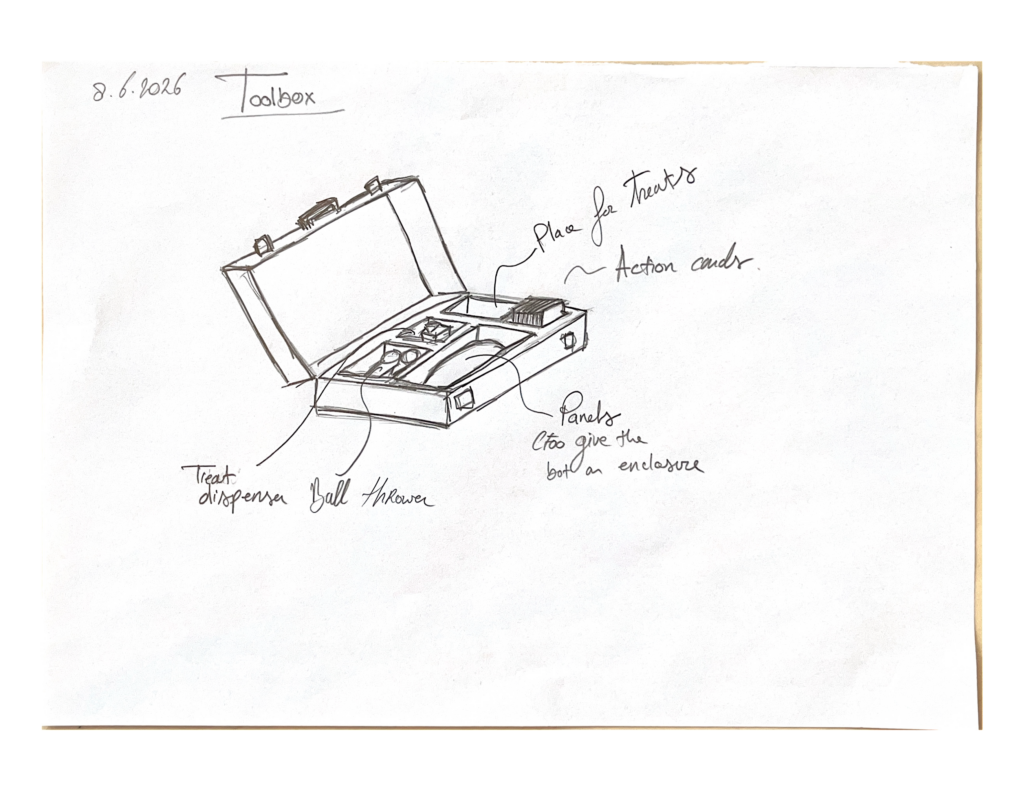
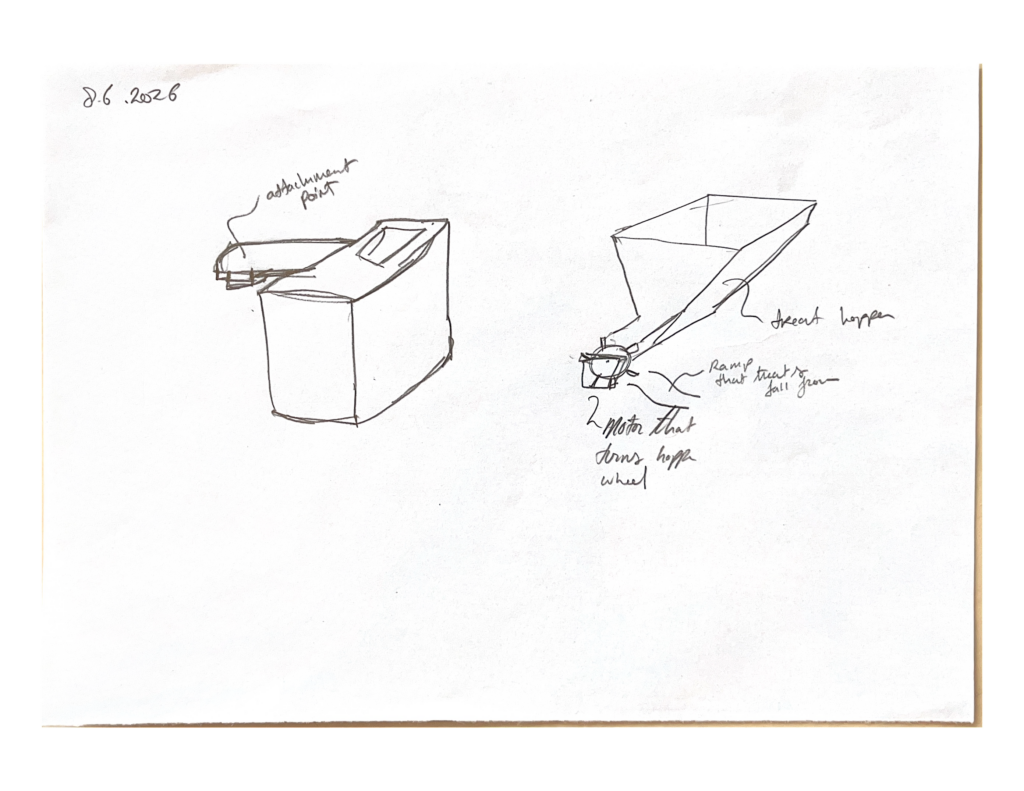
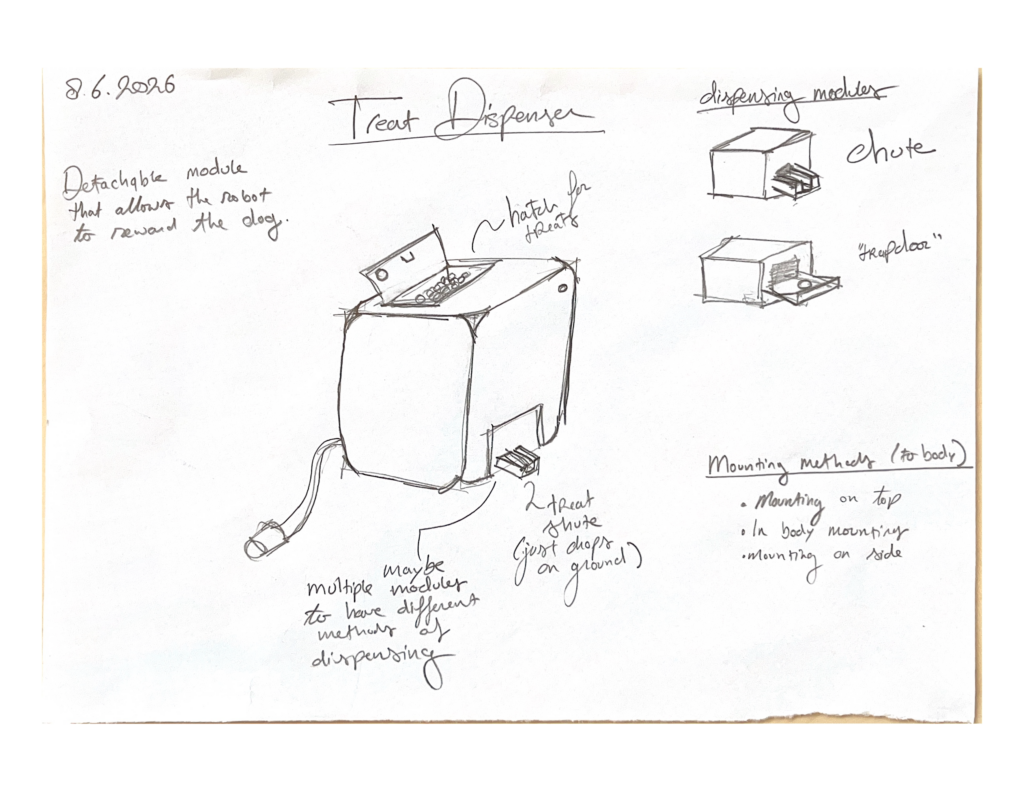
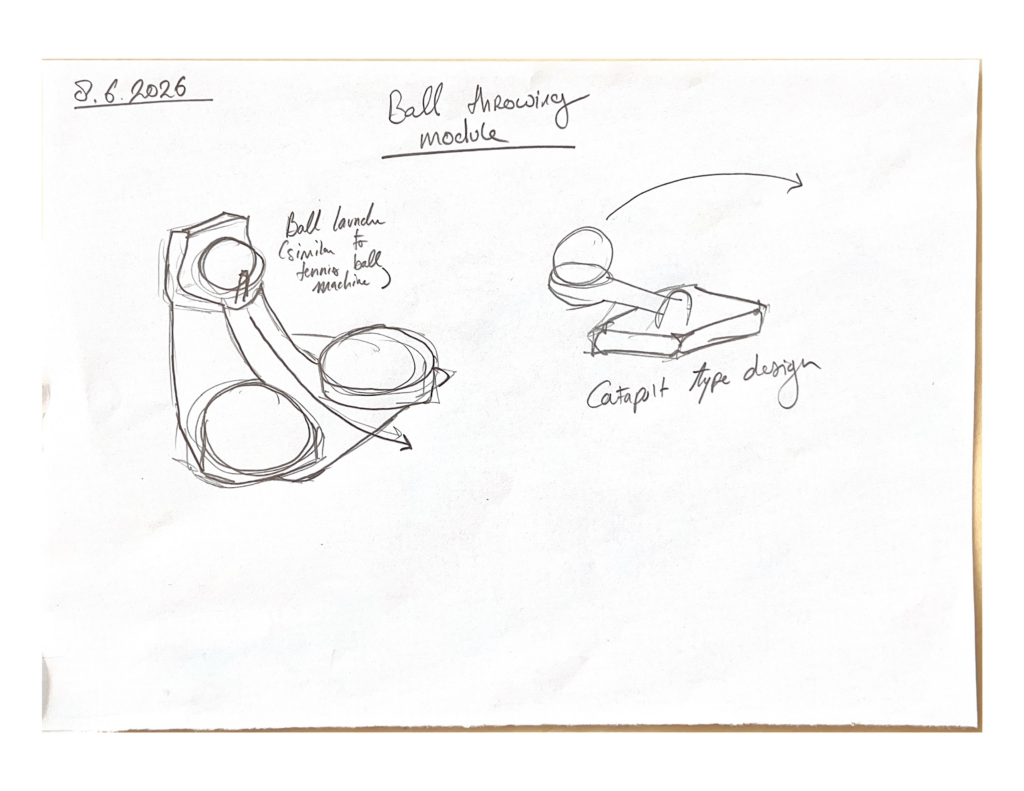
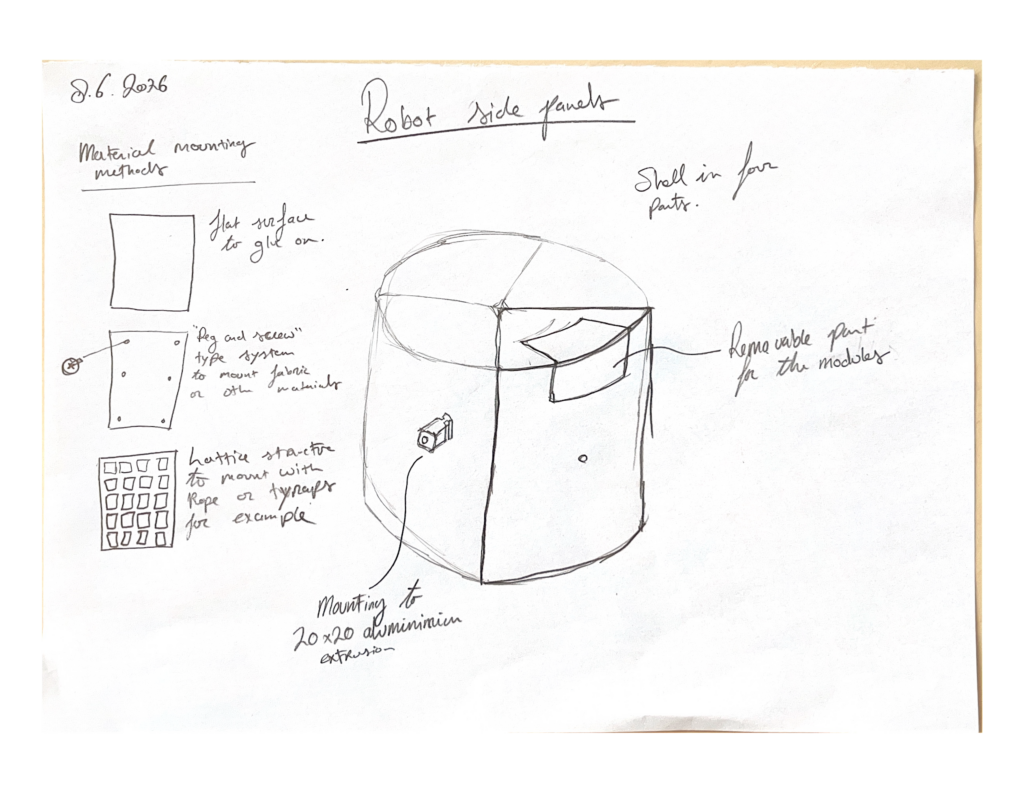
Figure 1 through 5 show the different sketches for the parts of the toolkit. We worked on a few different concepts and ideas on how the box could look and how the modules should function.
Physicalization stage
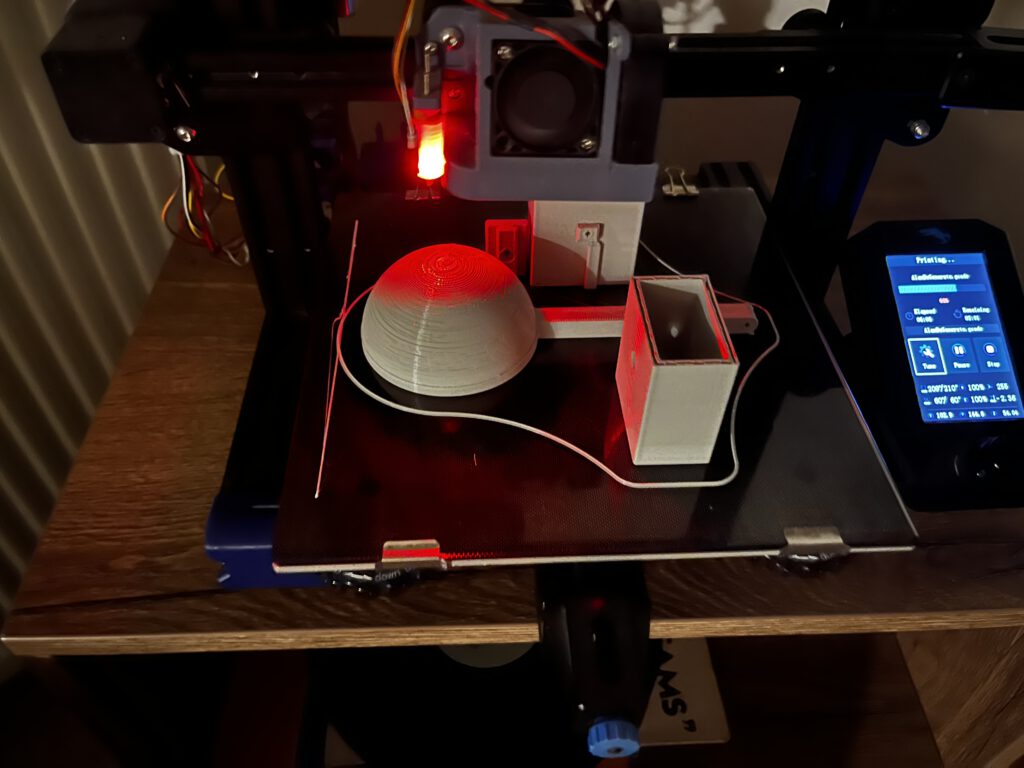
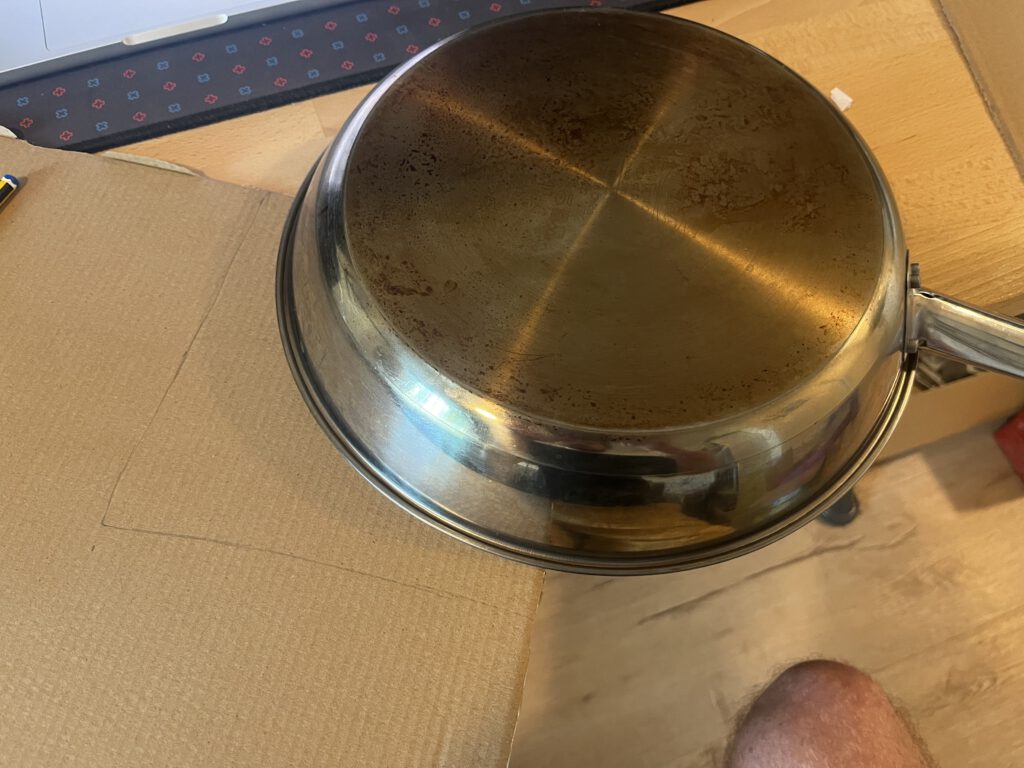
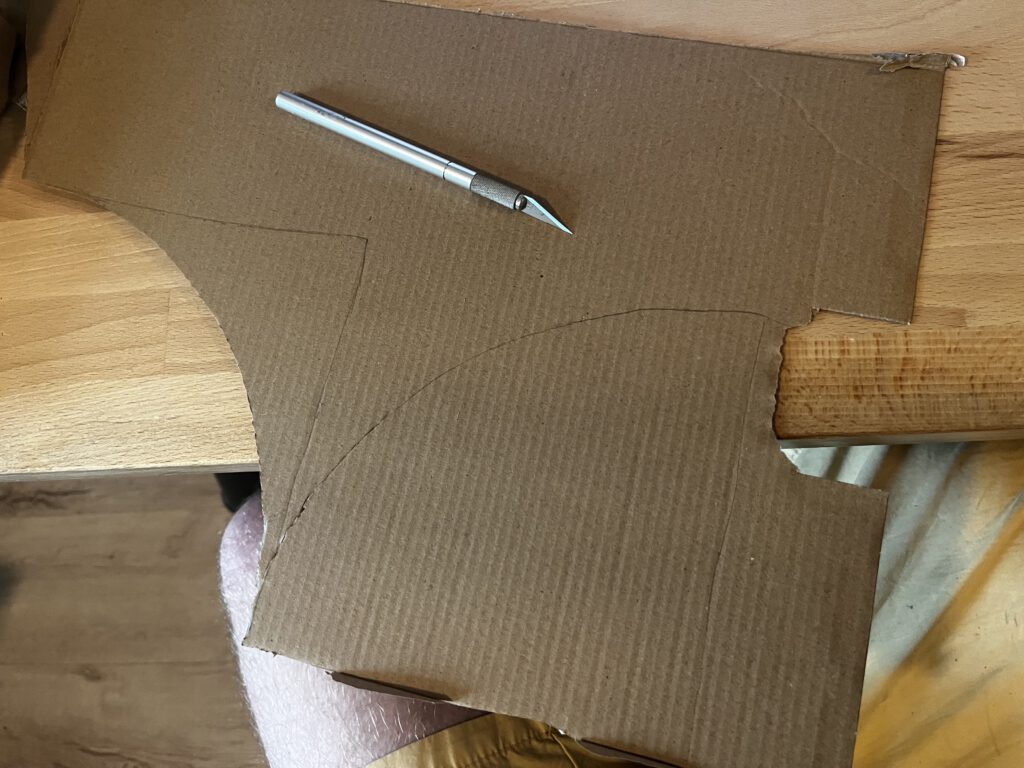
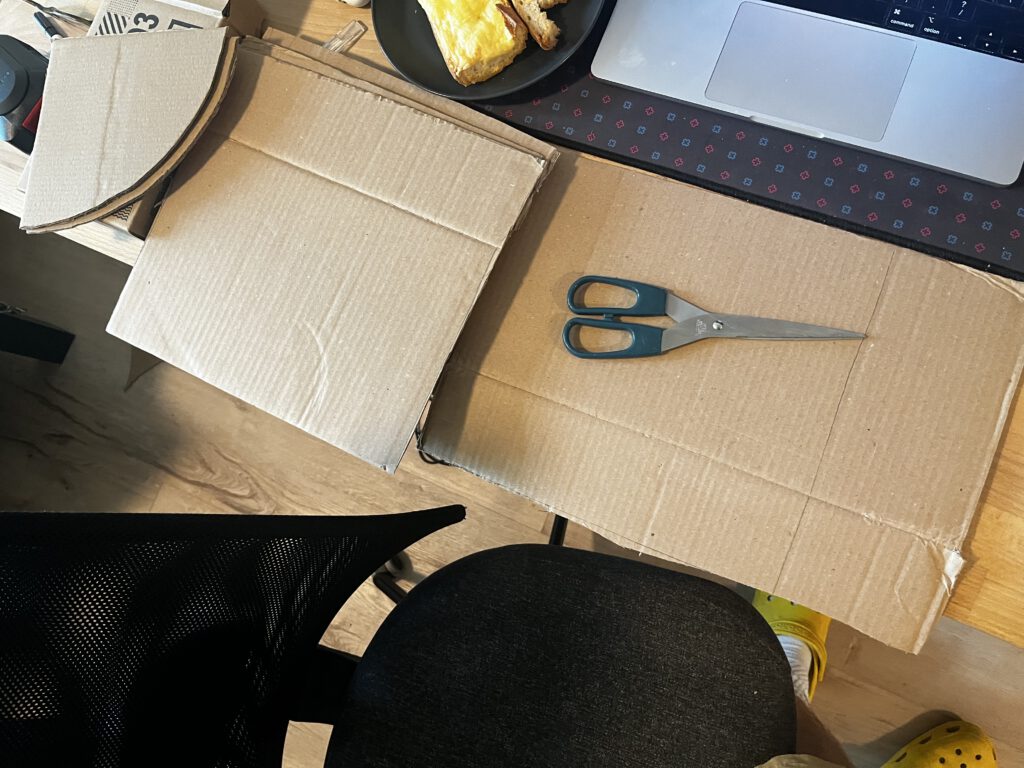
Figures 6 through 9 show the creation of the toolbox.
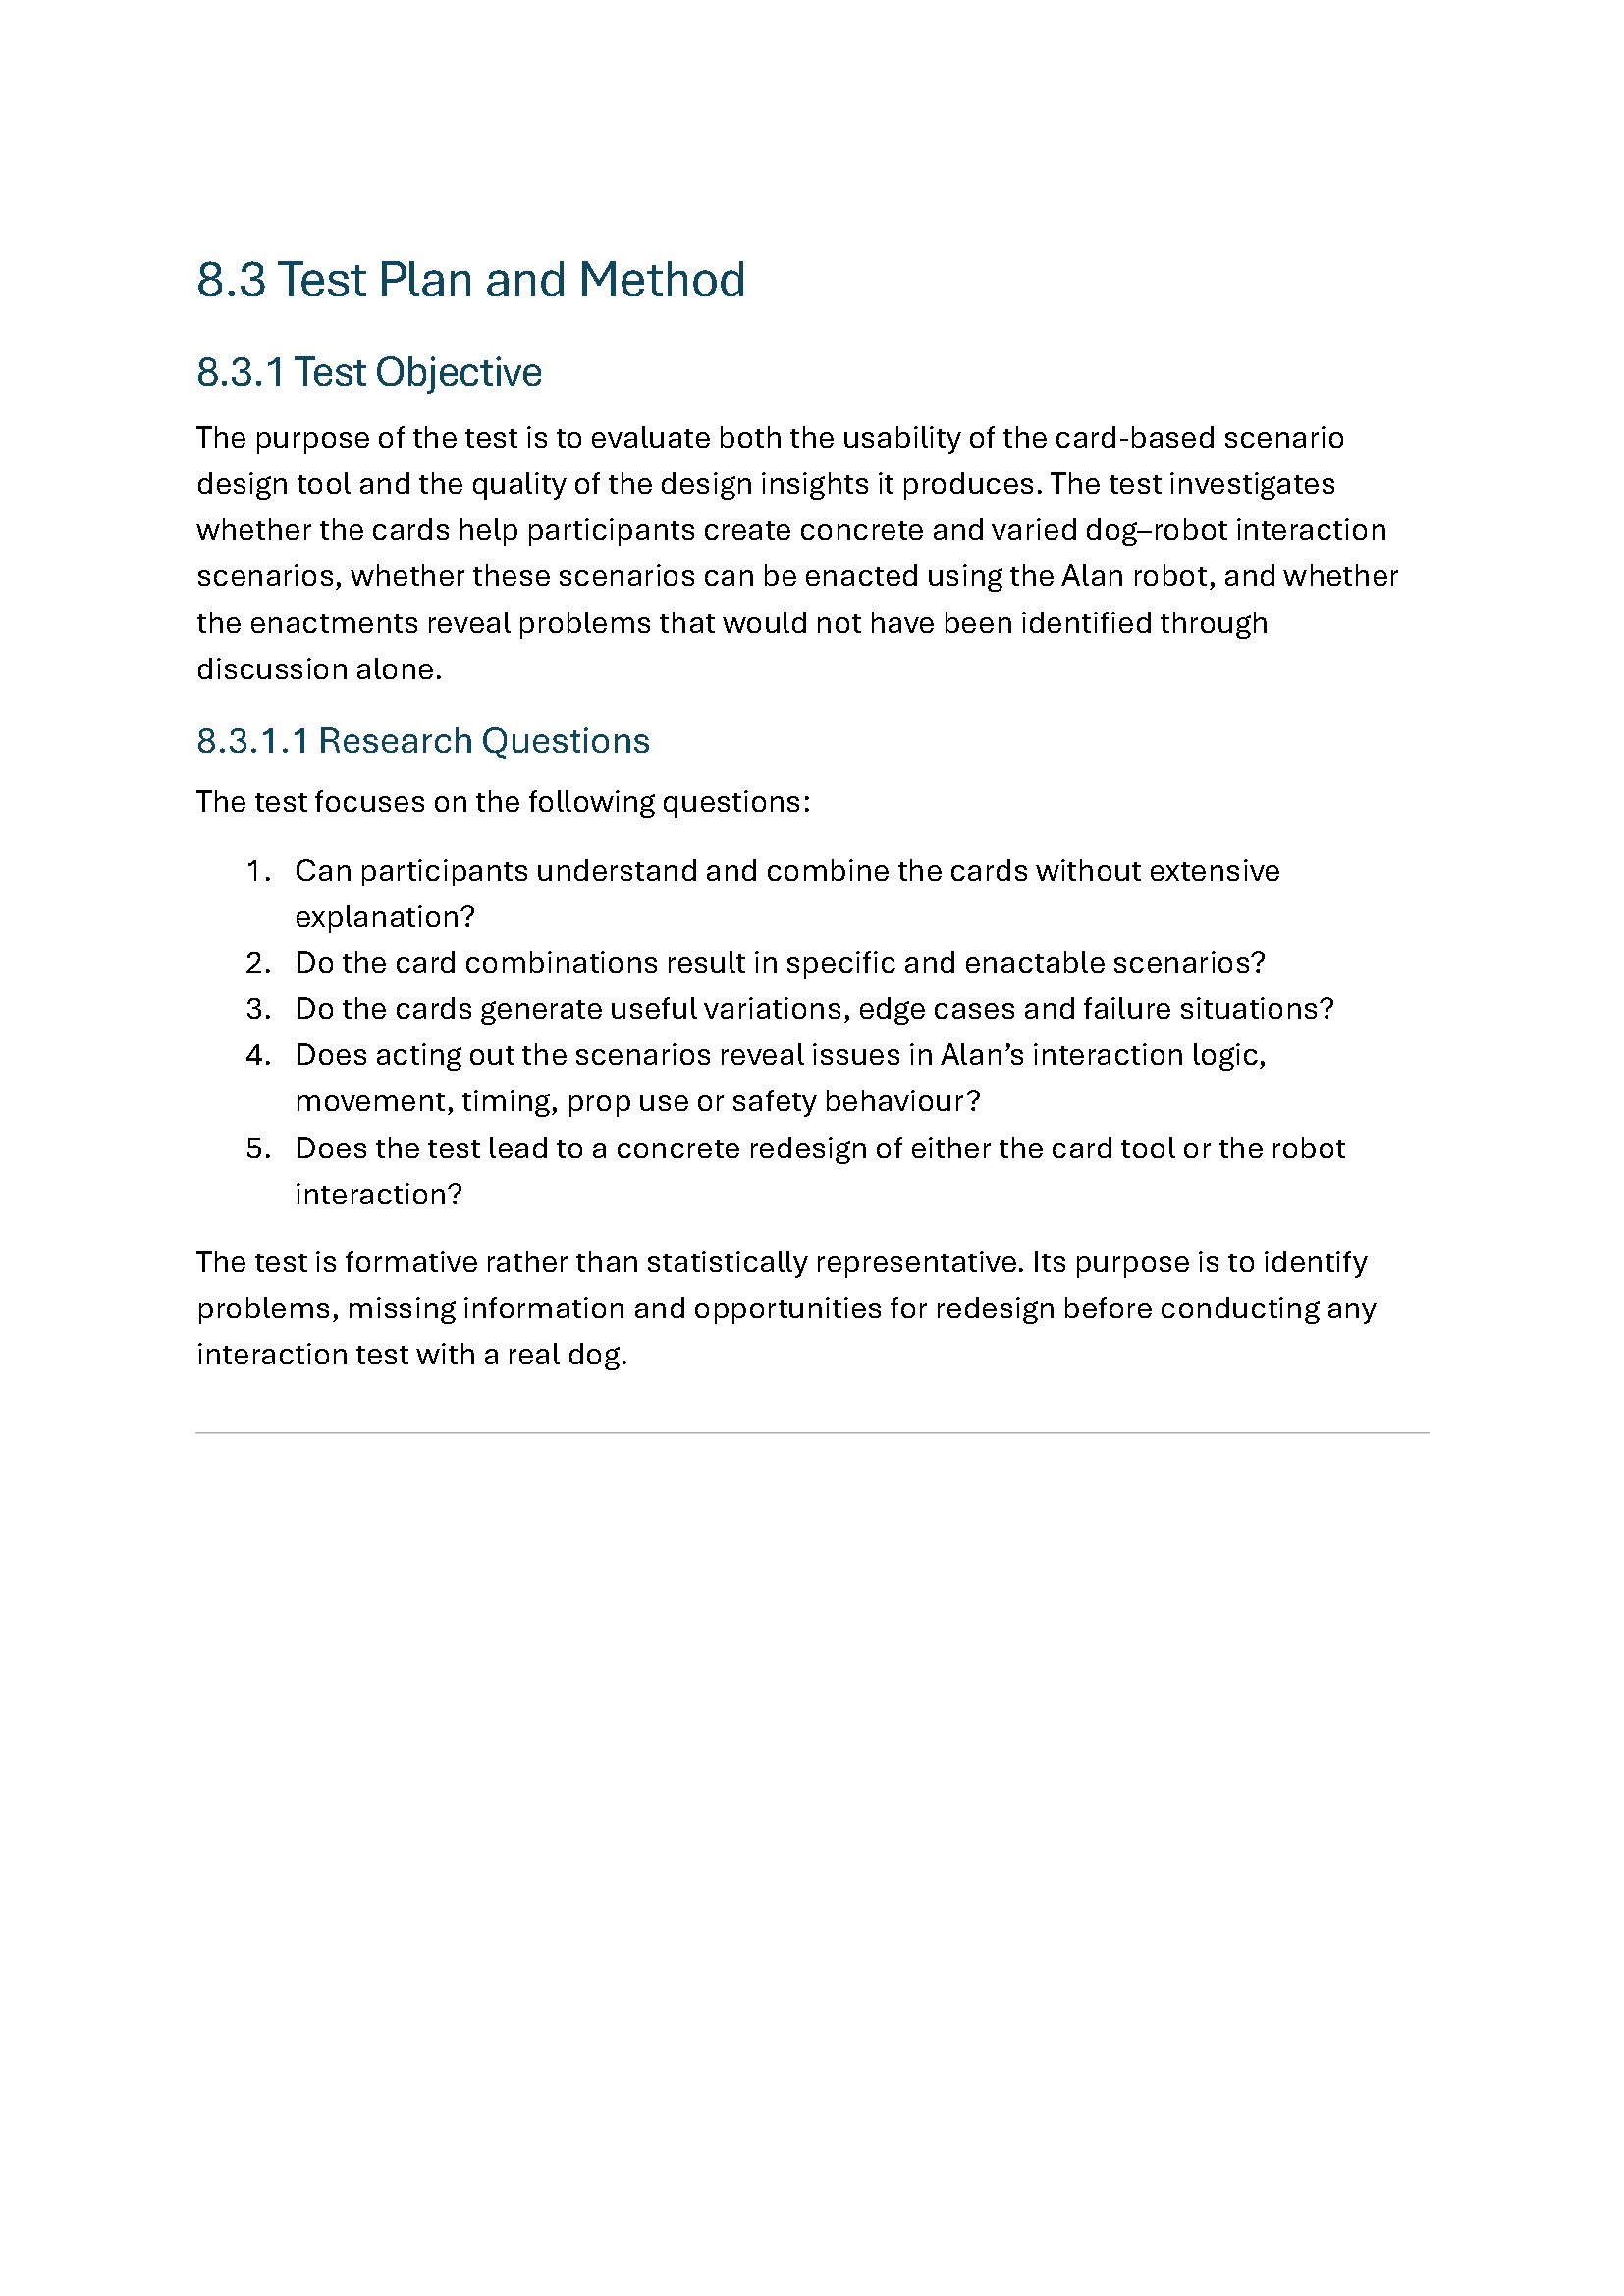
Test plan and method
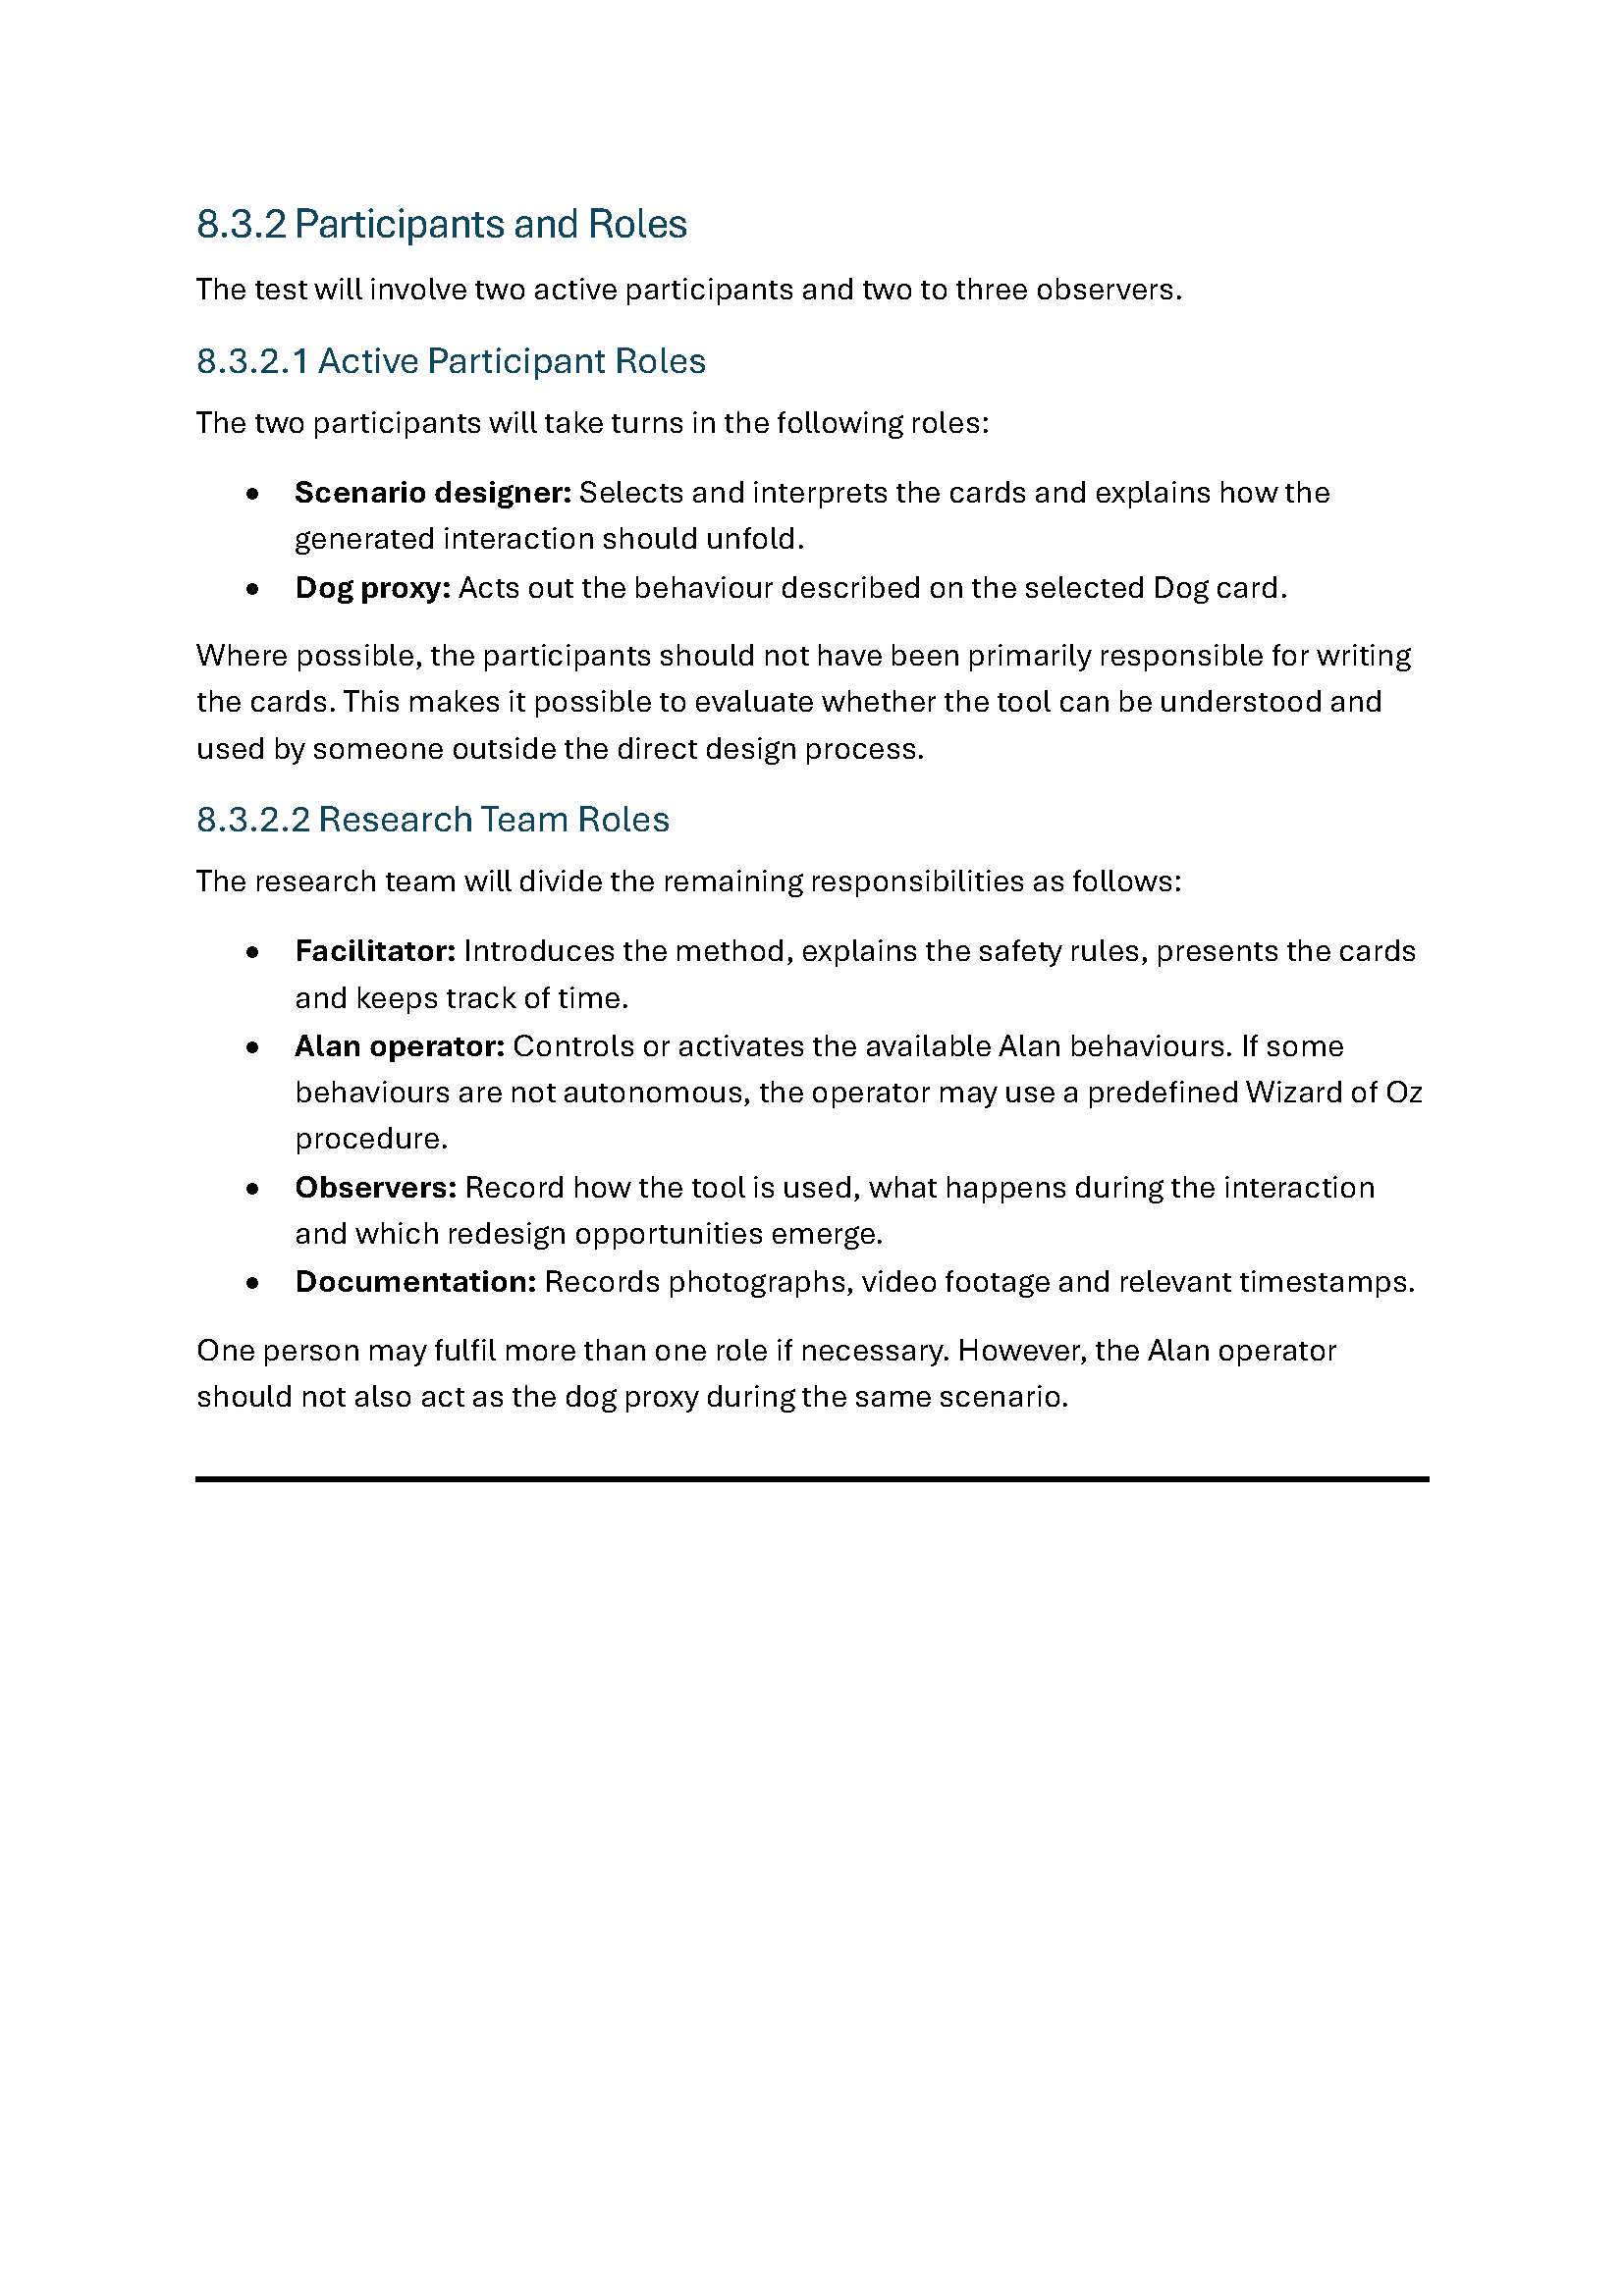
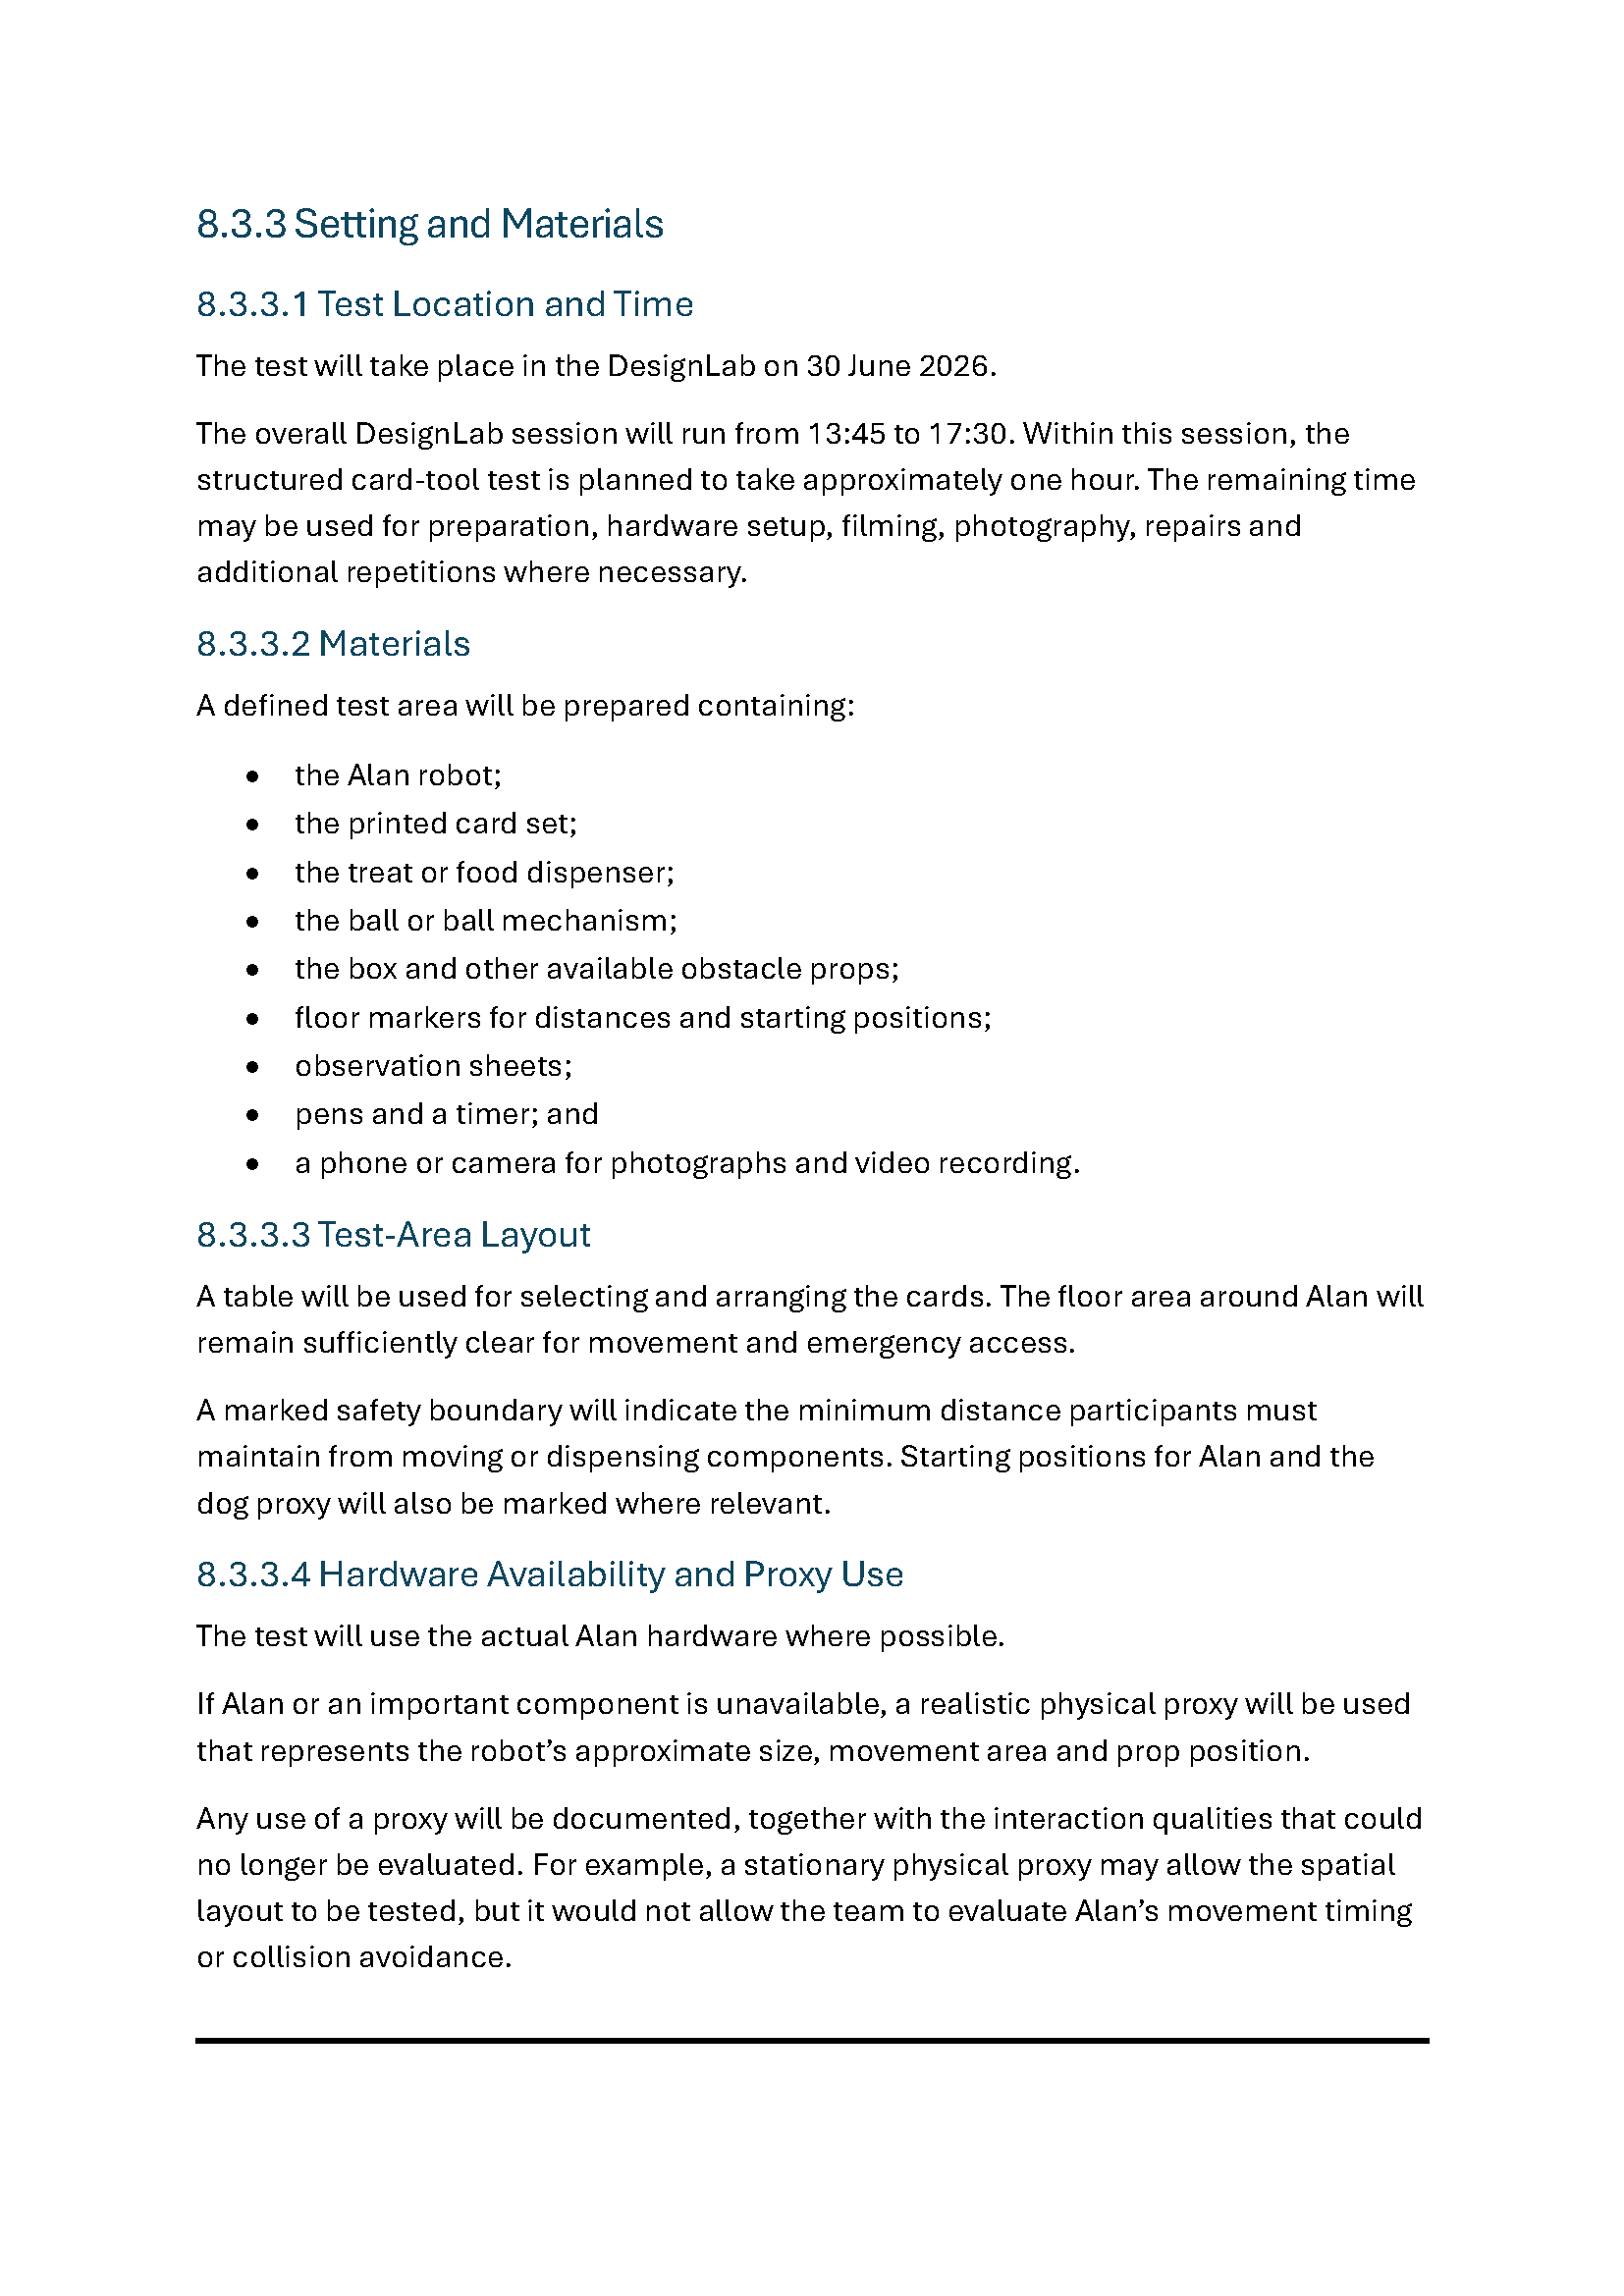
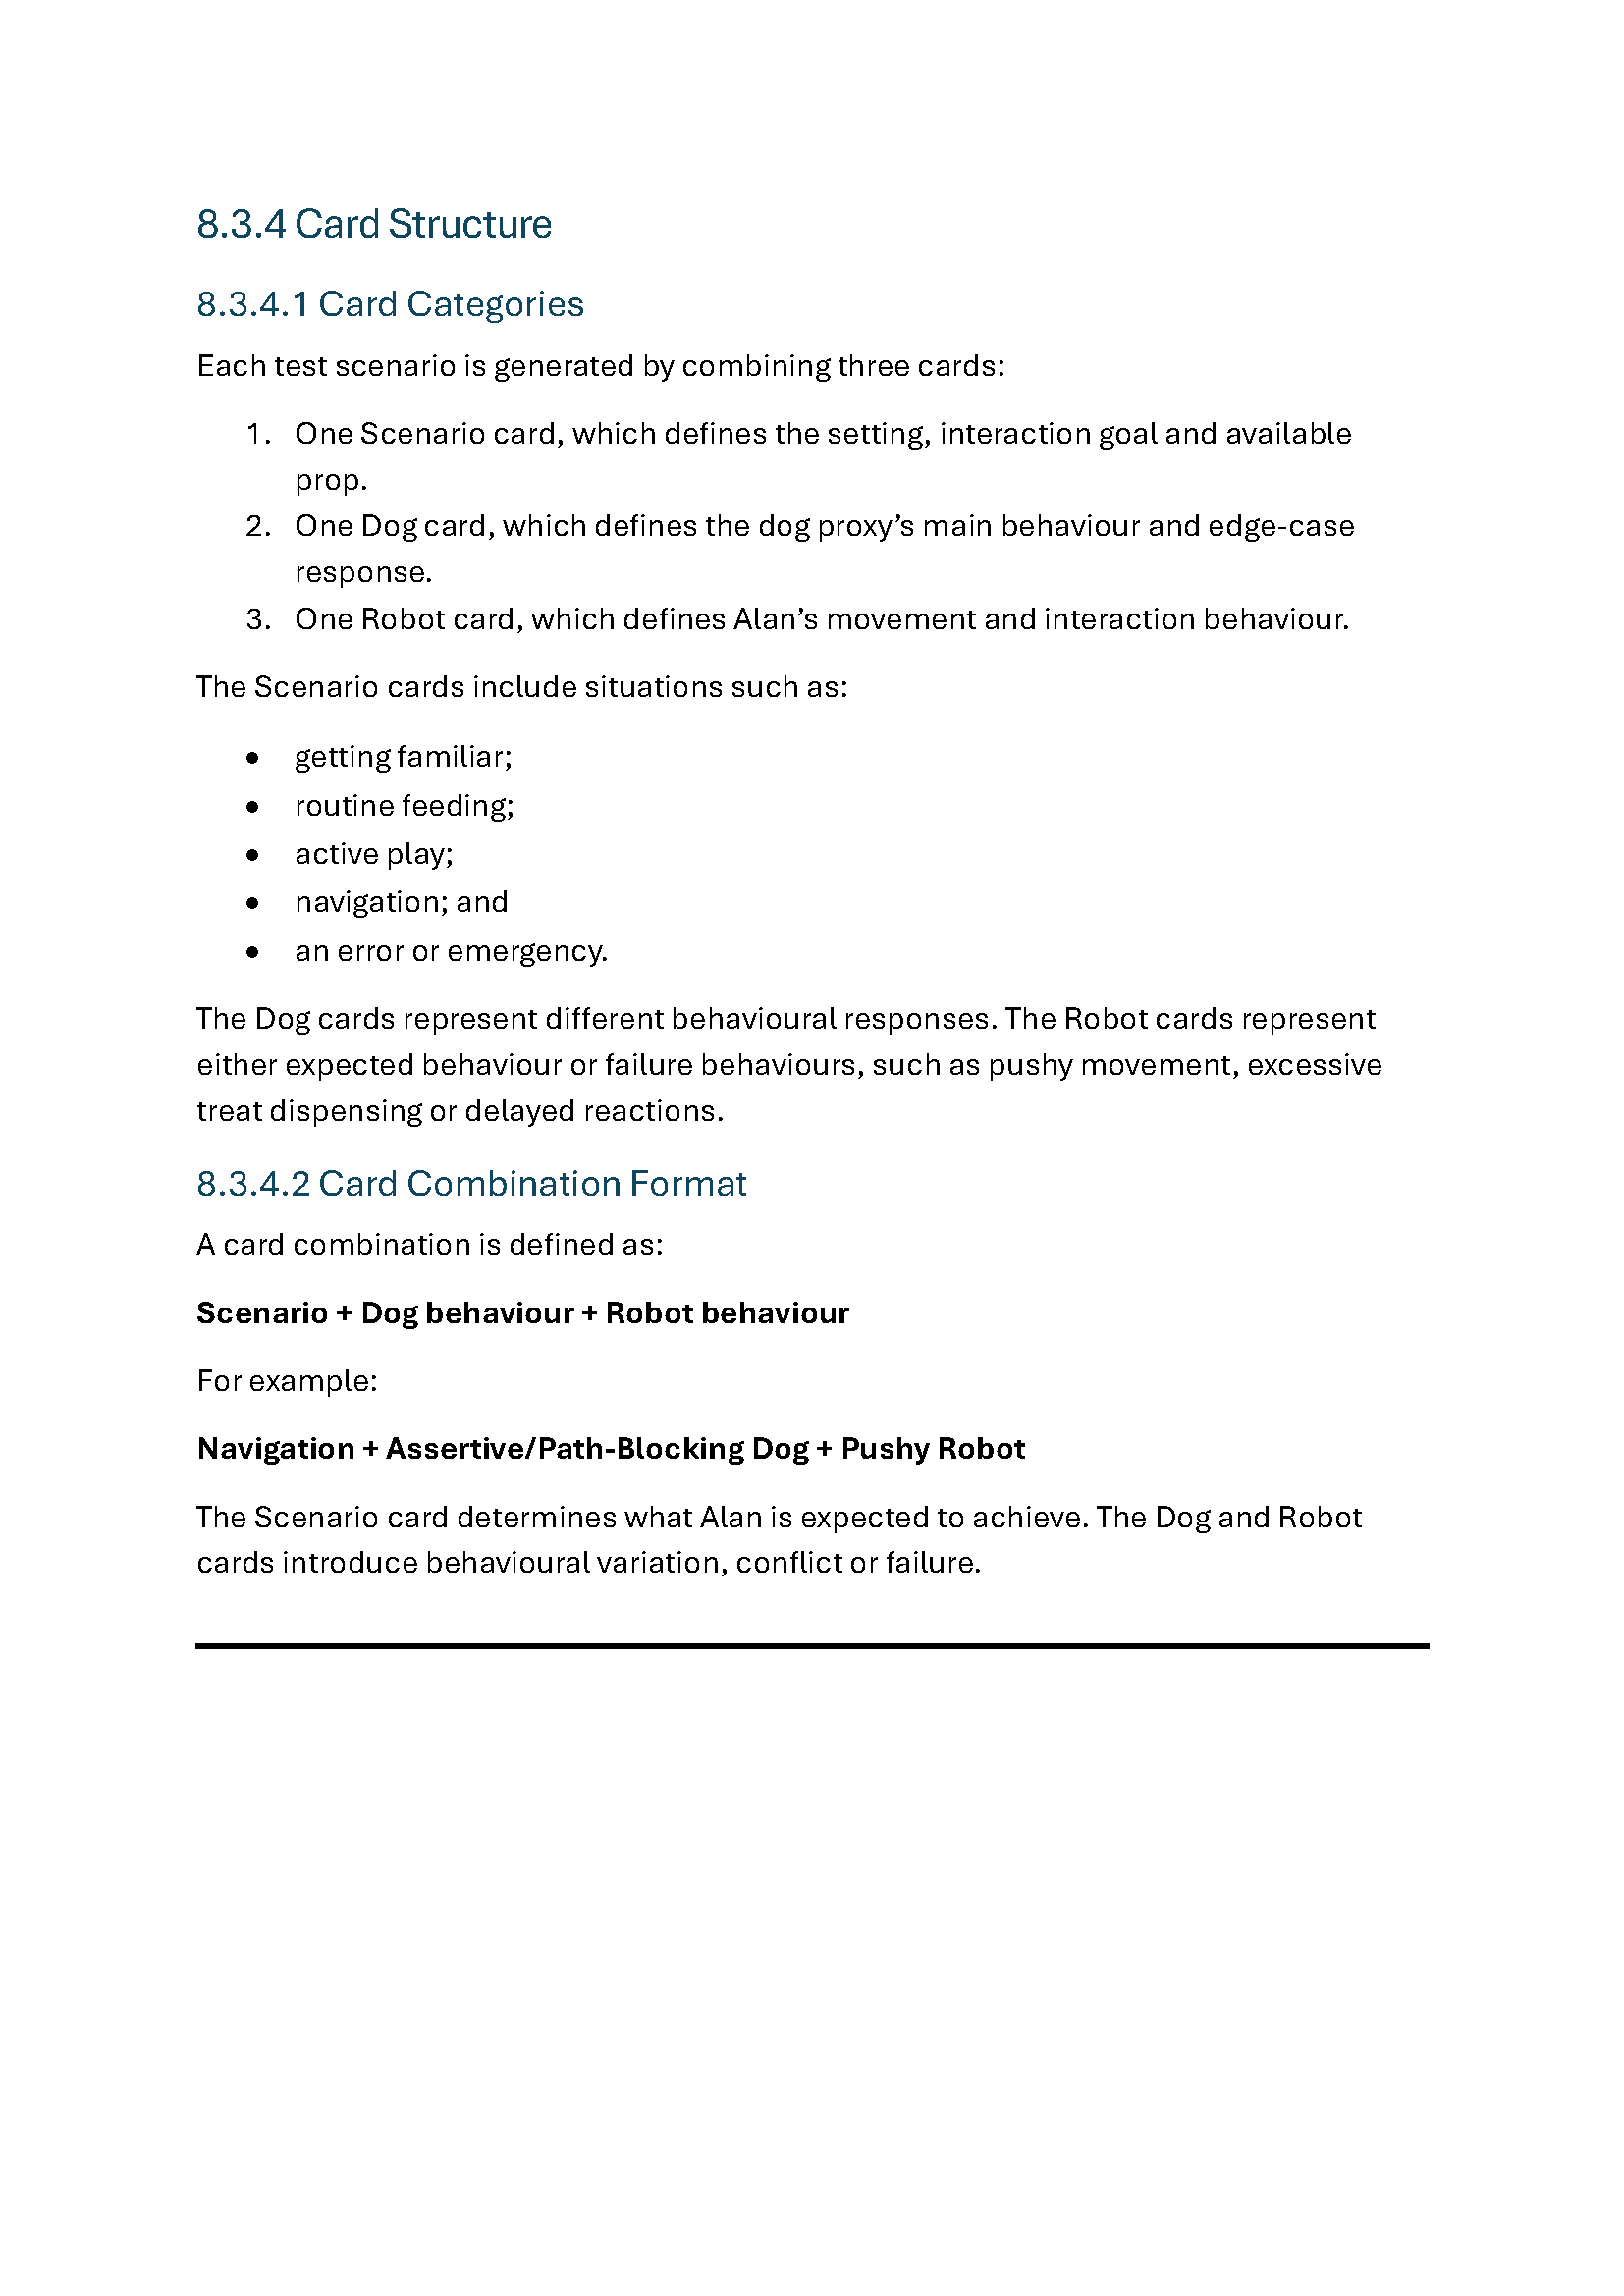
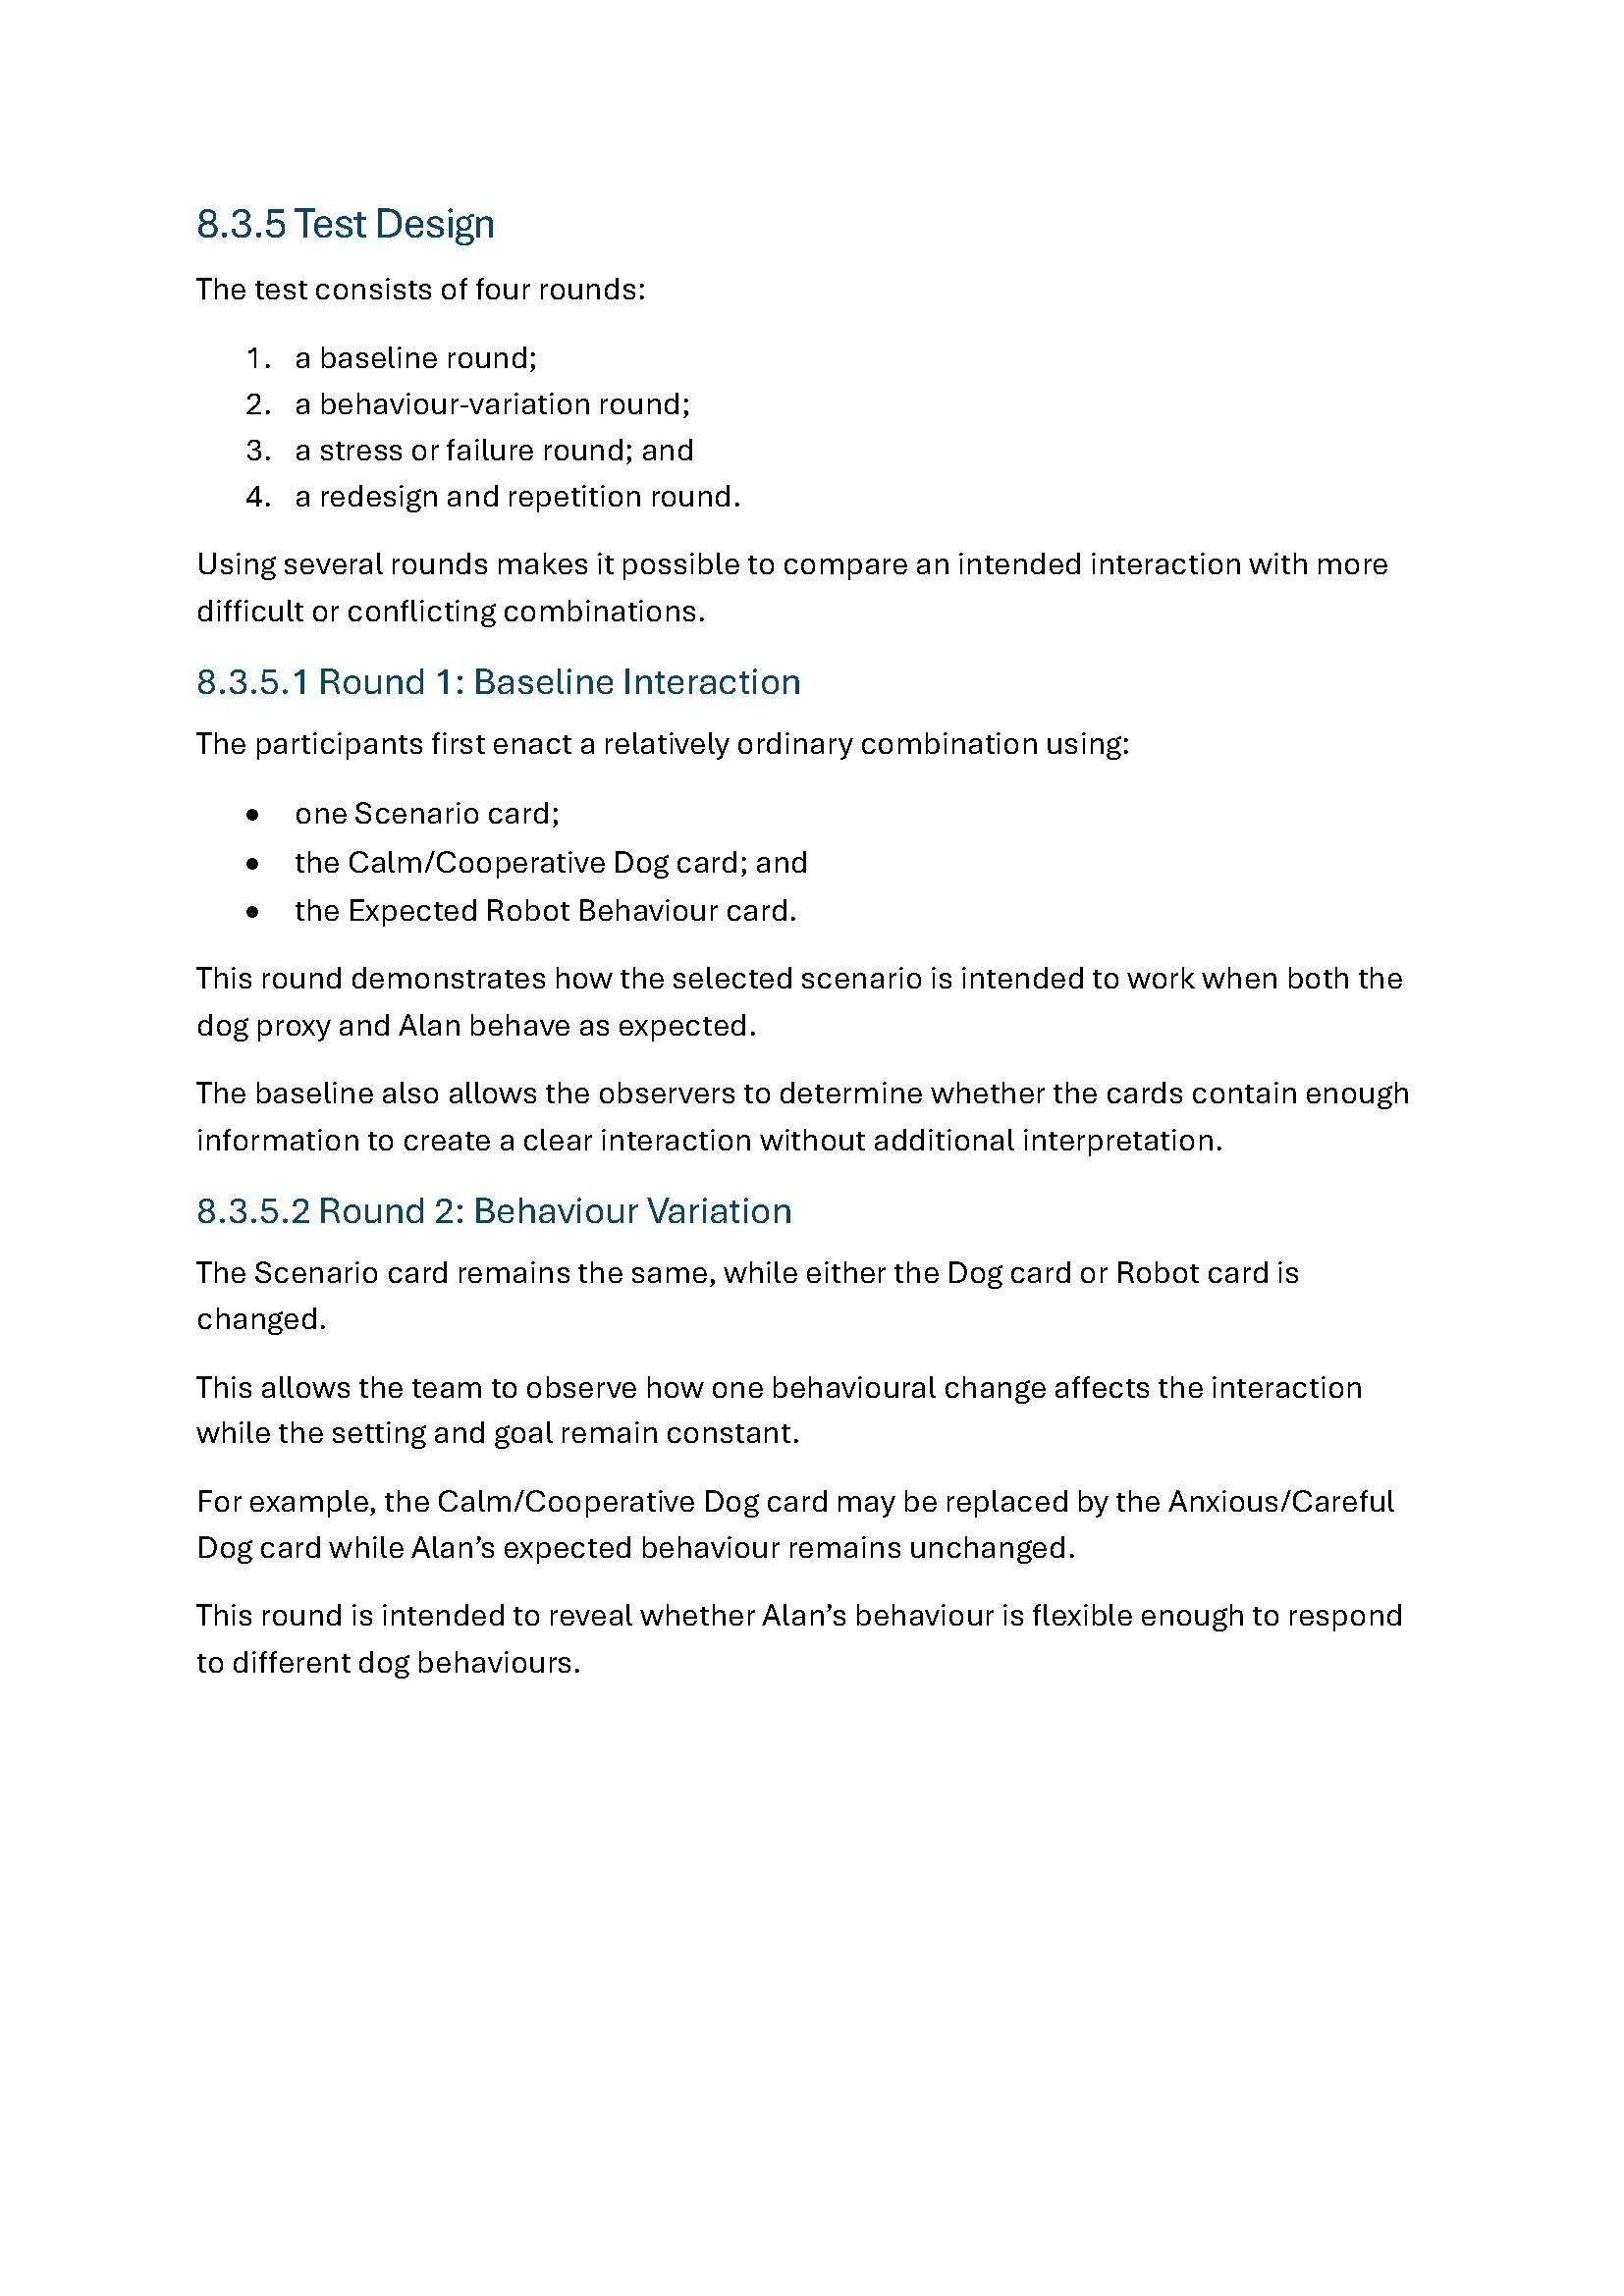
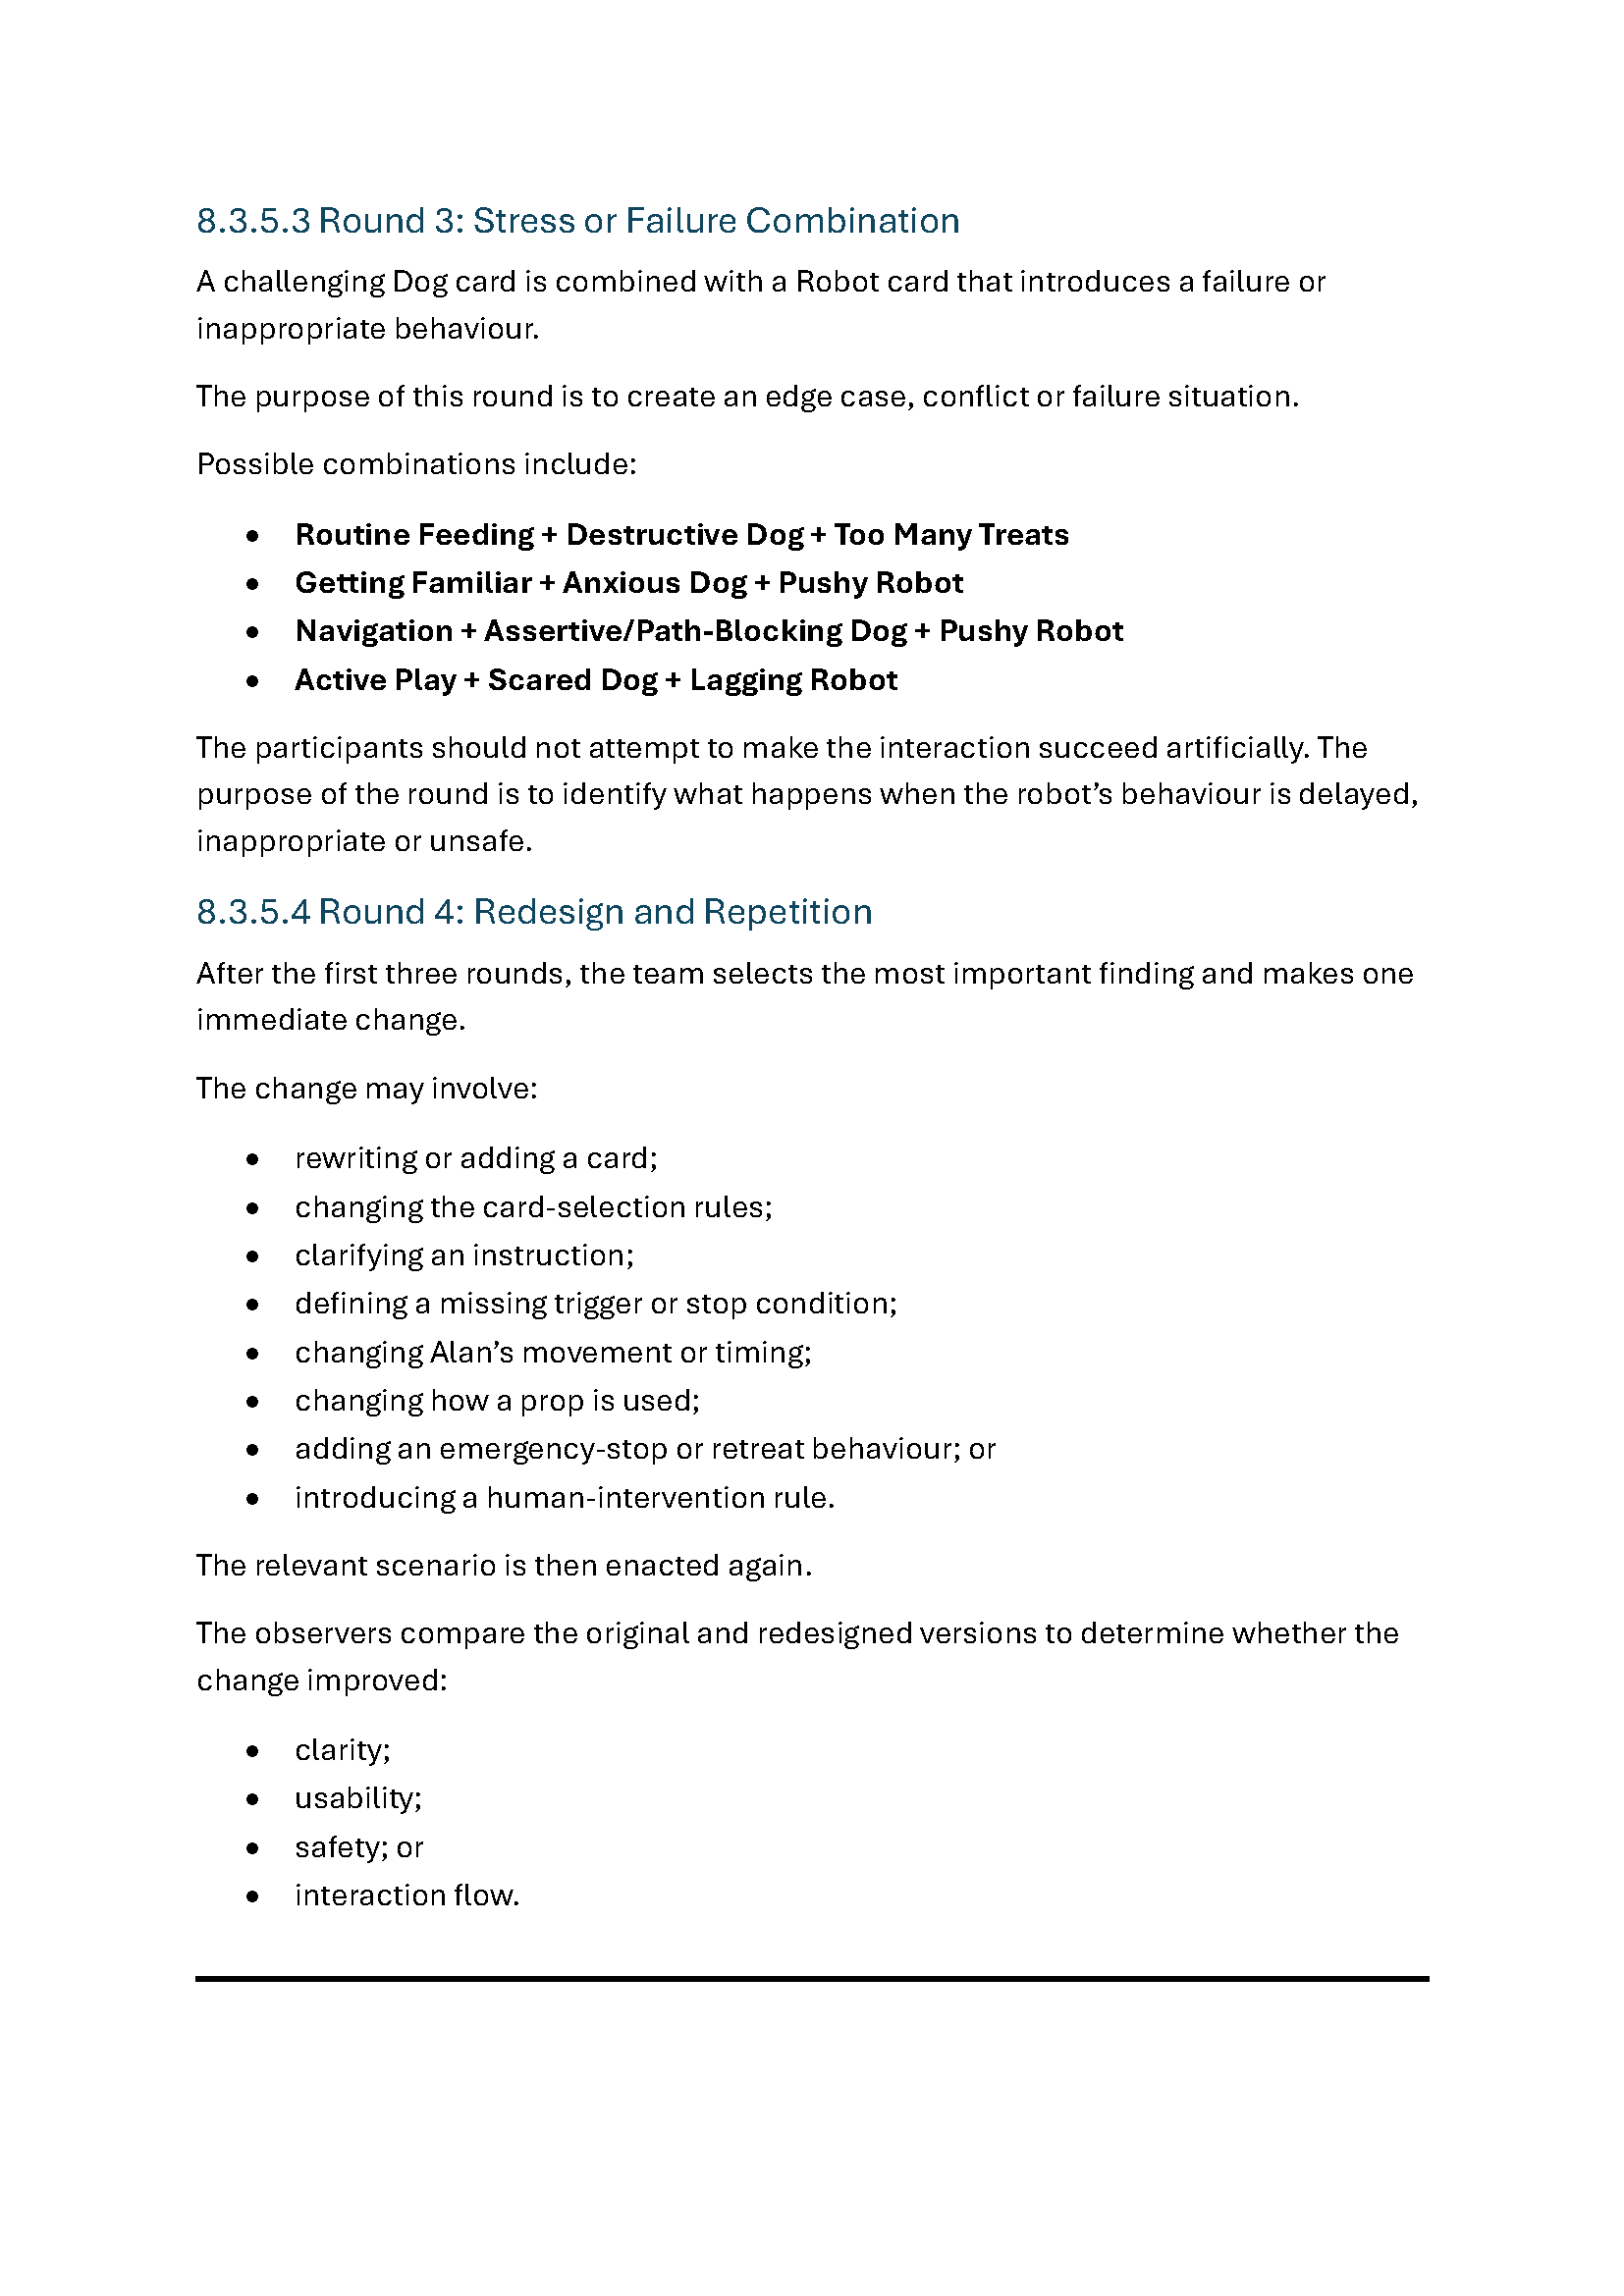
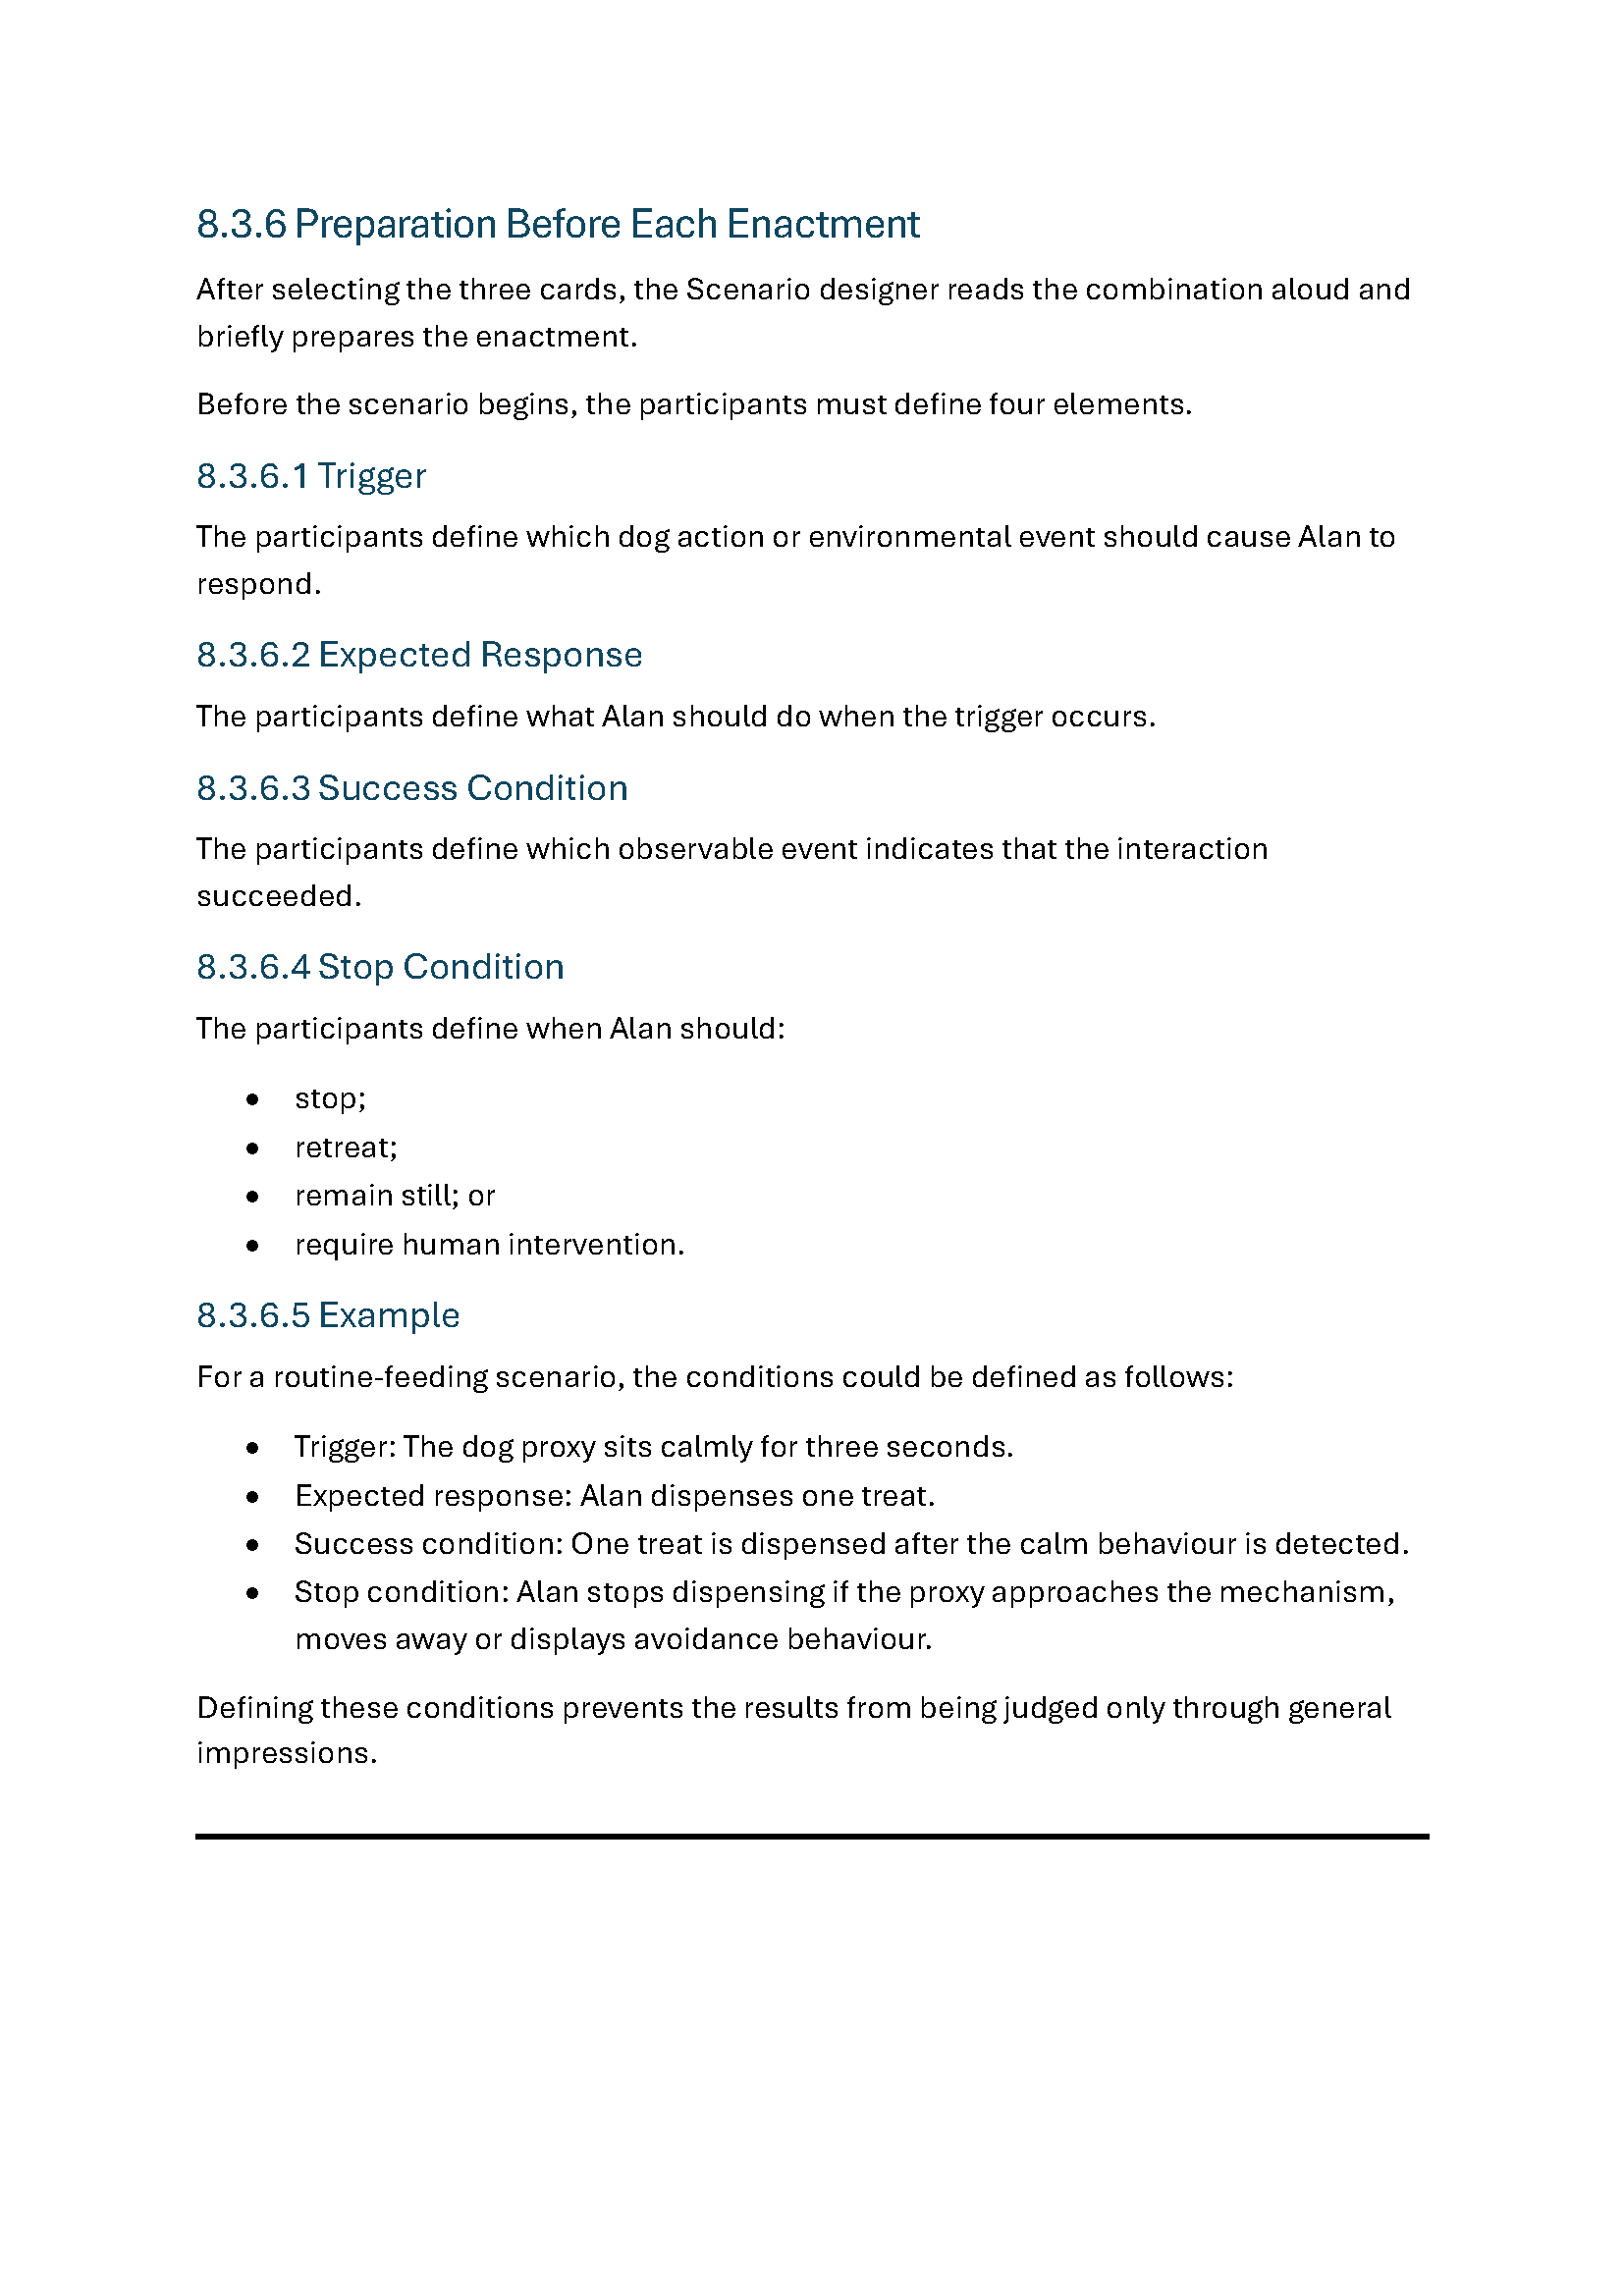
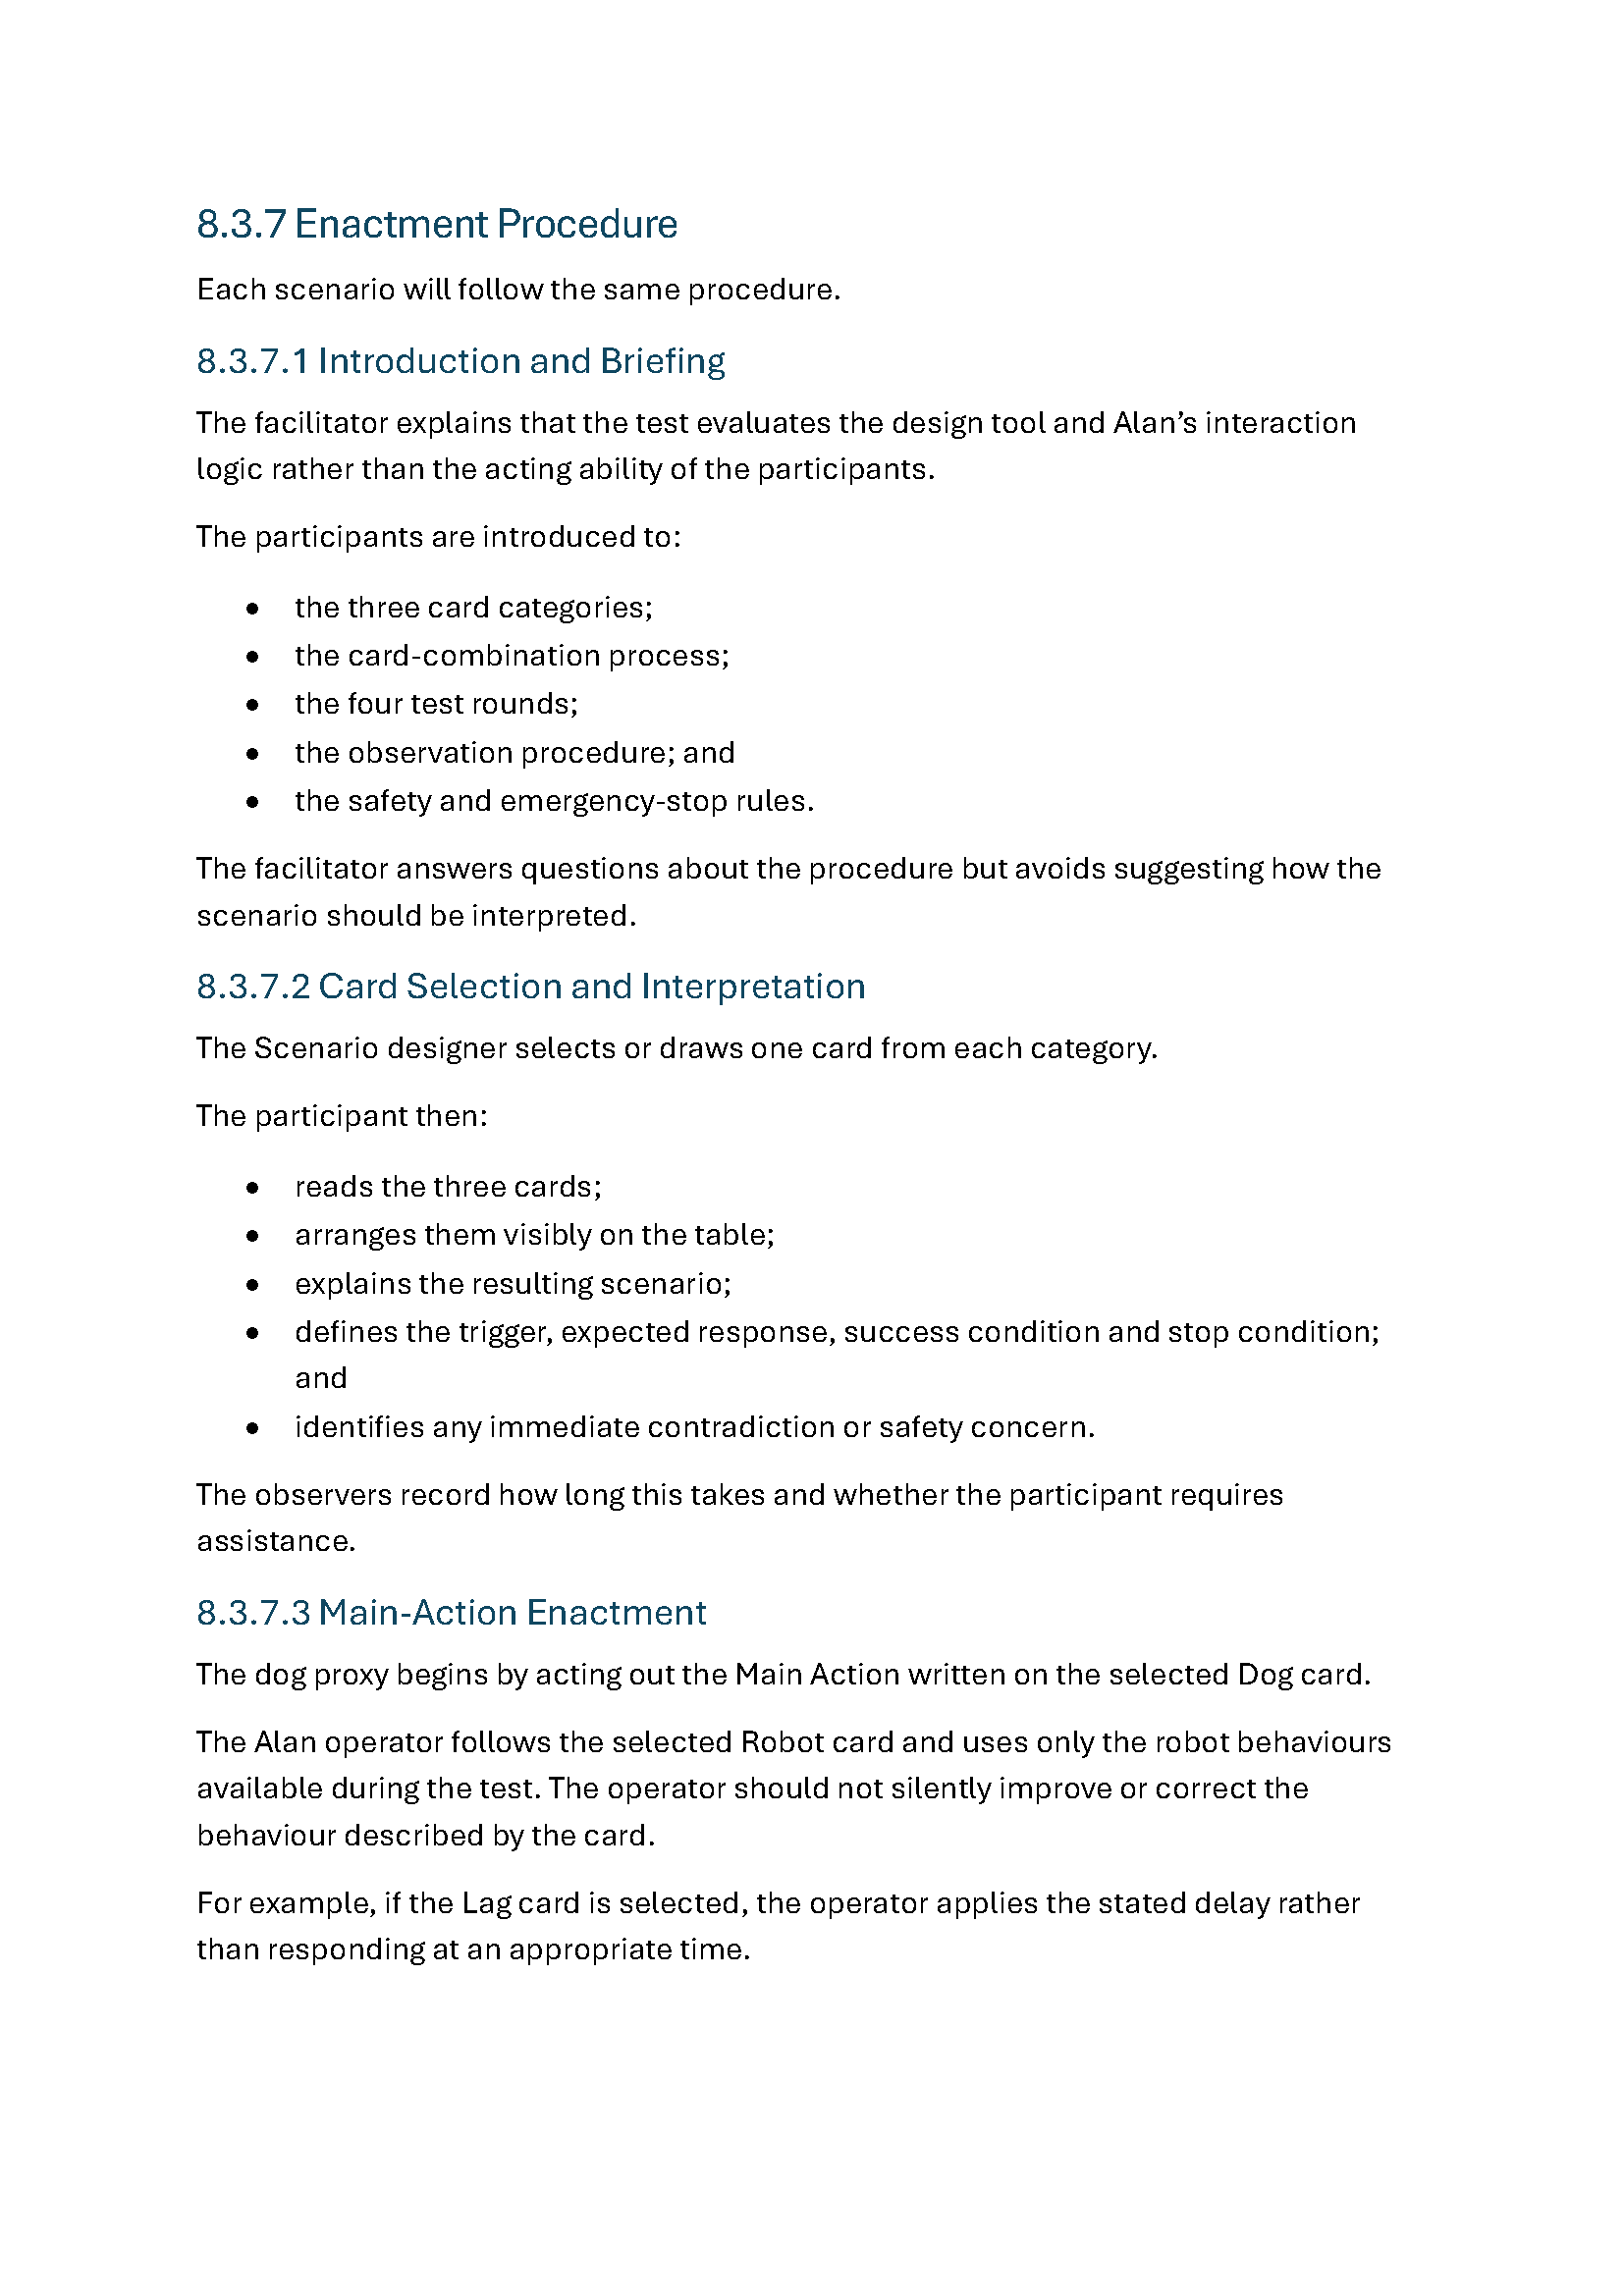
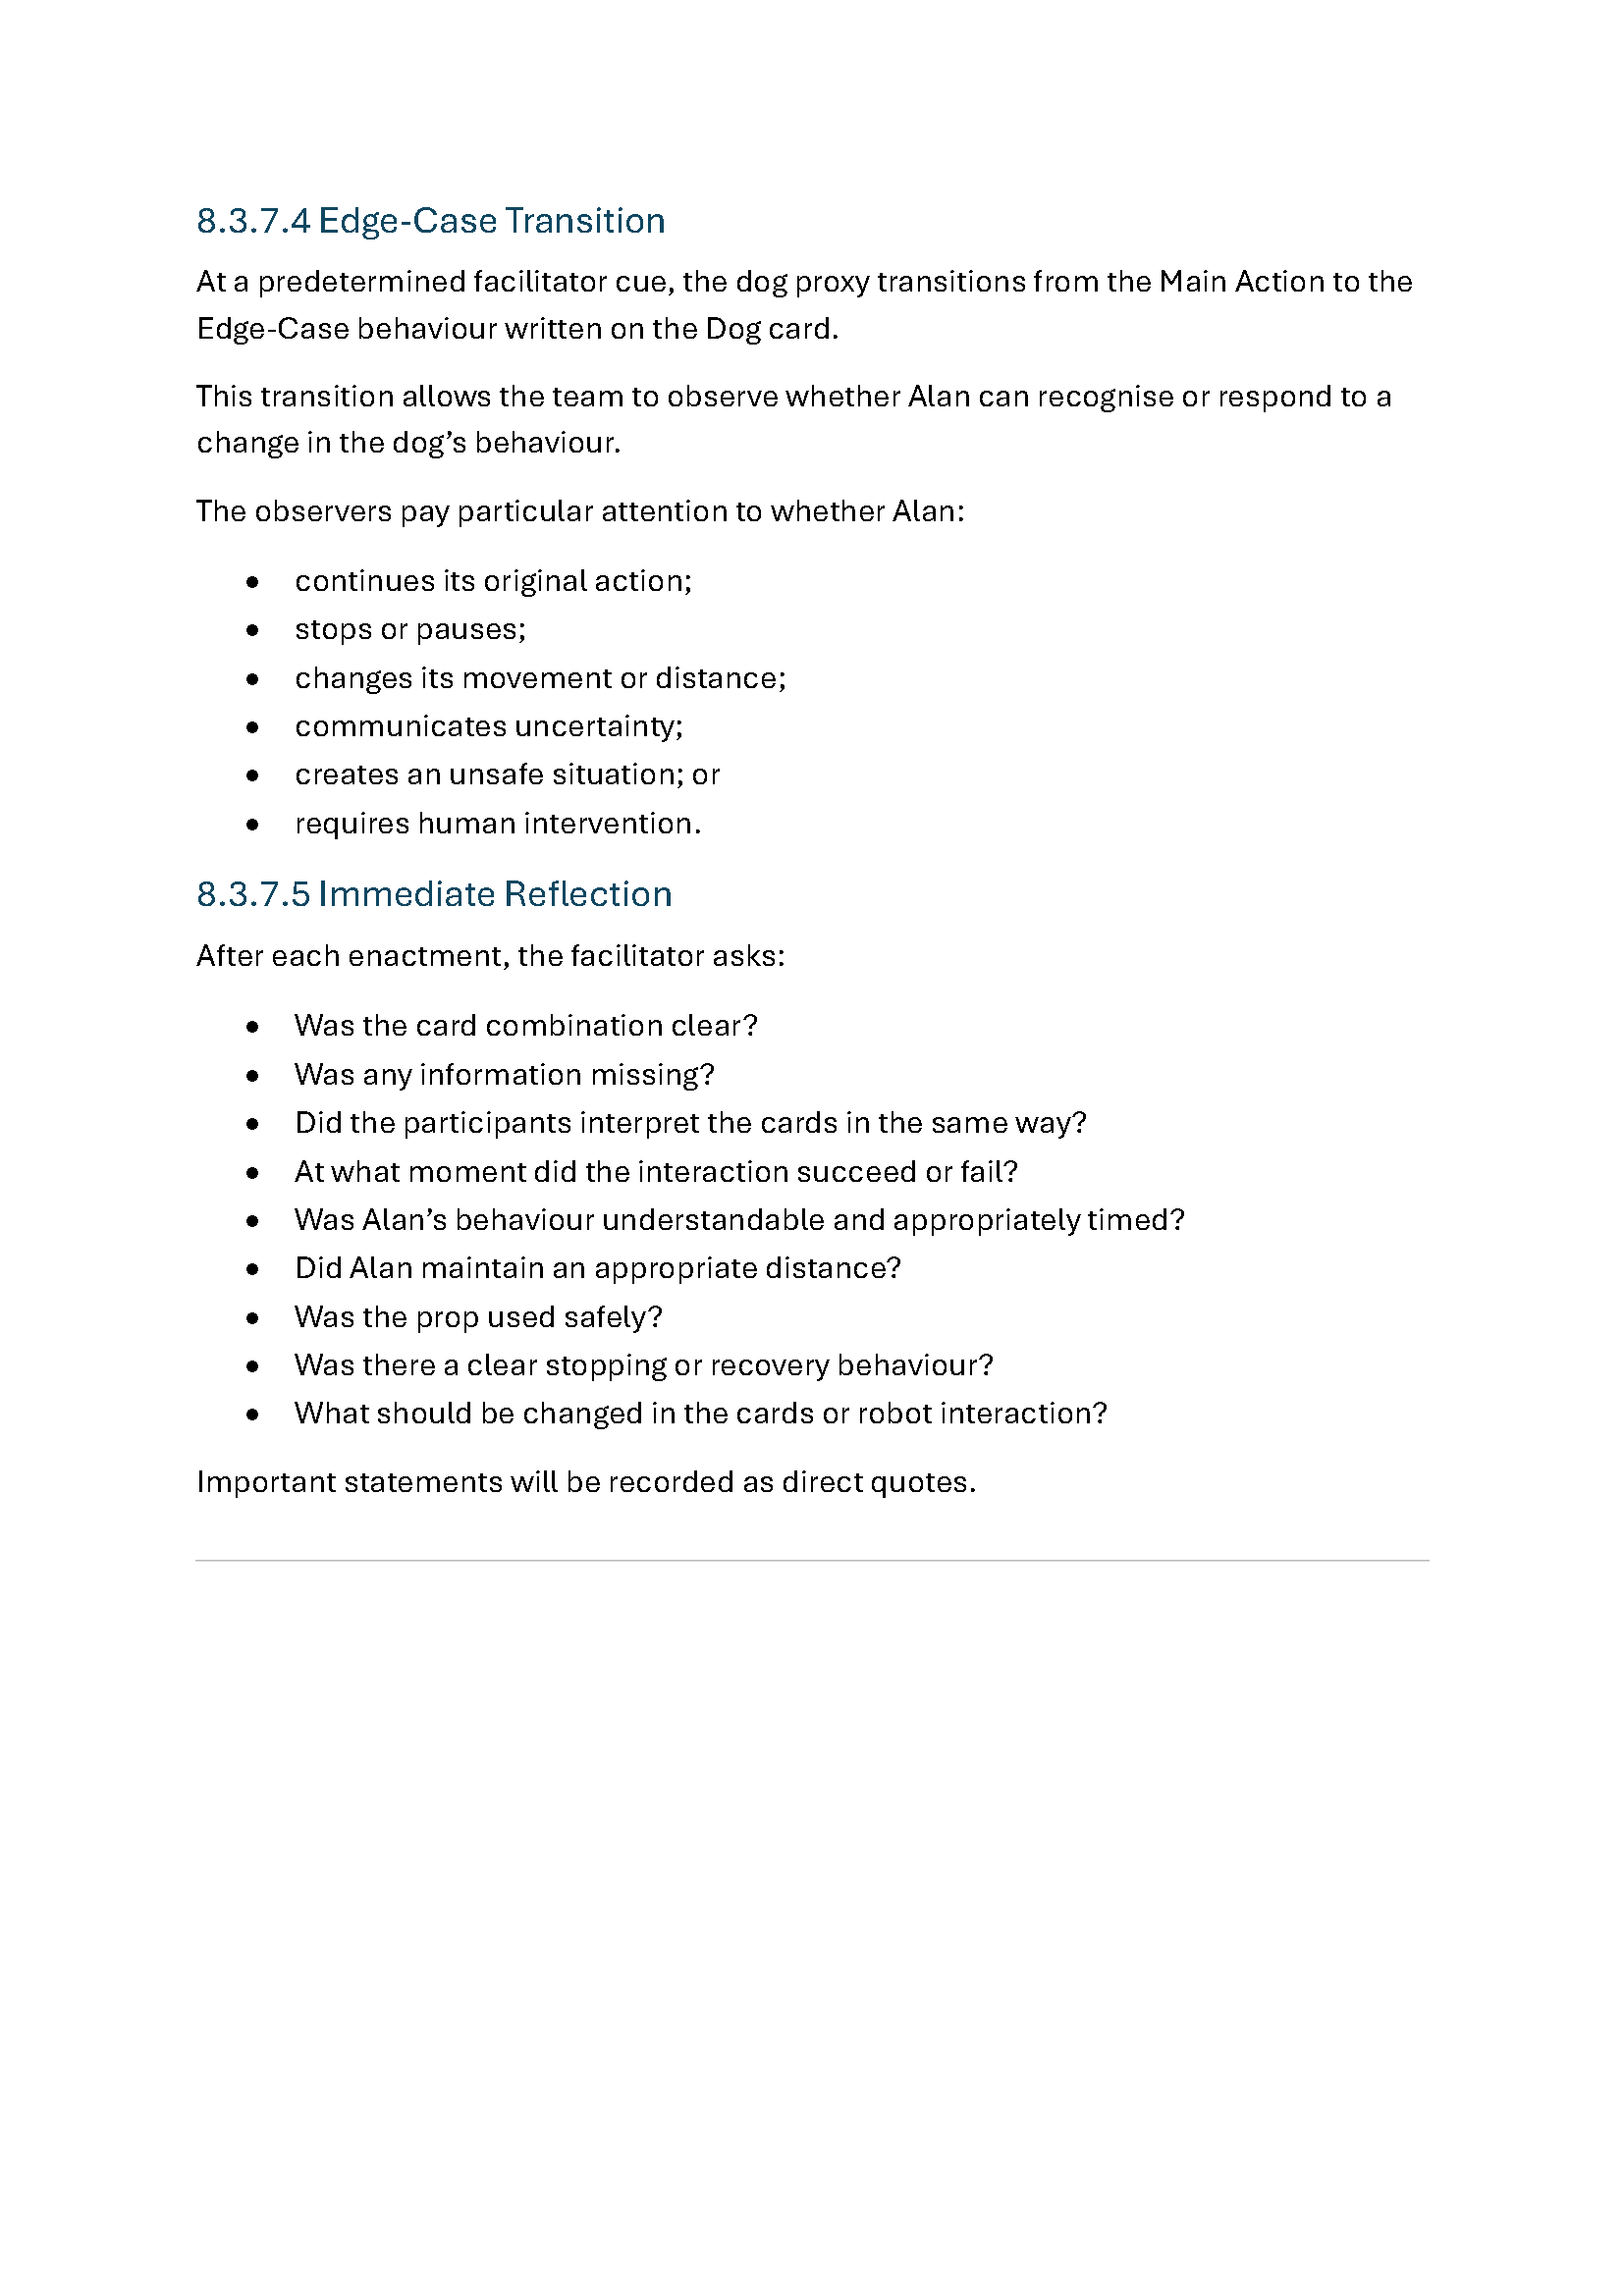
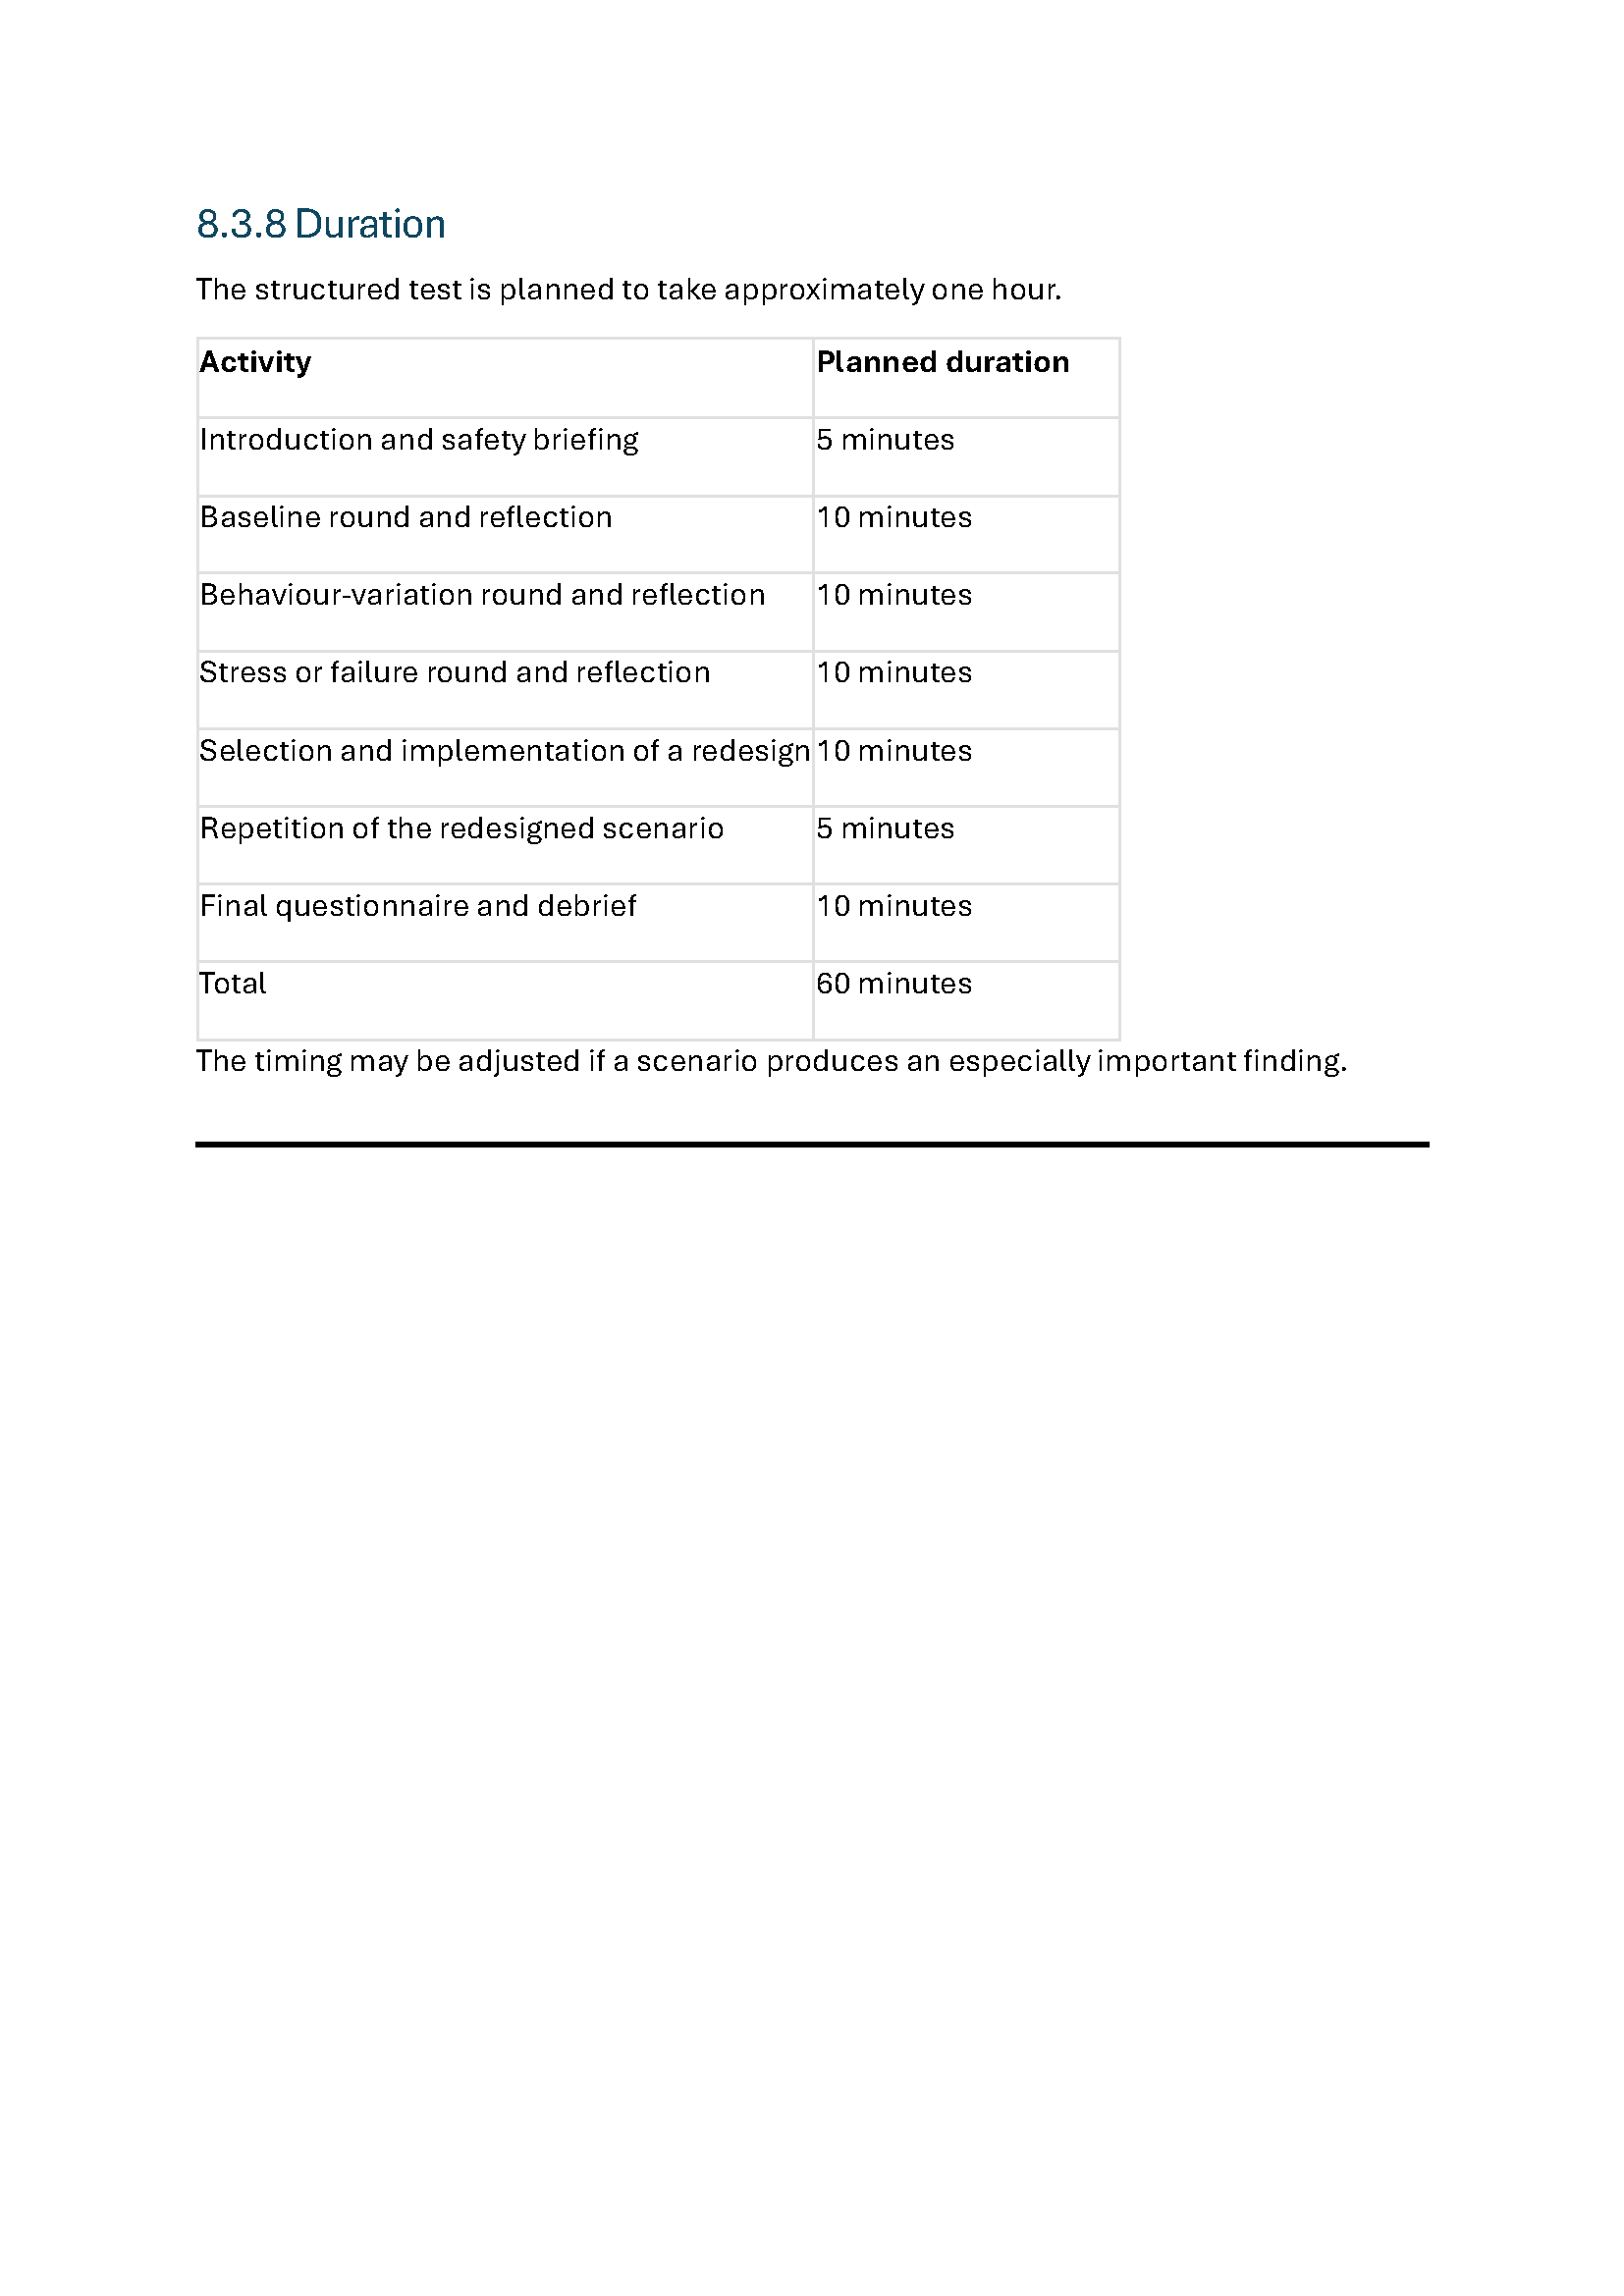
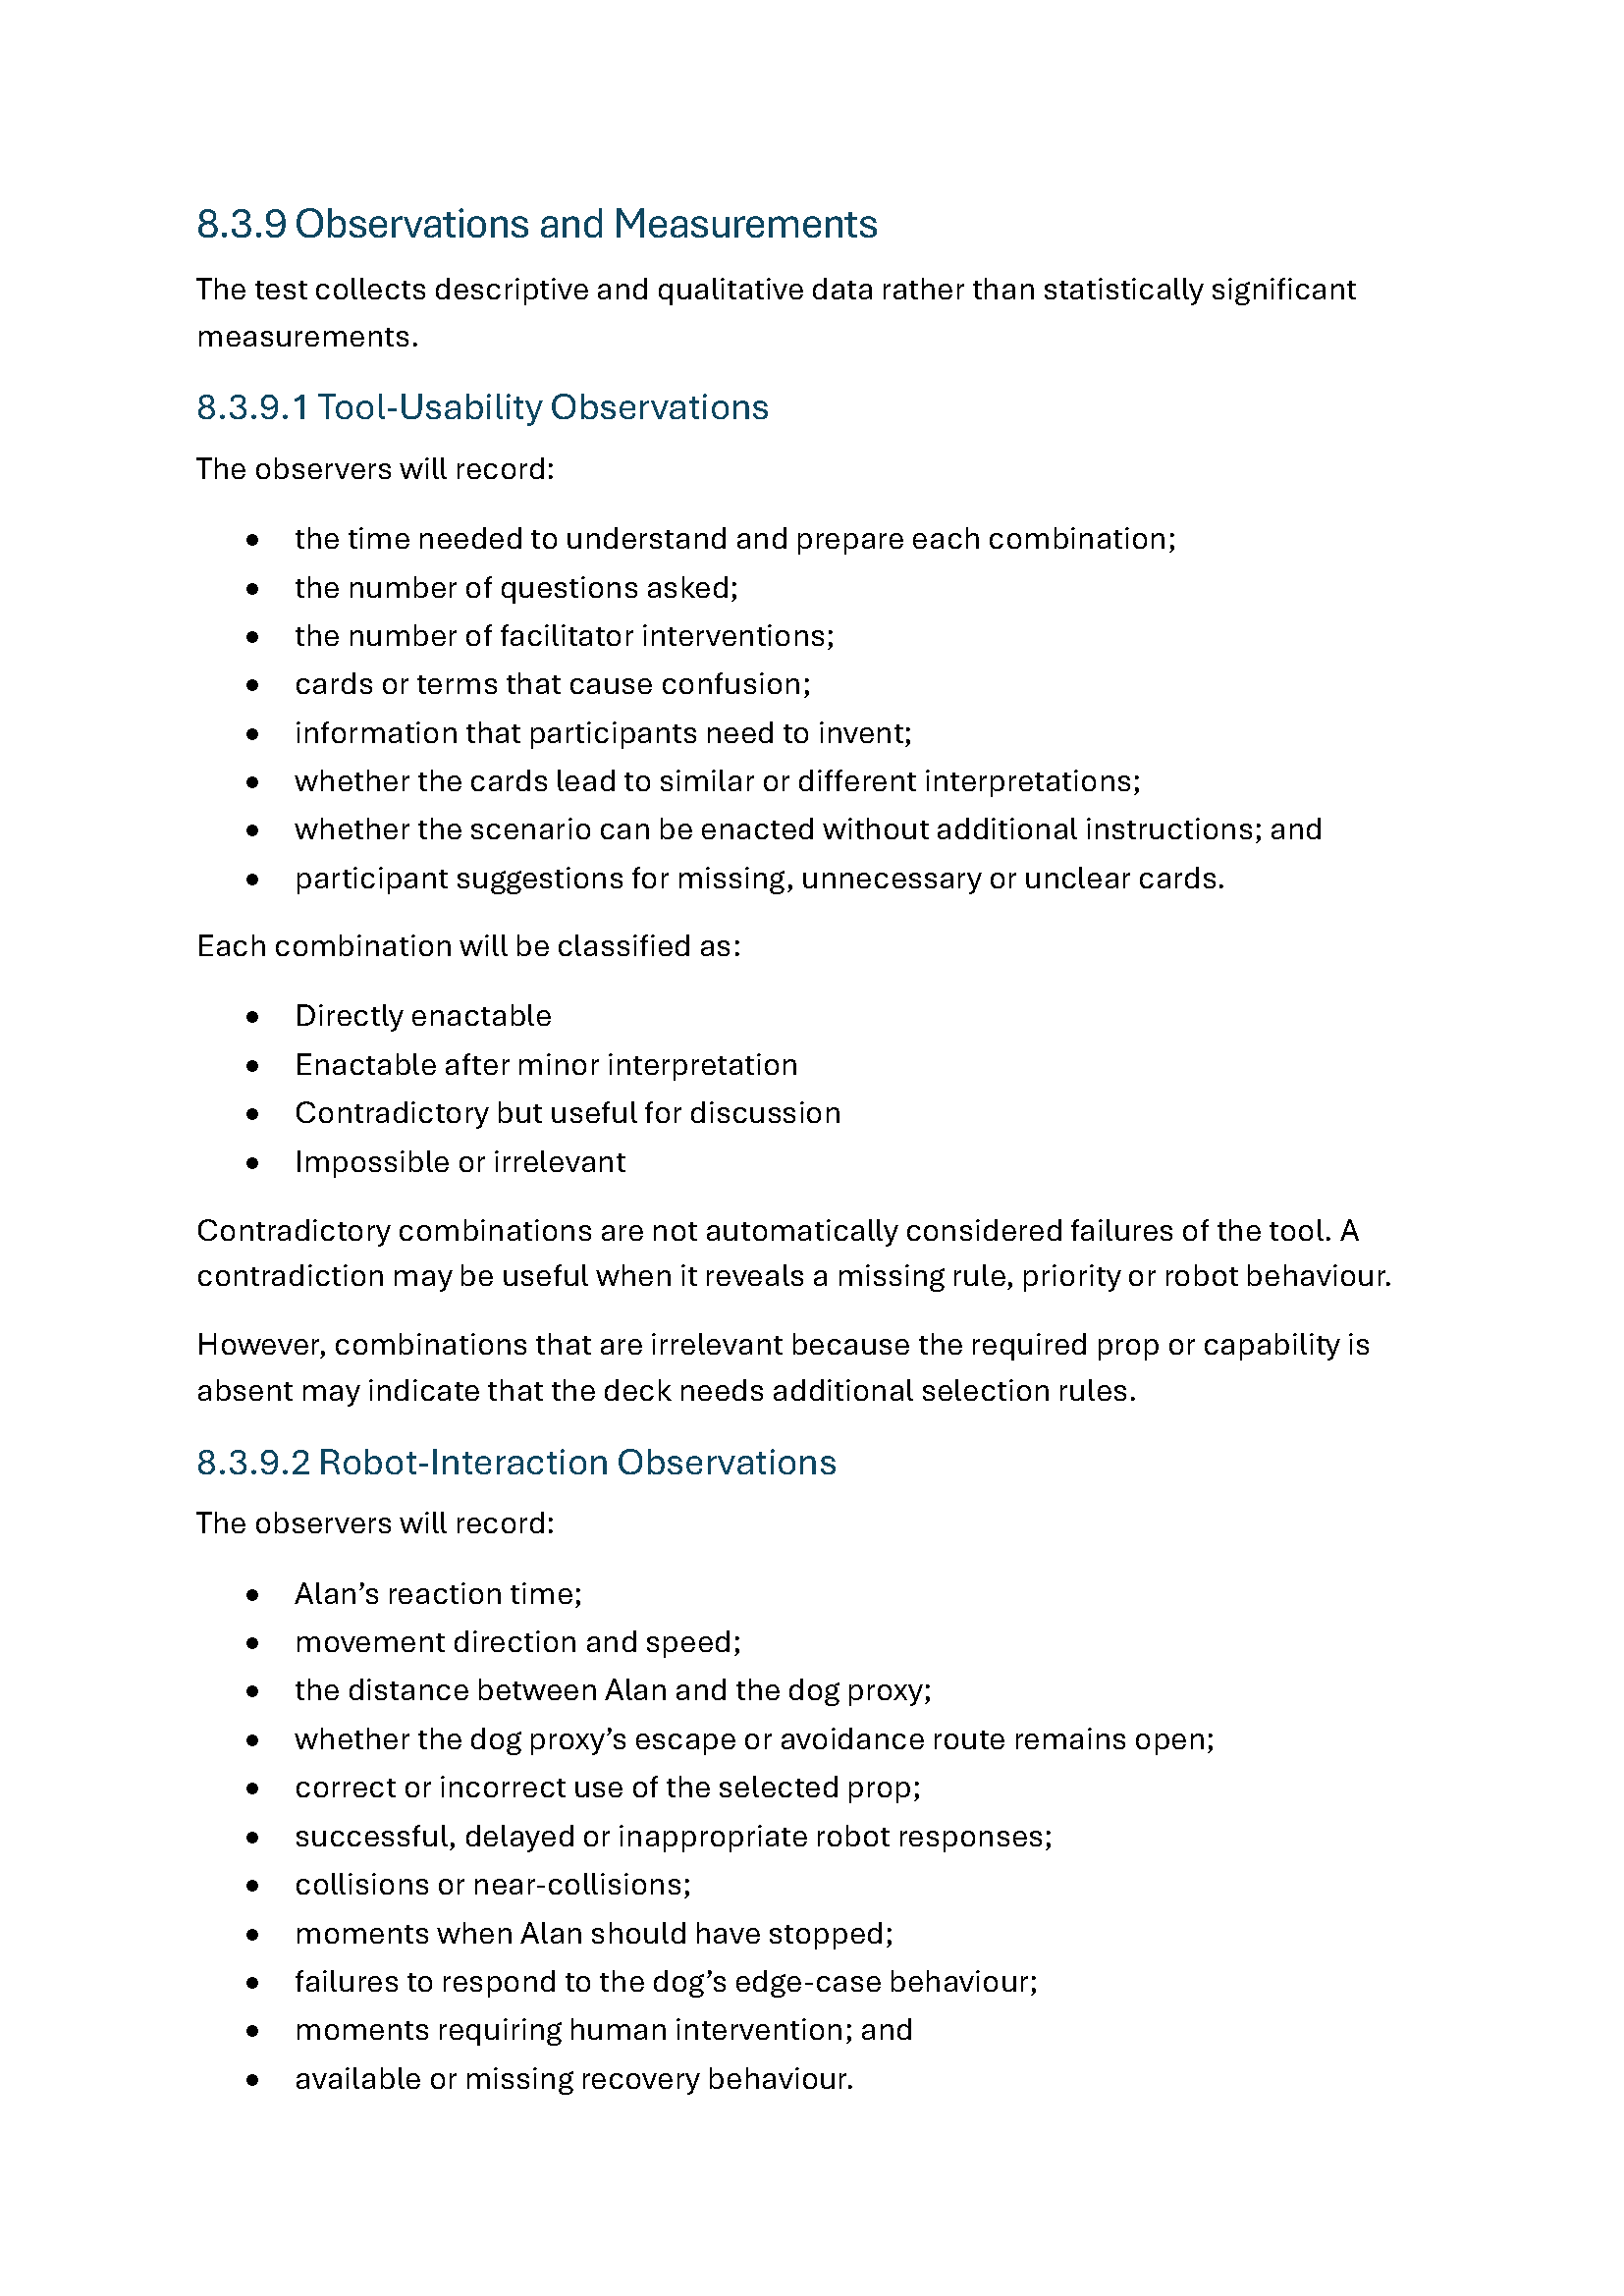
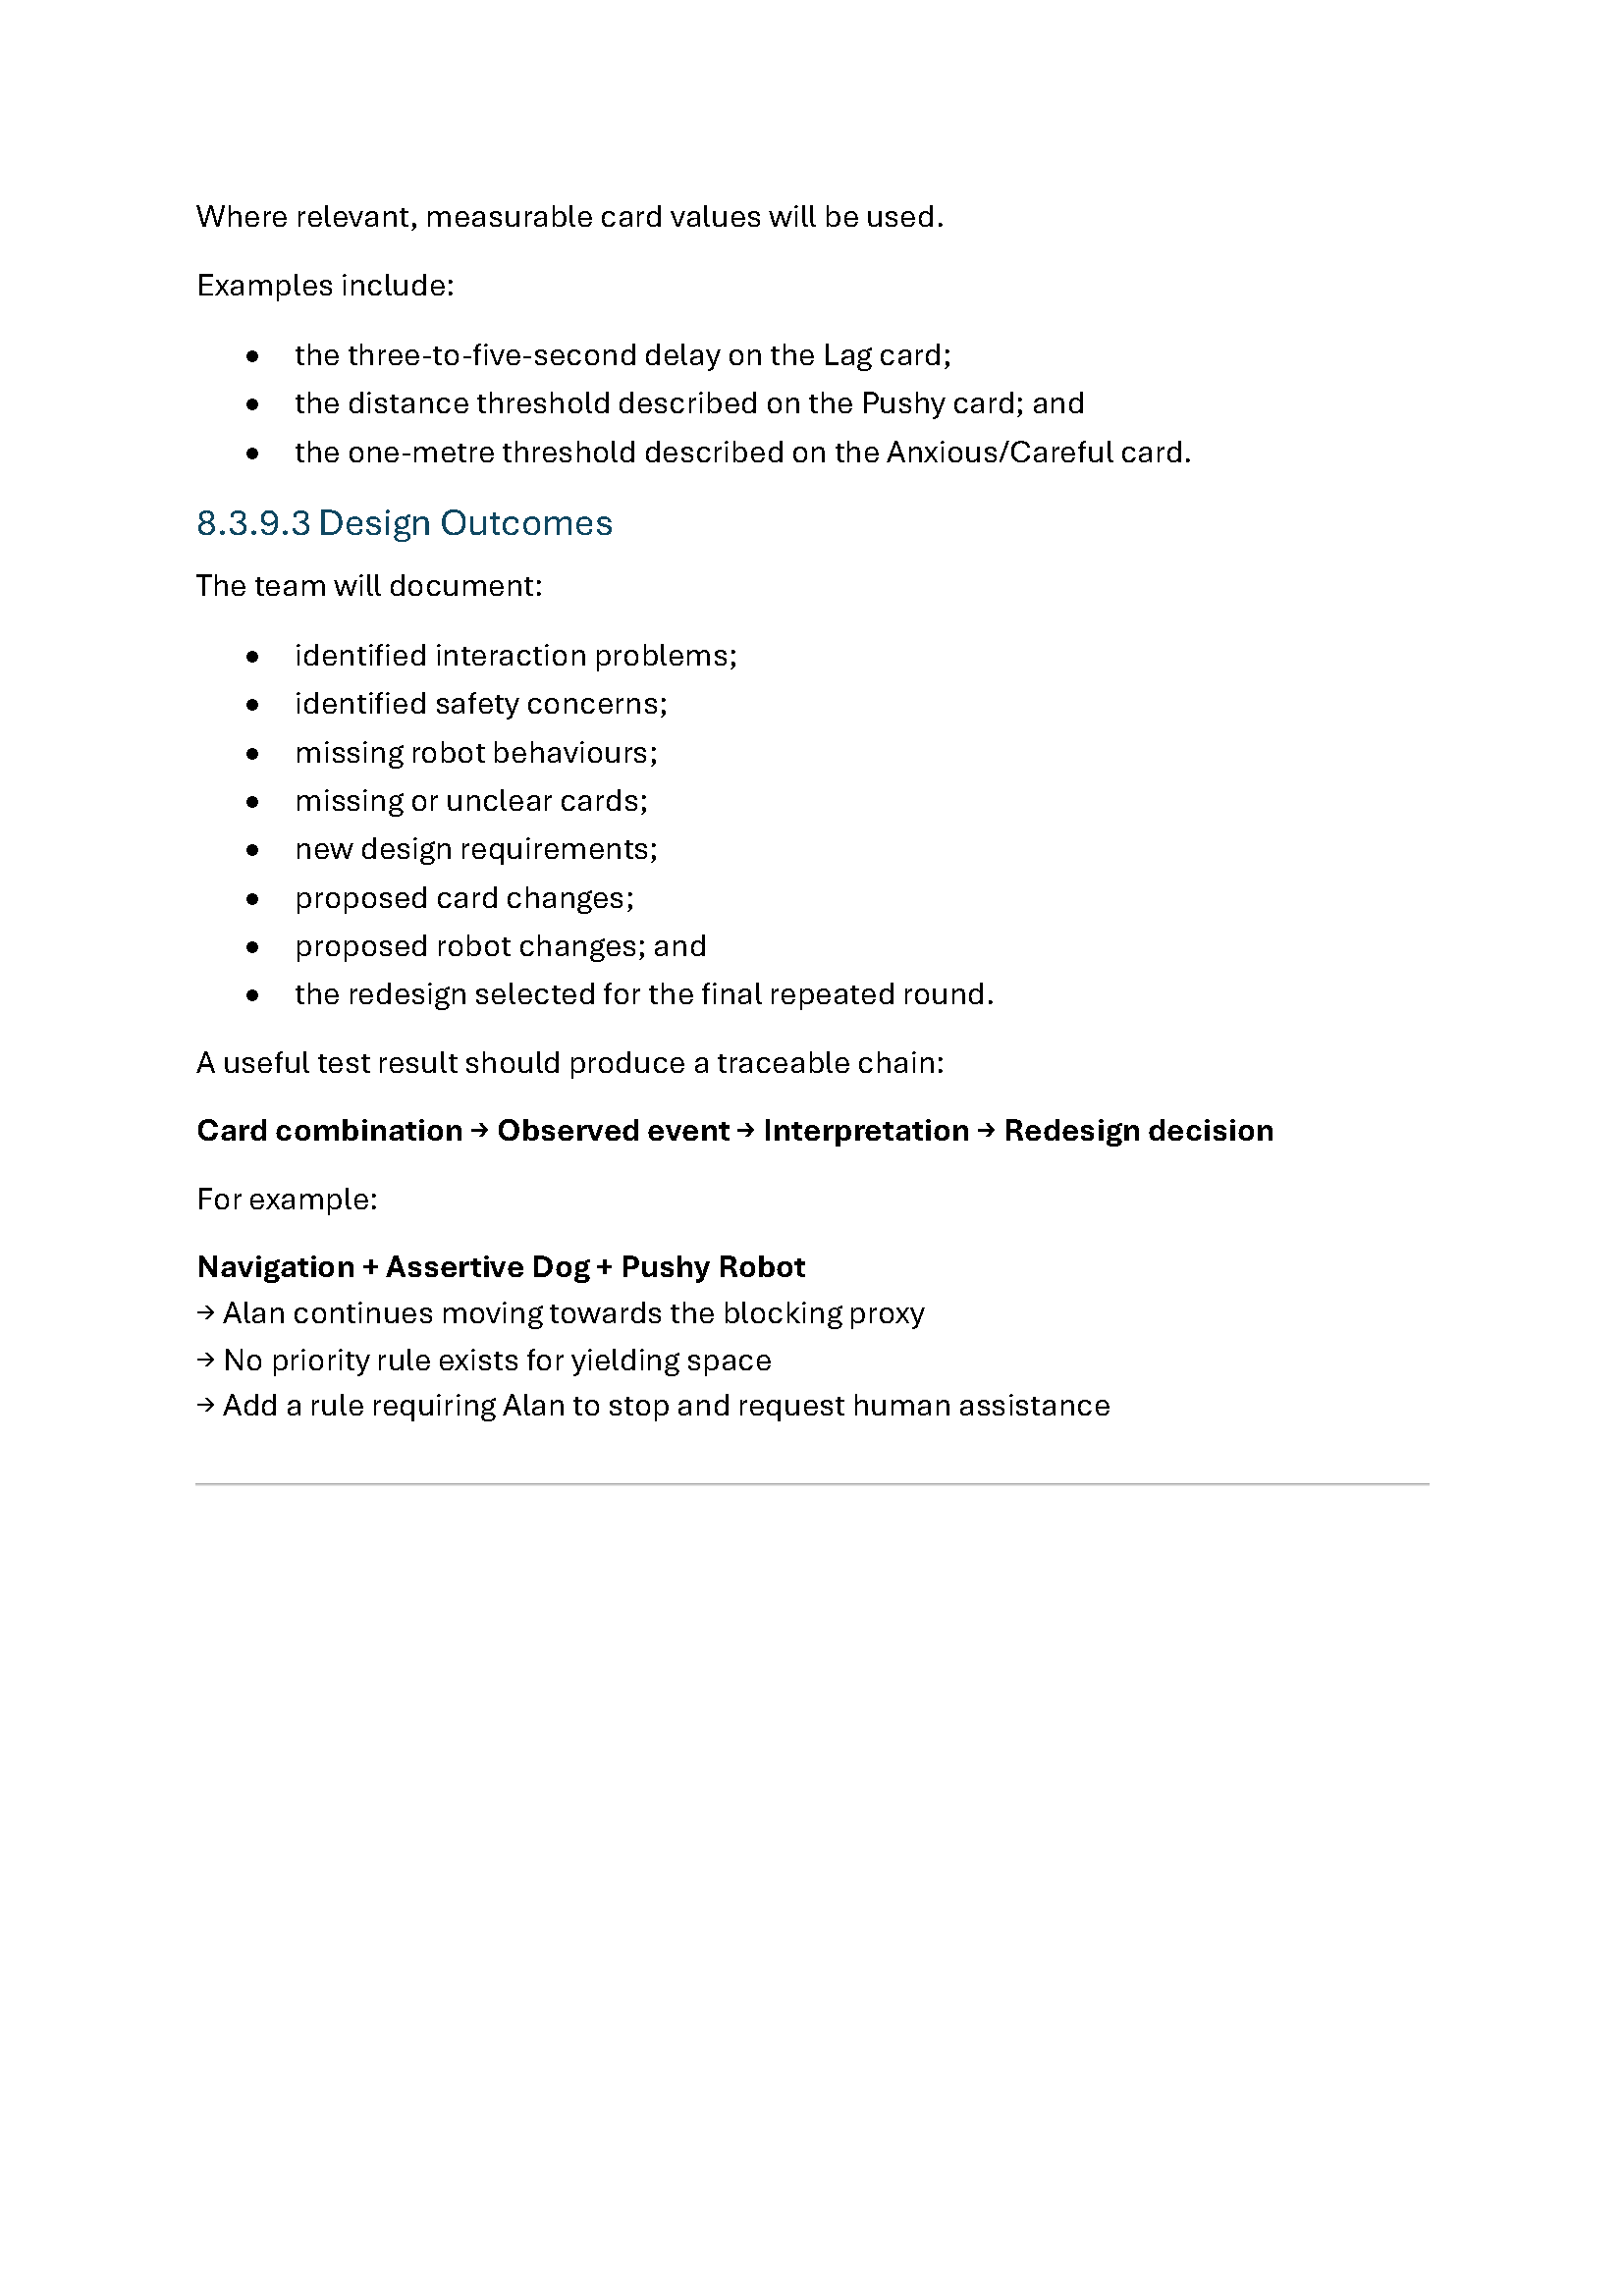
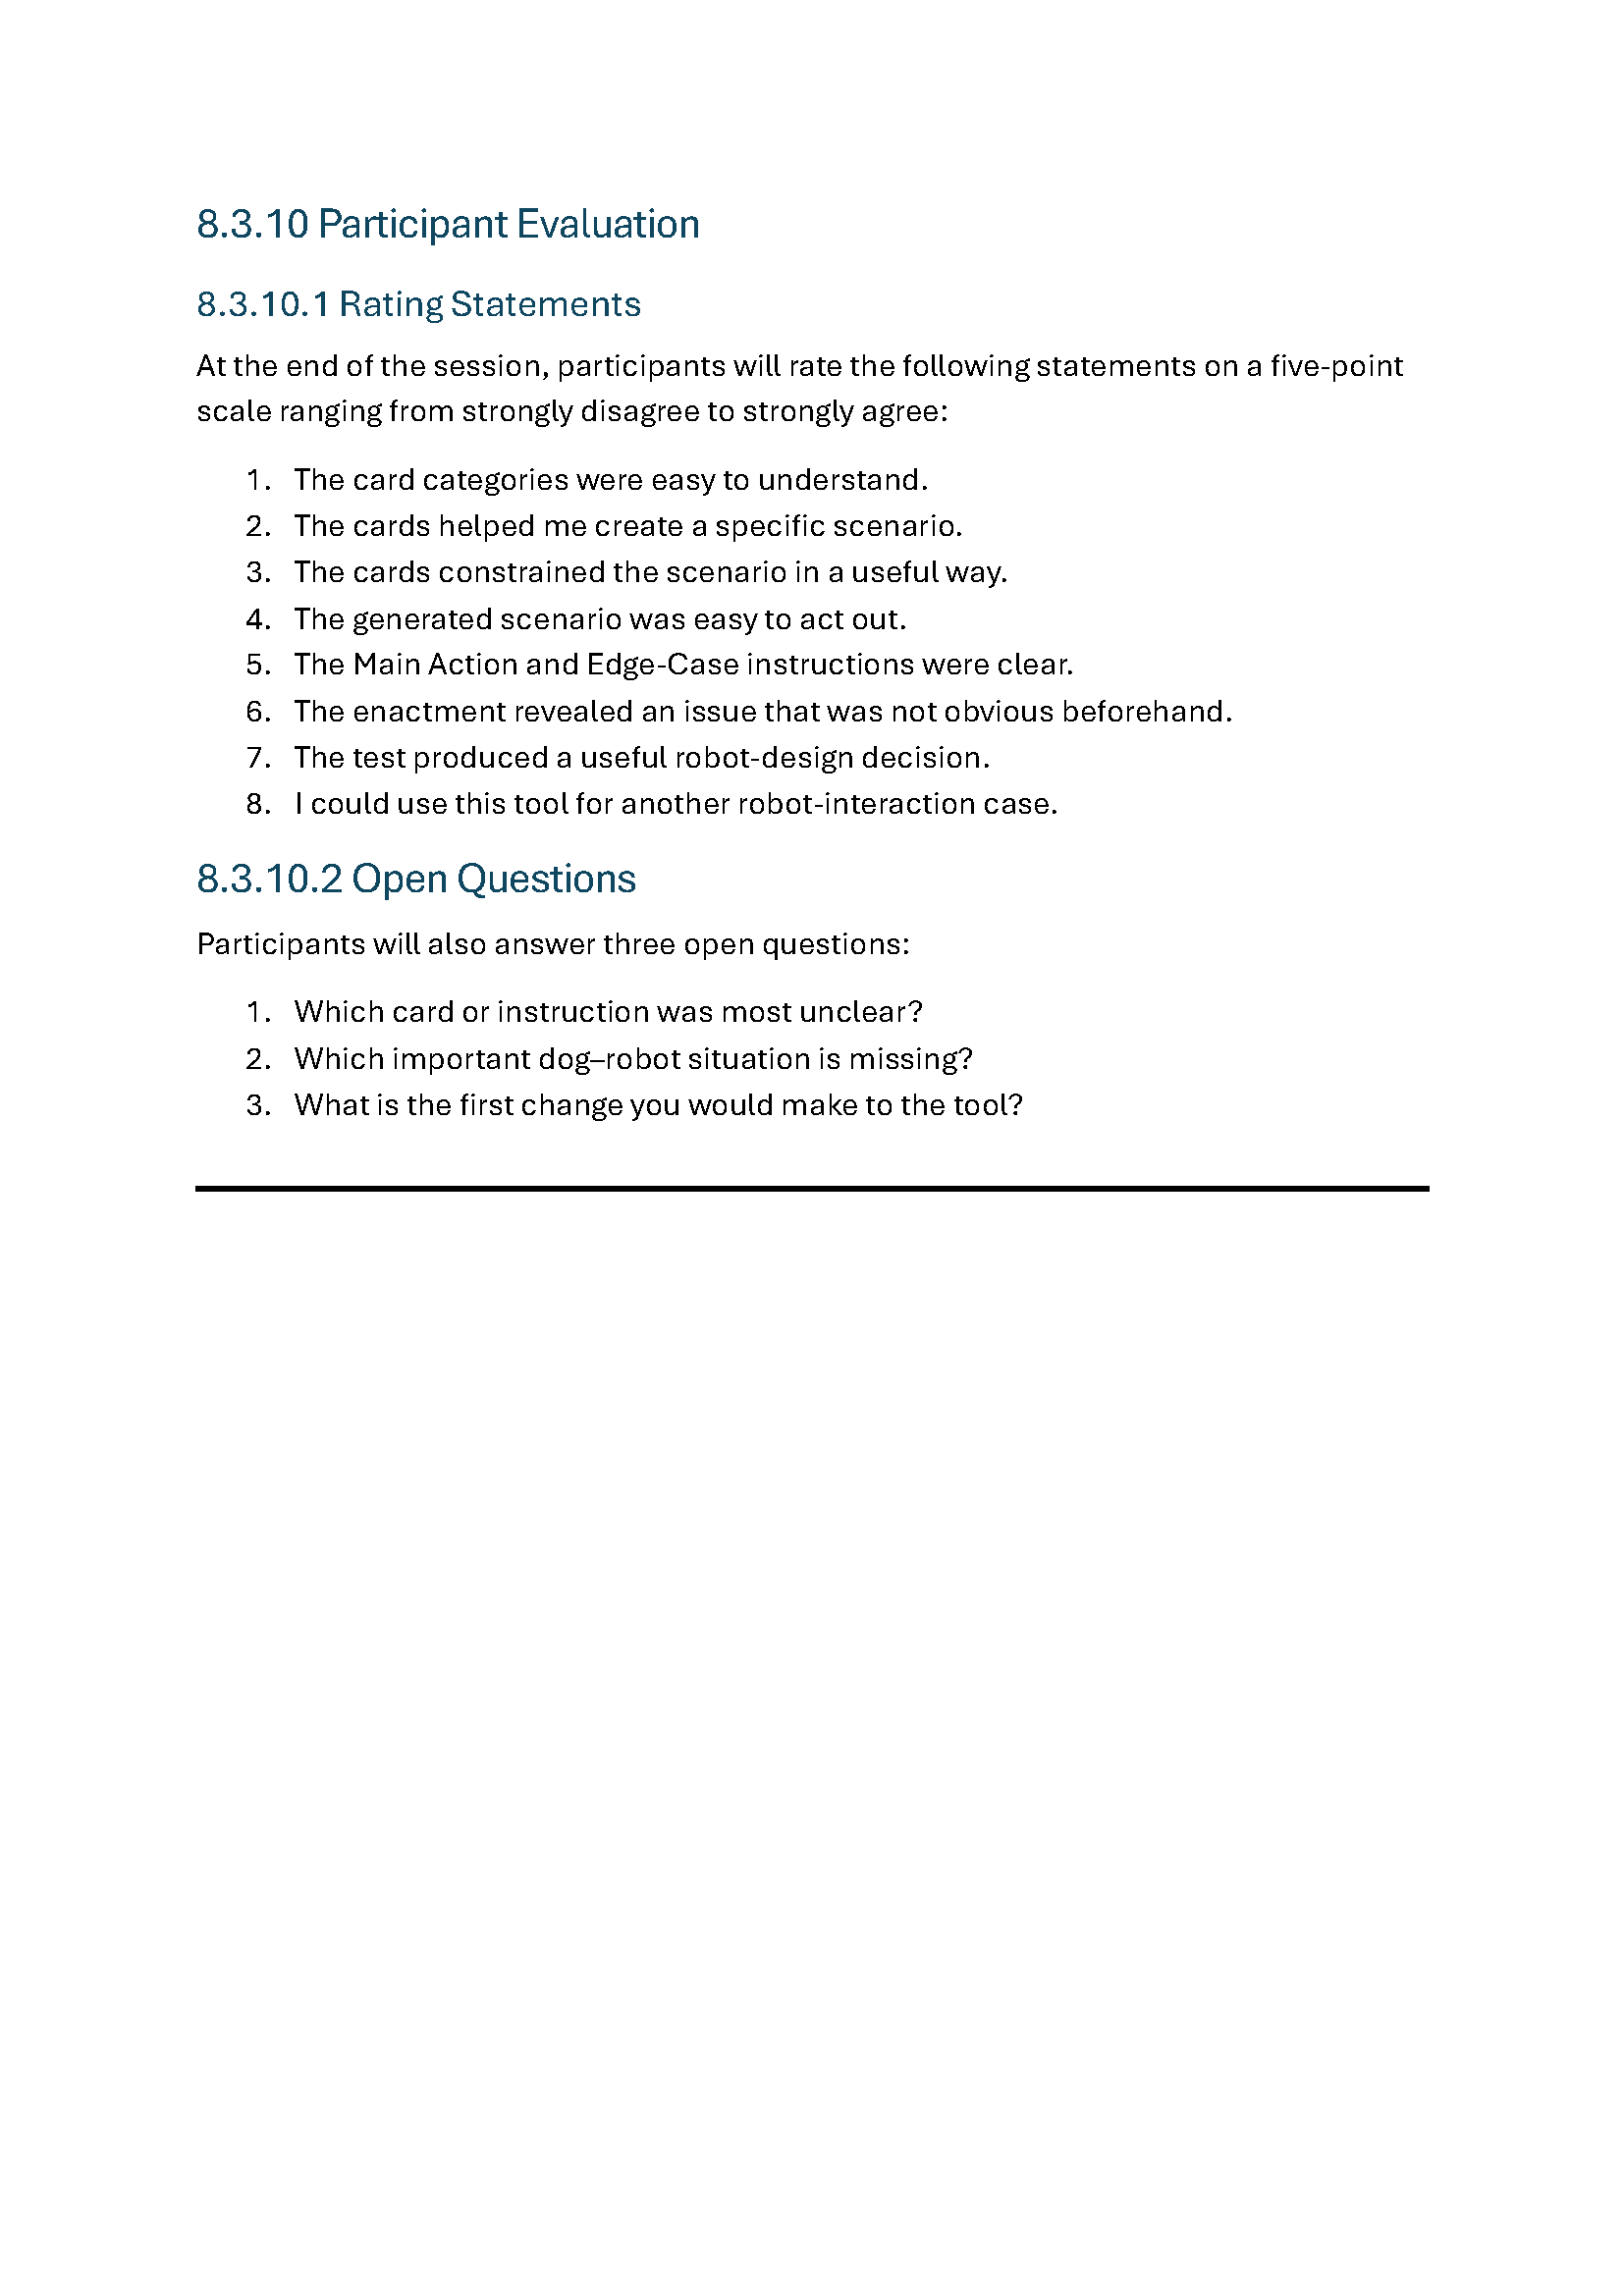
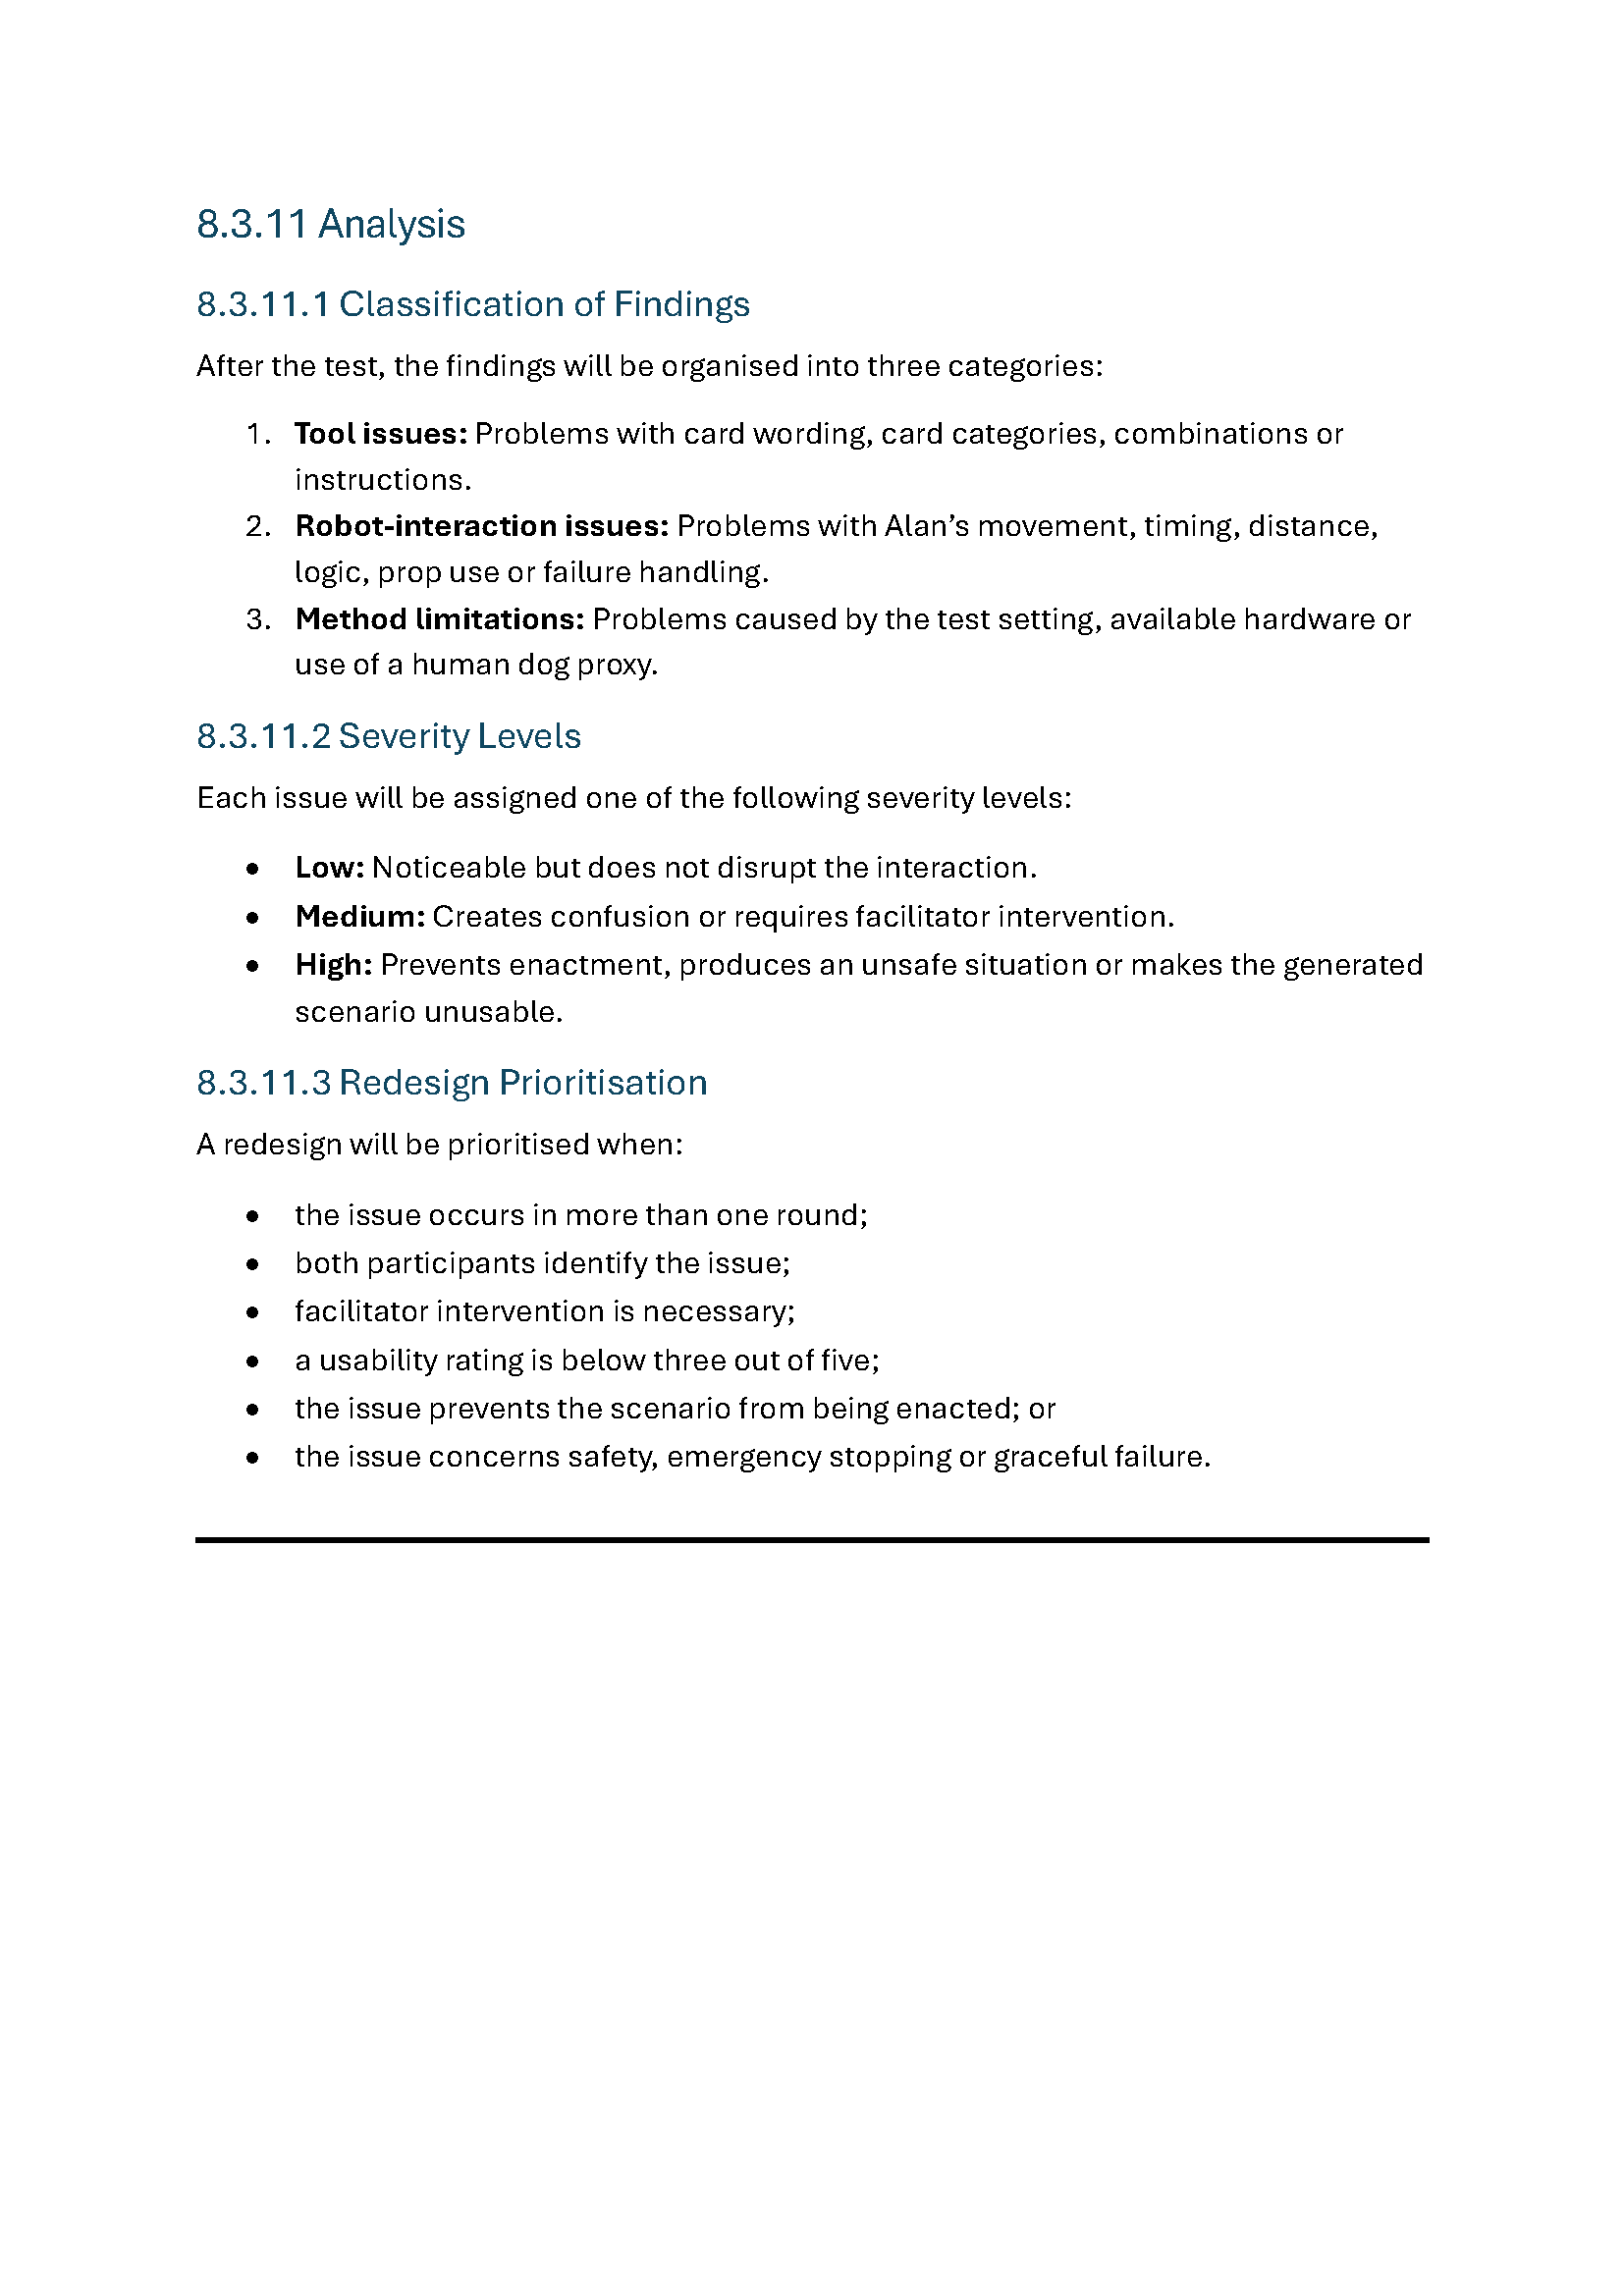
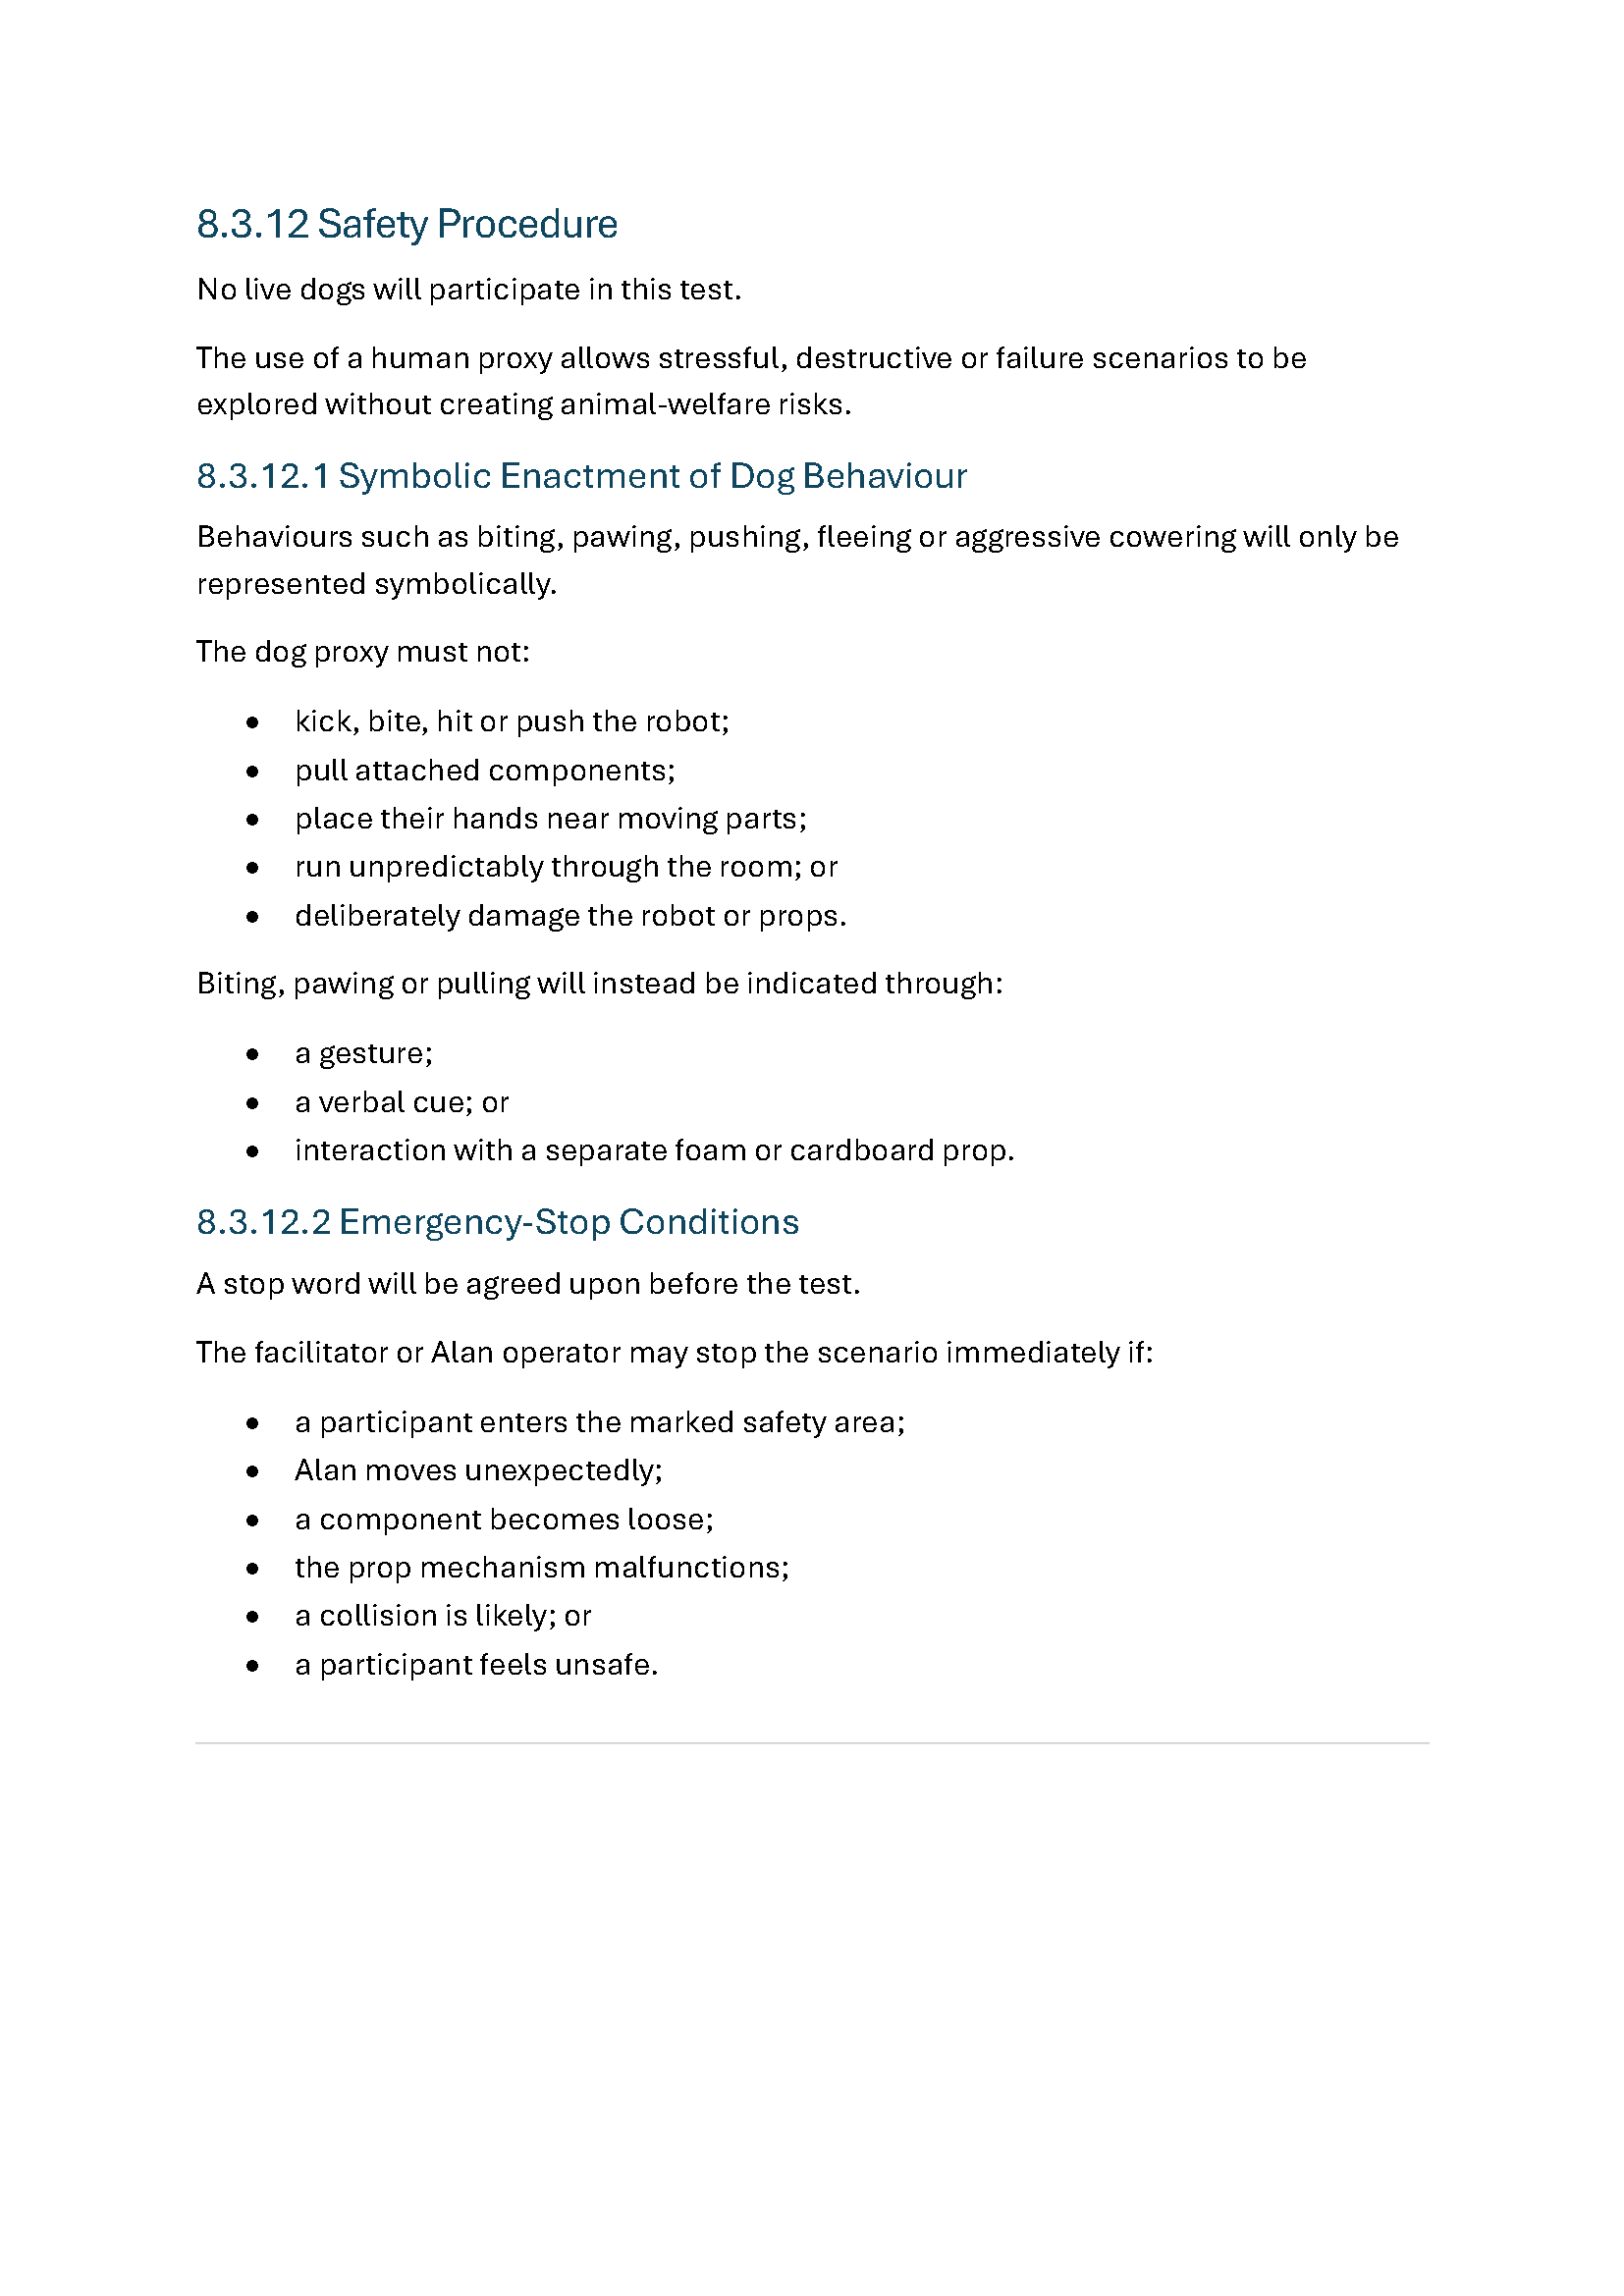
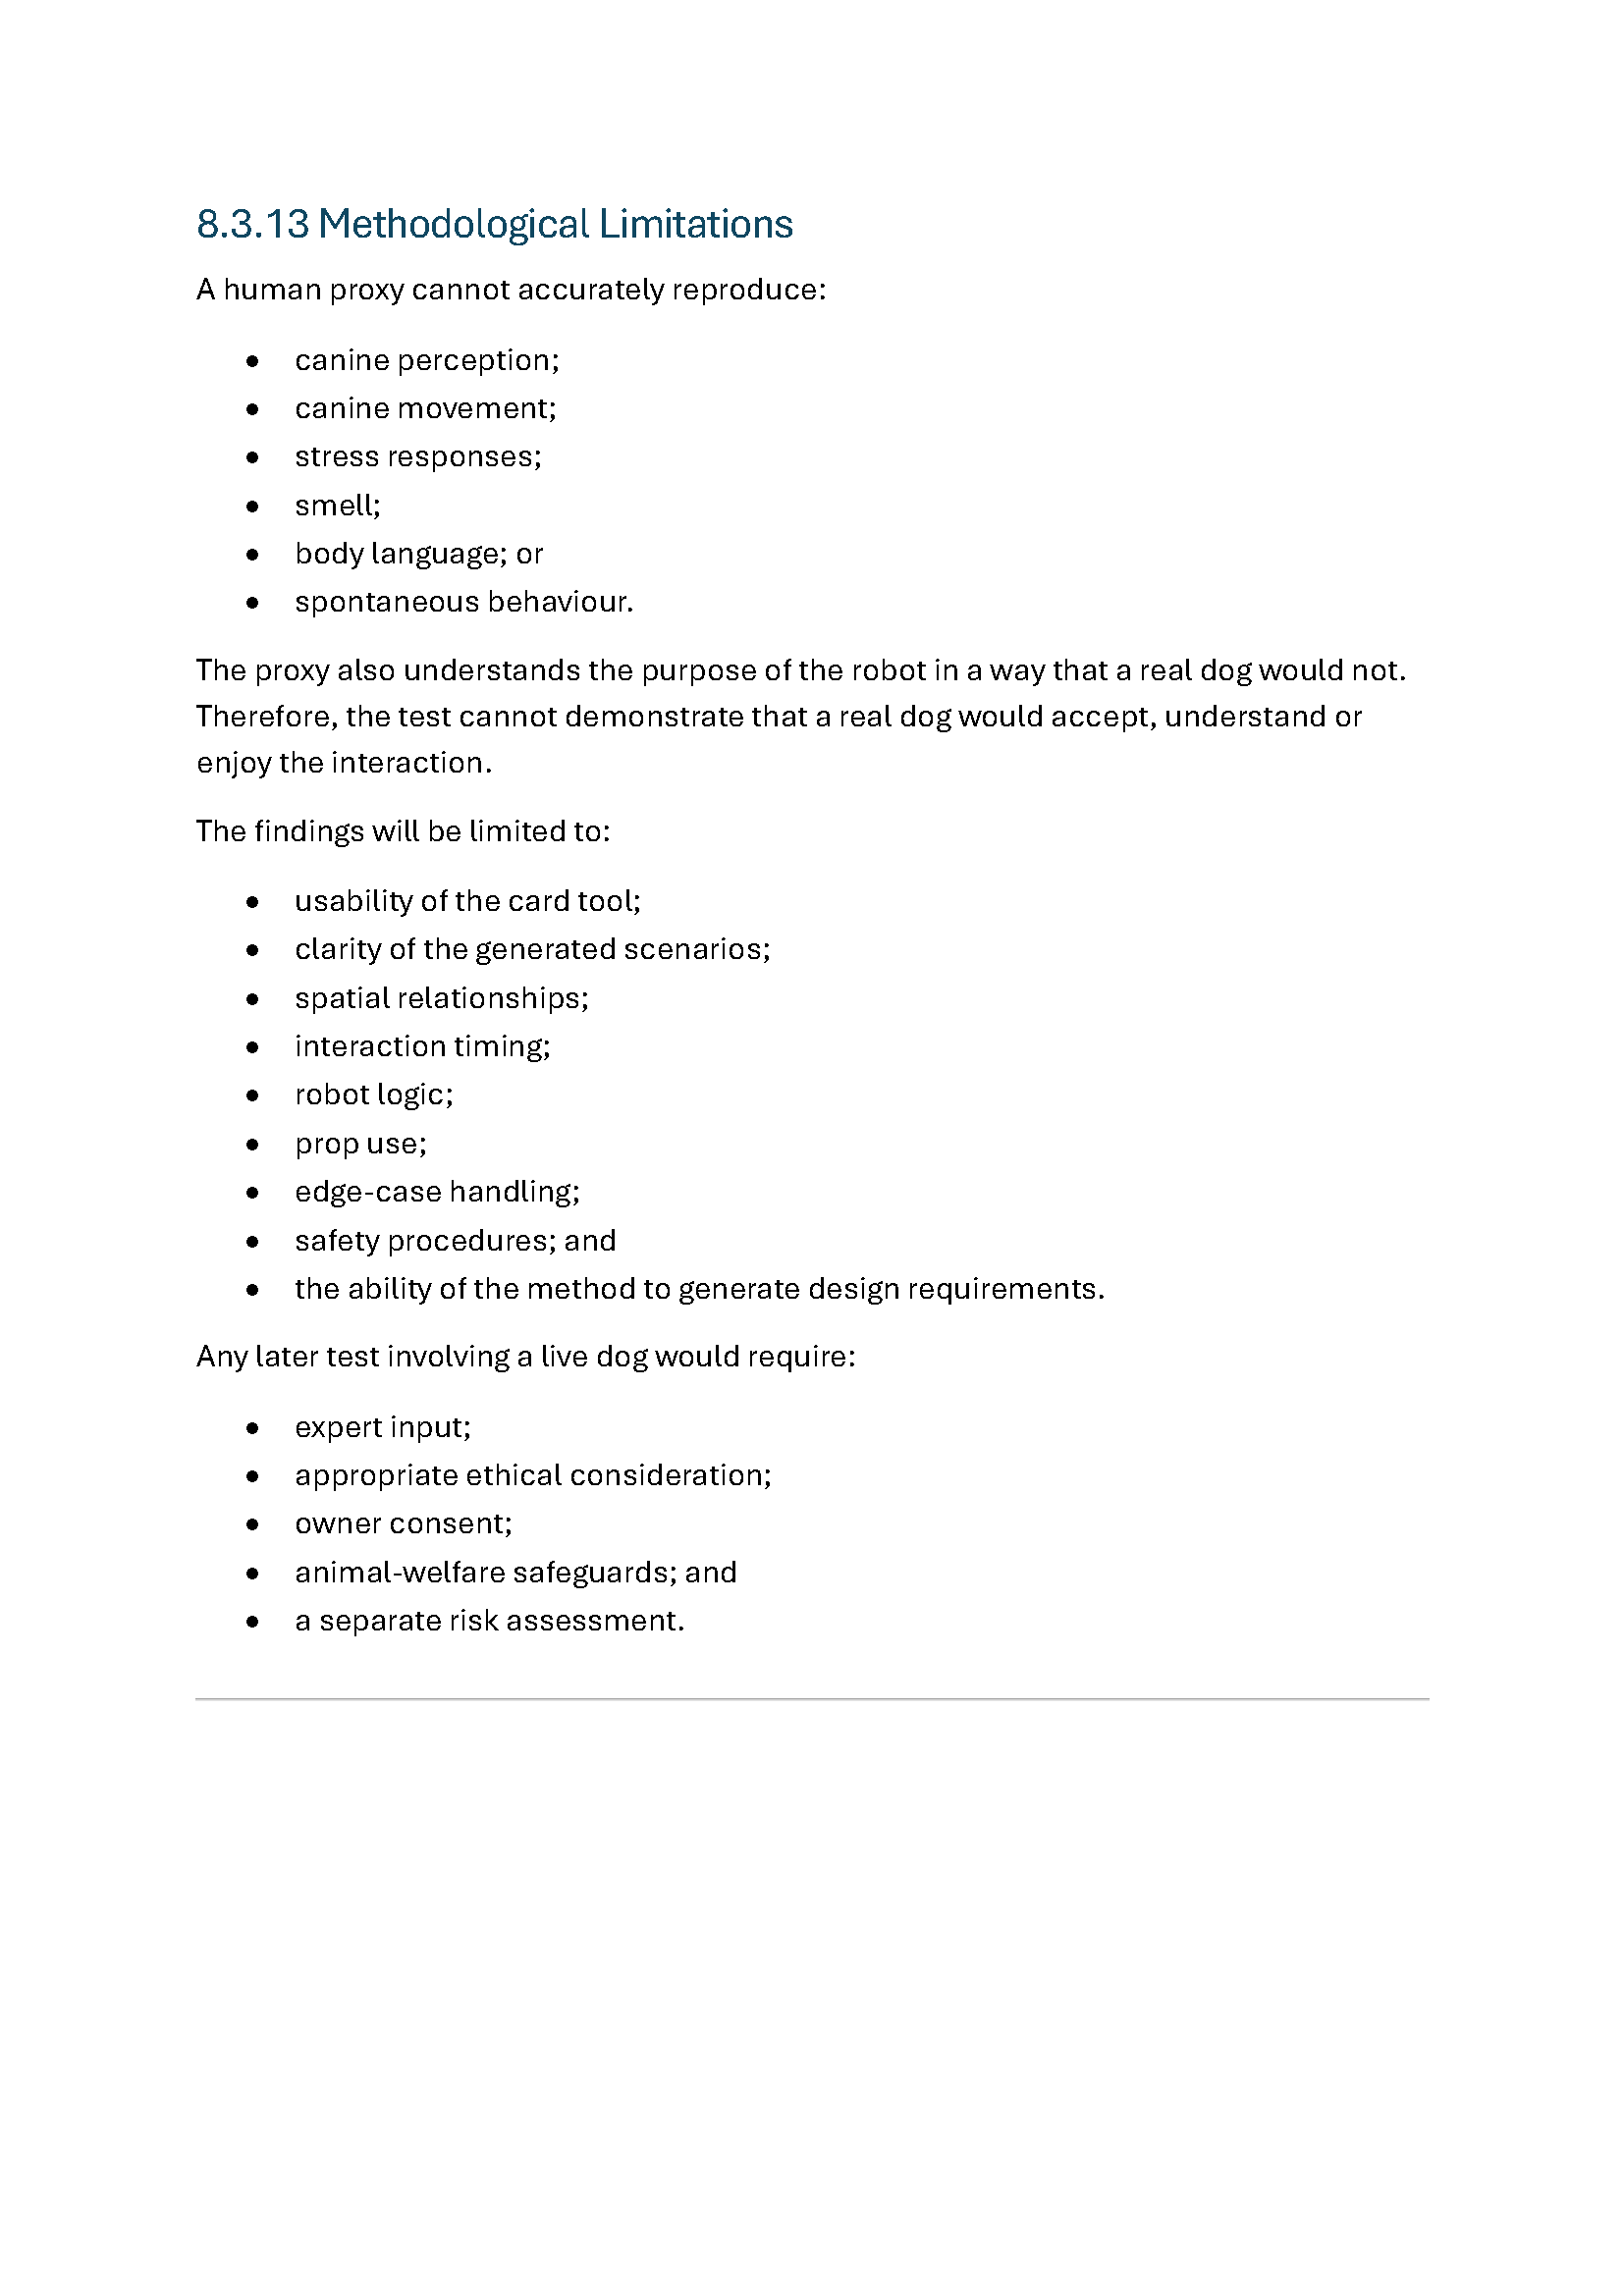
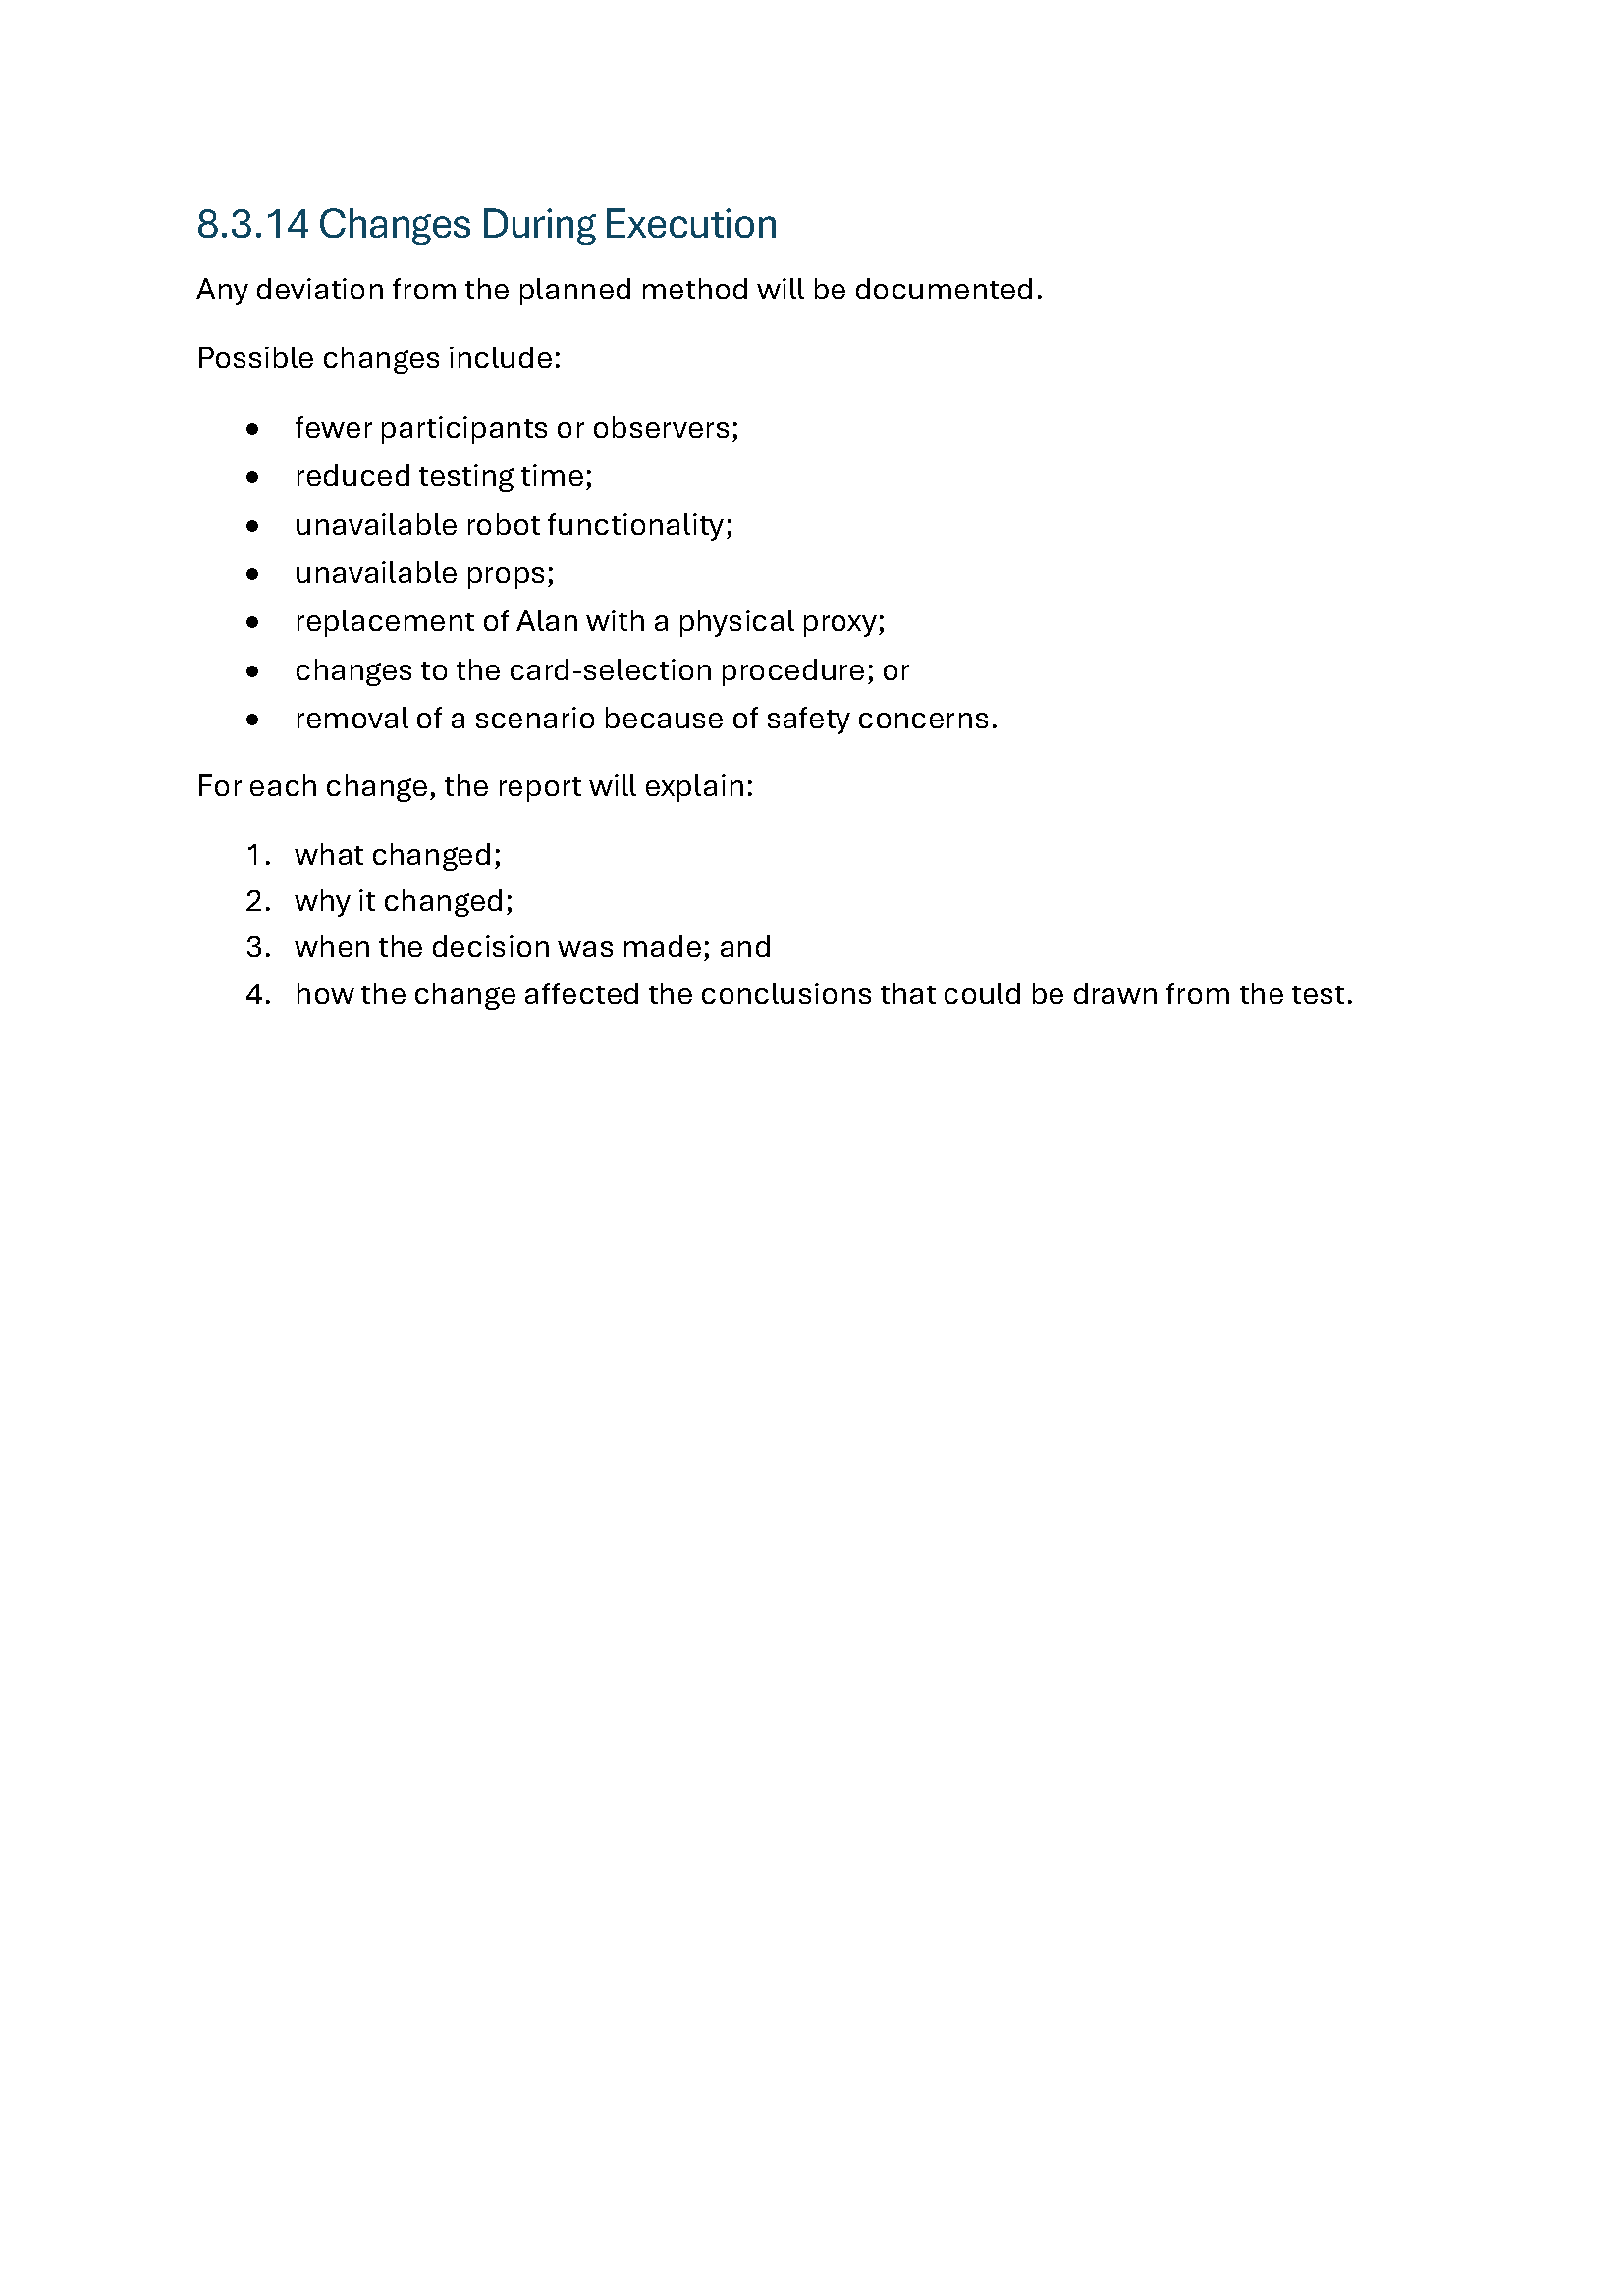
4. Observations
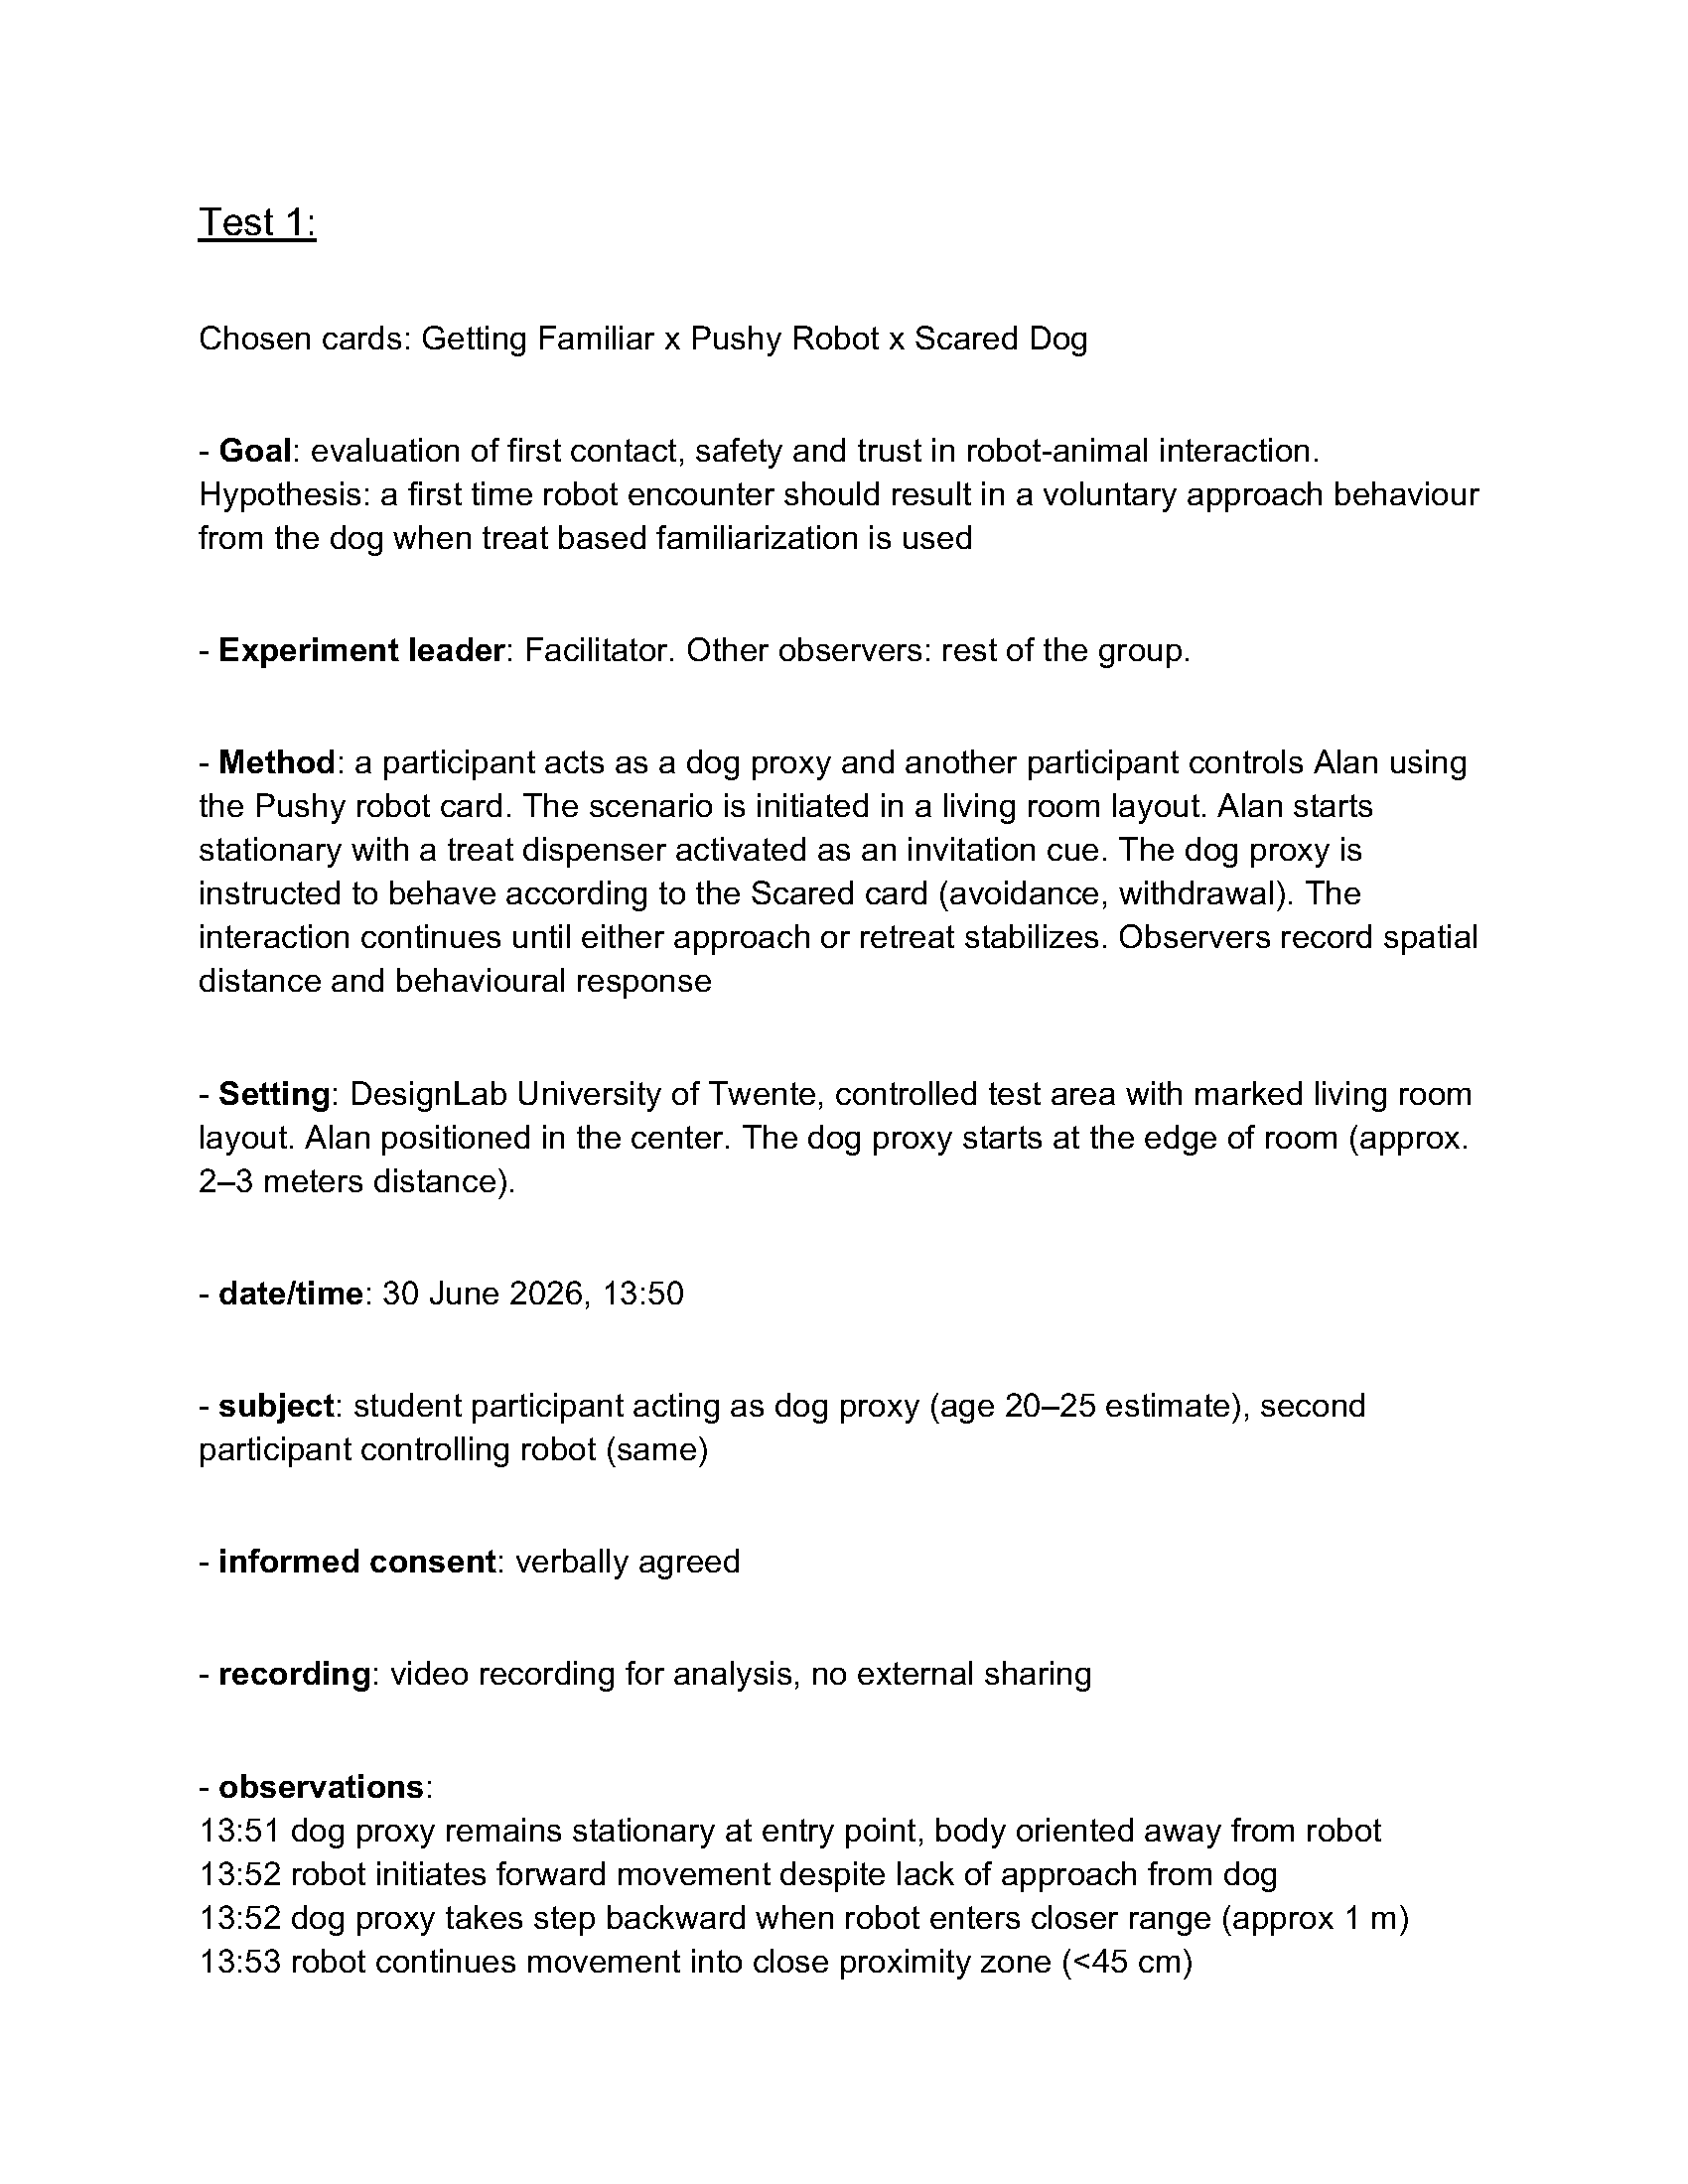
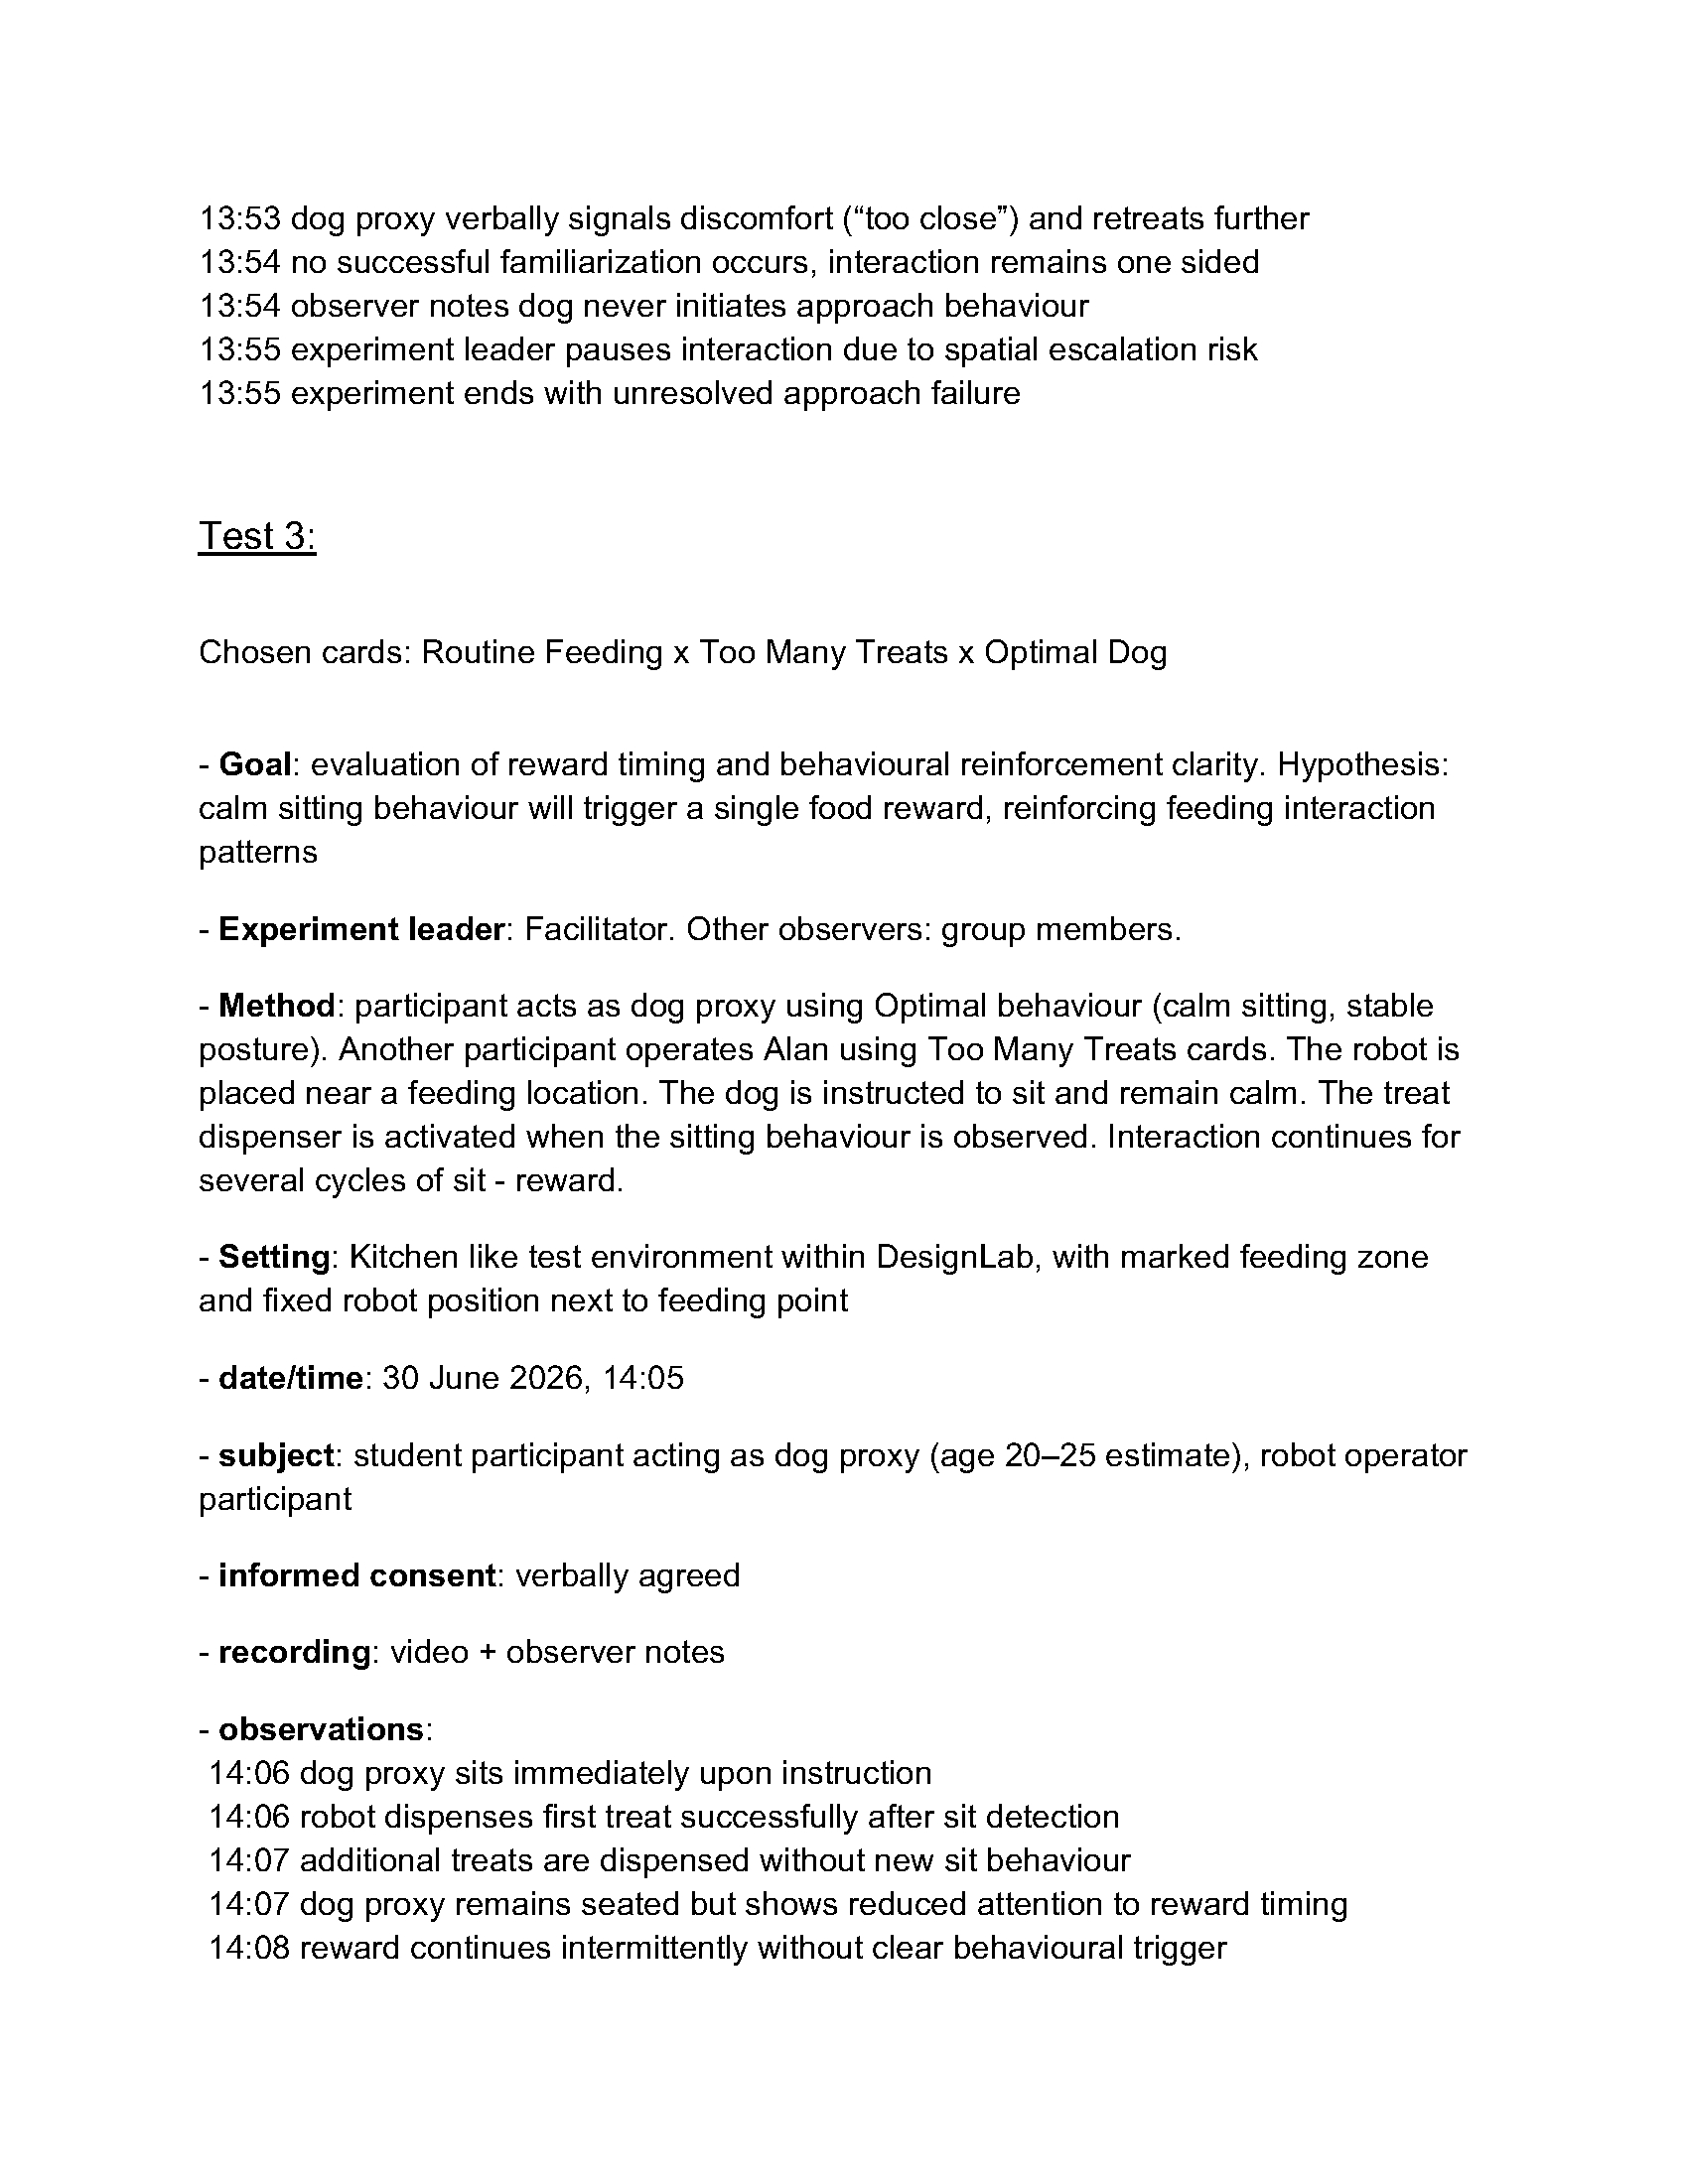
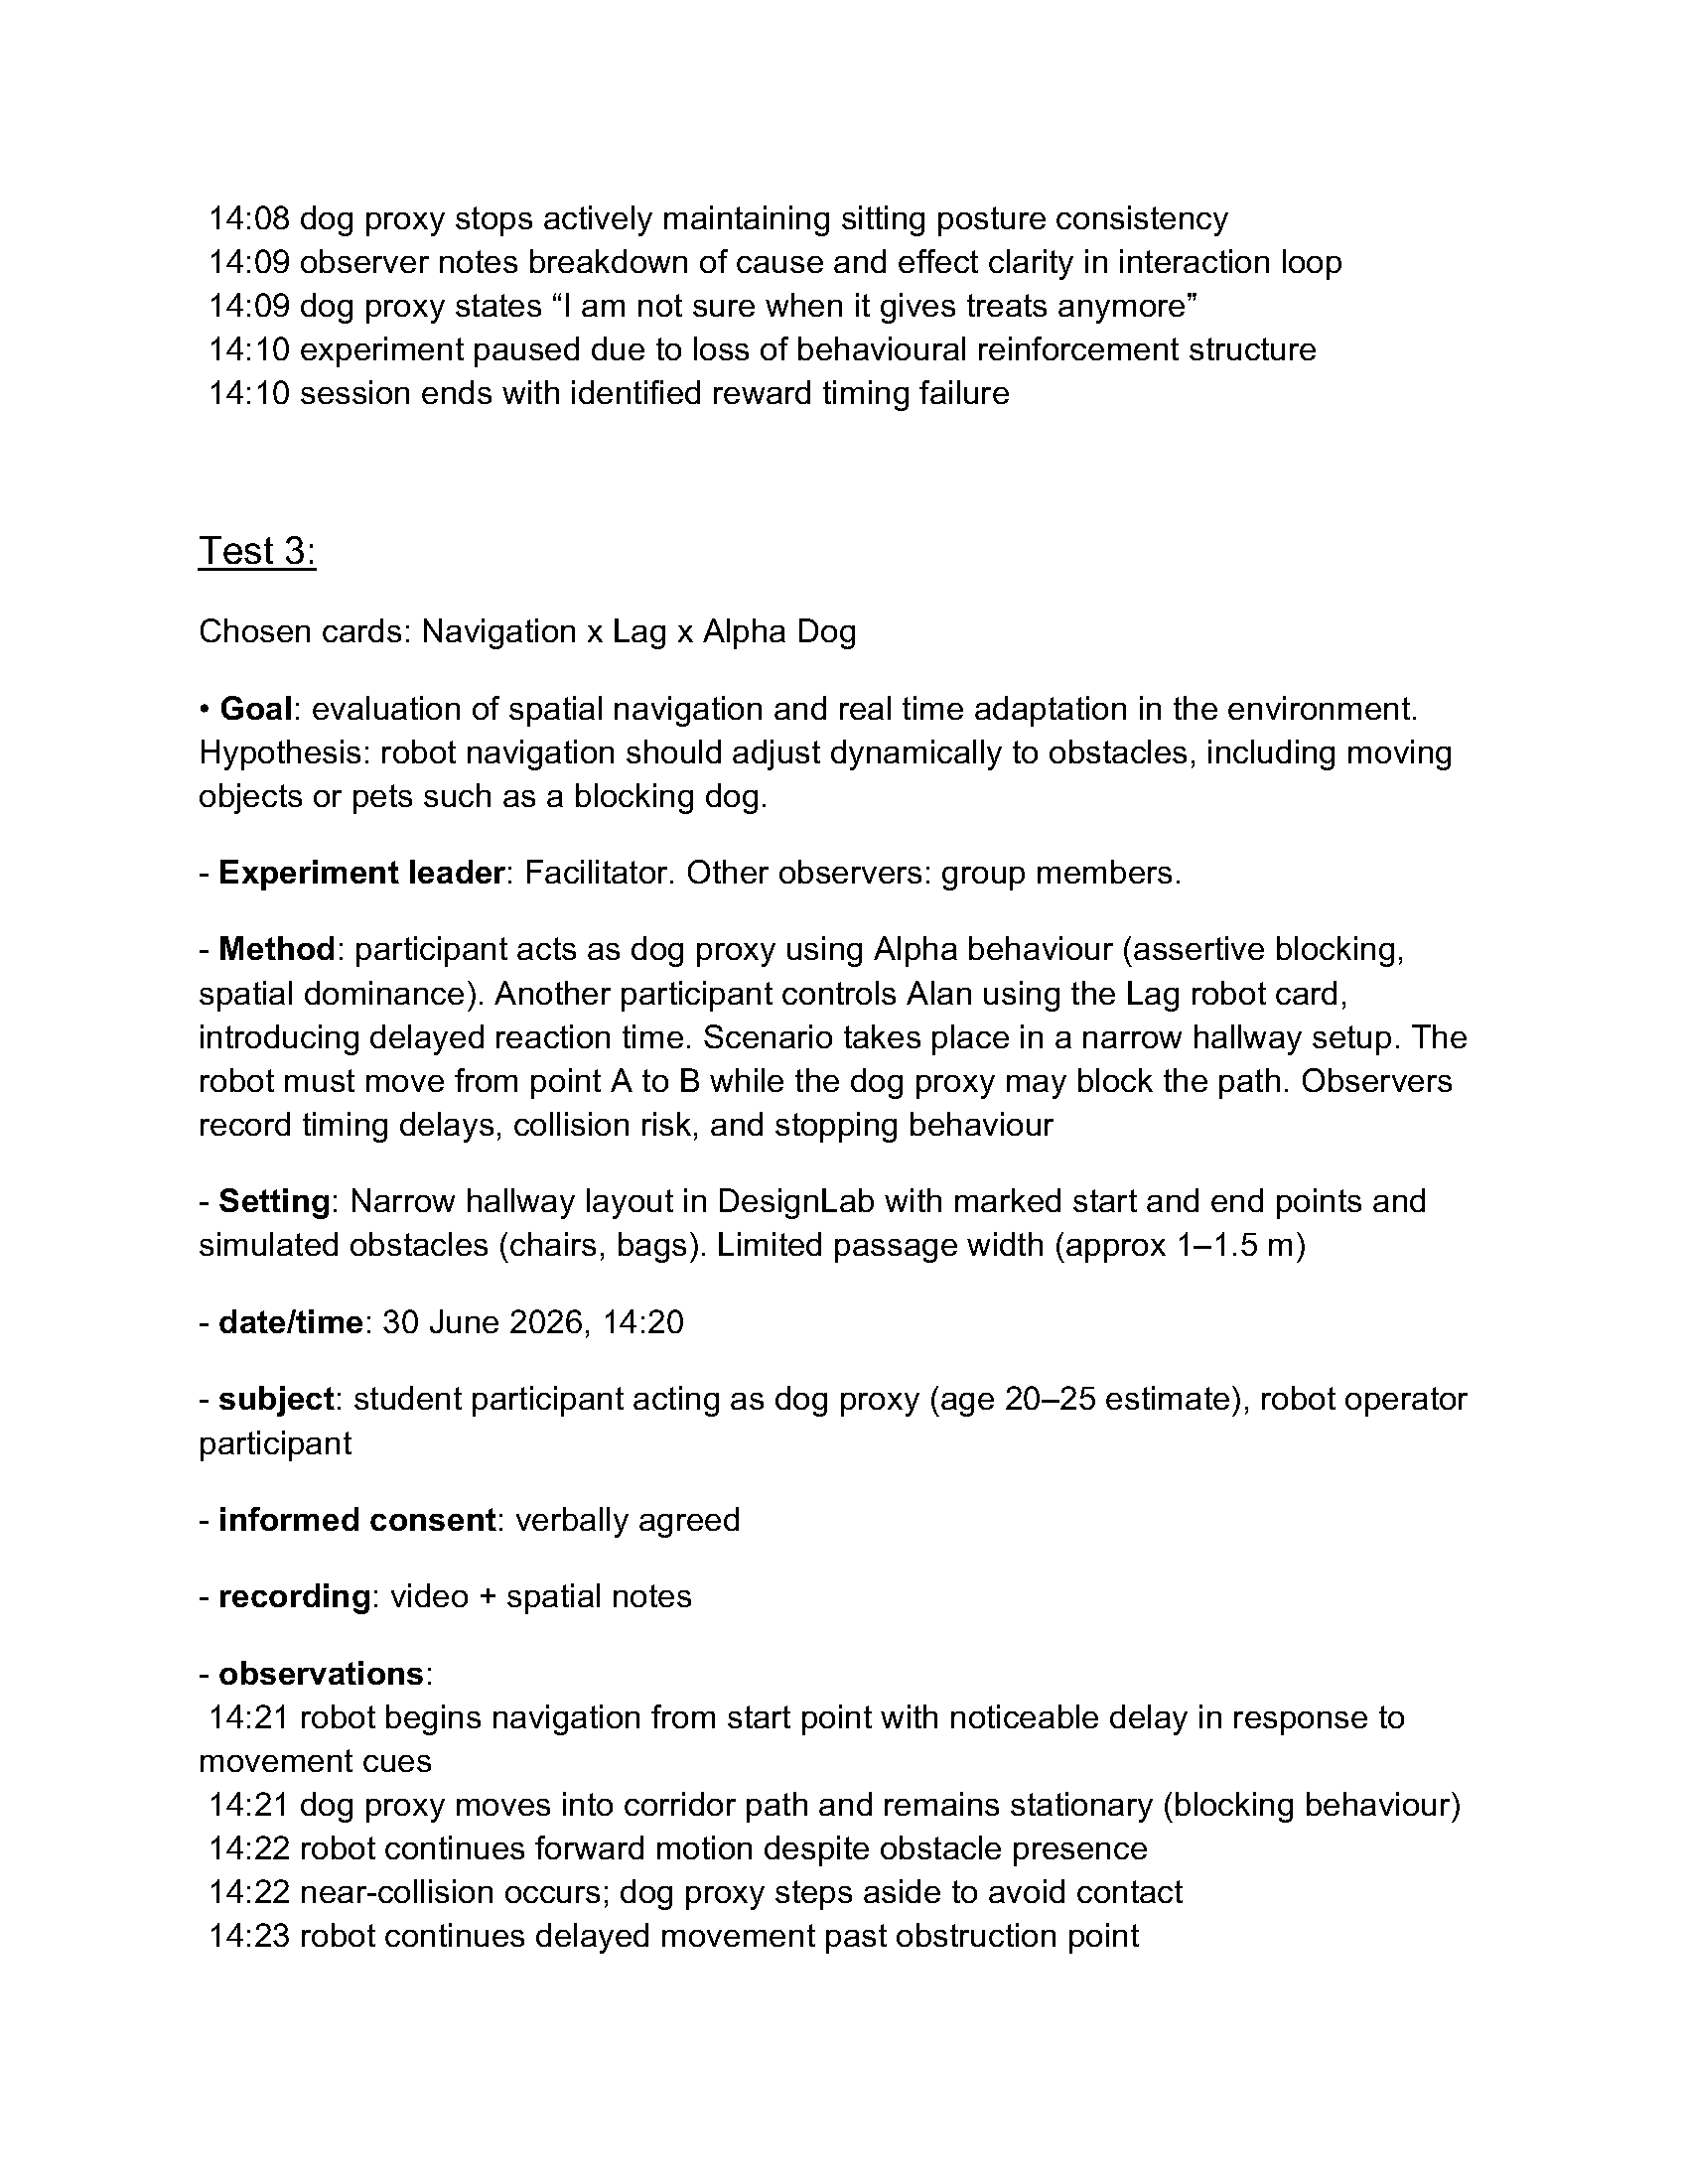
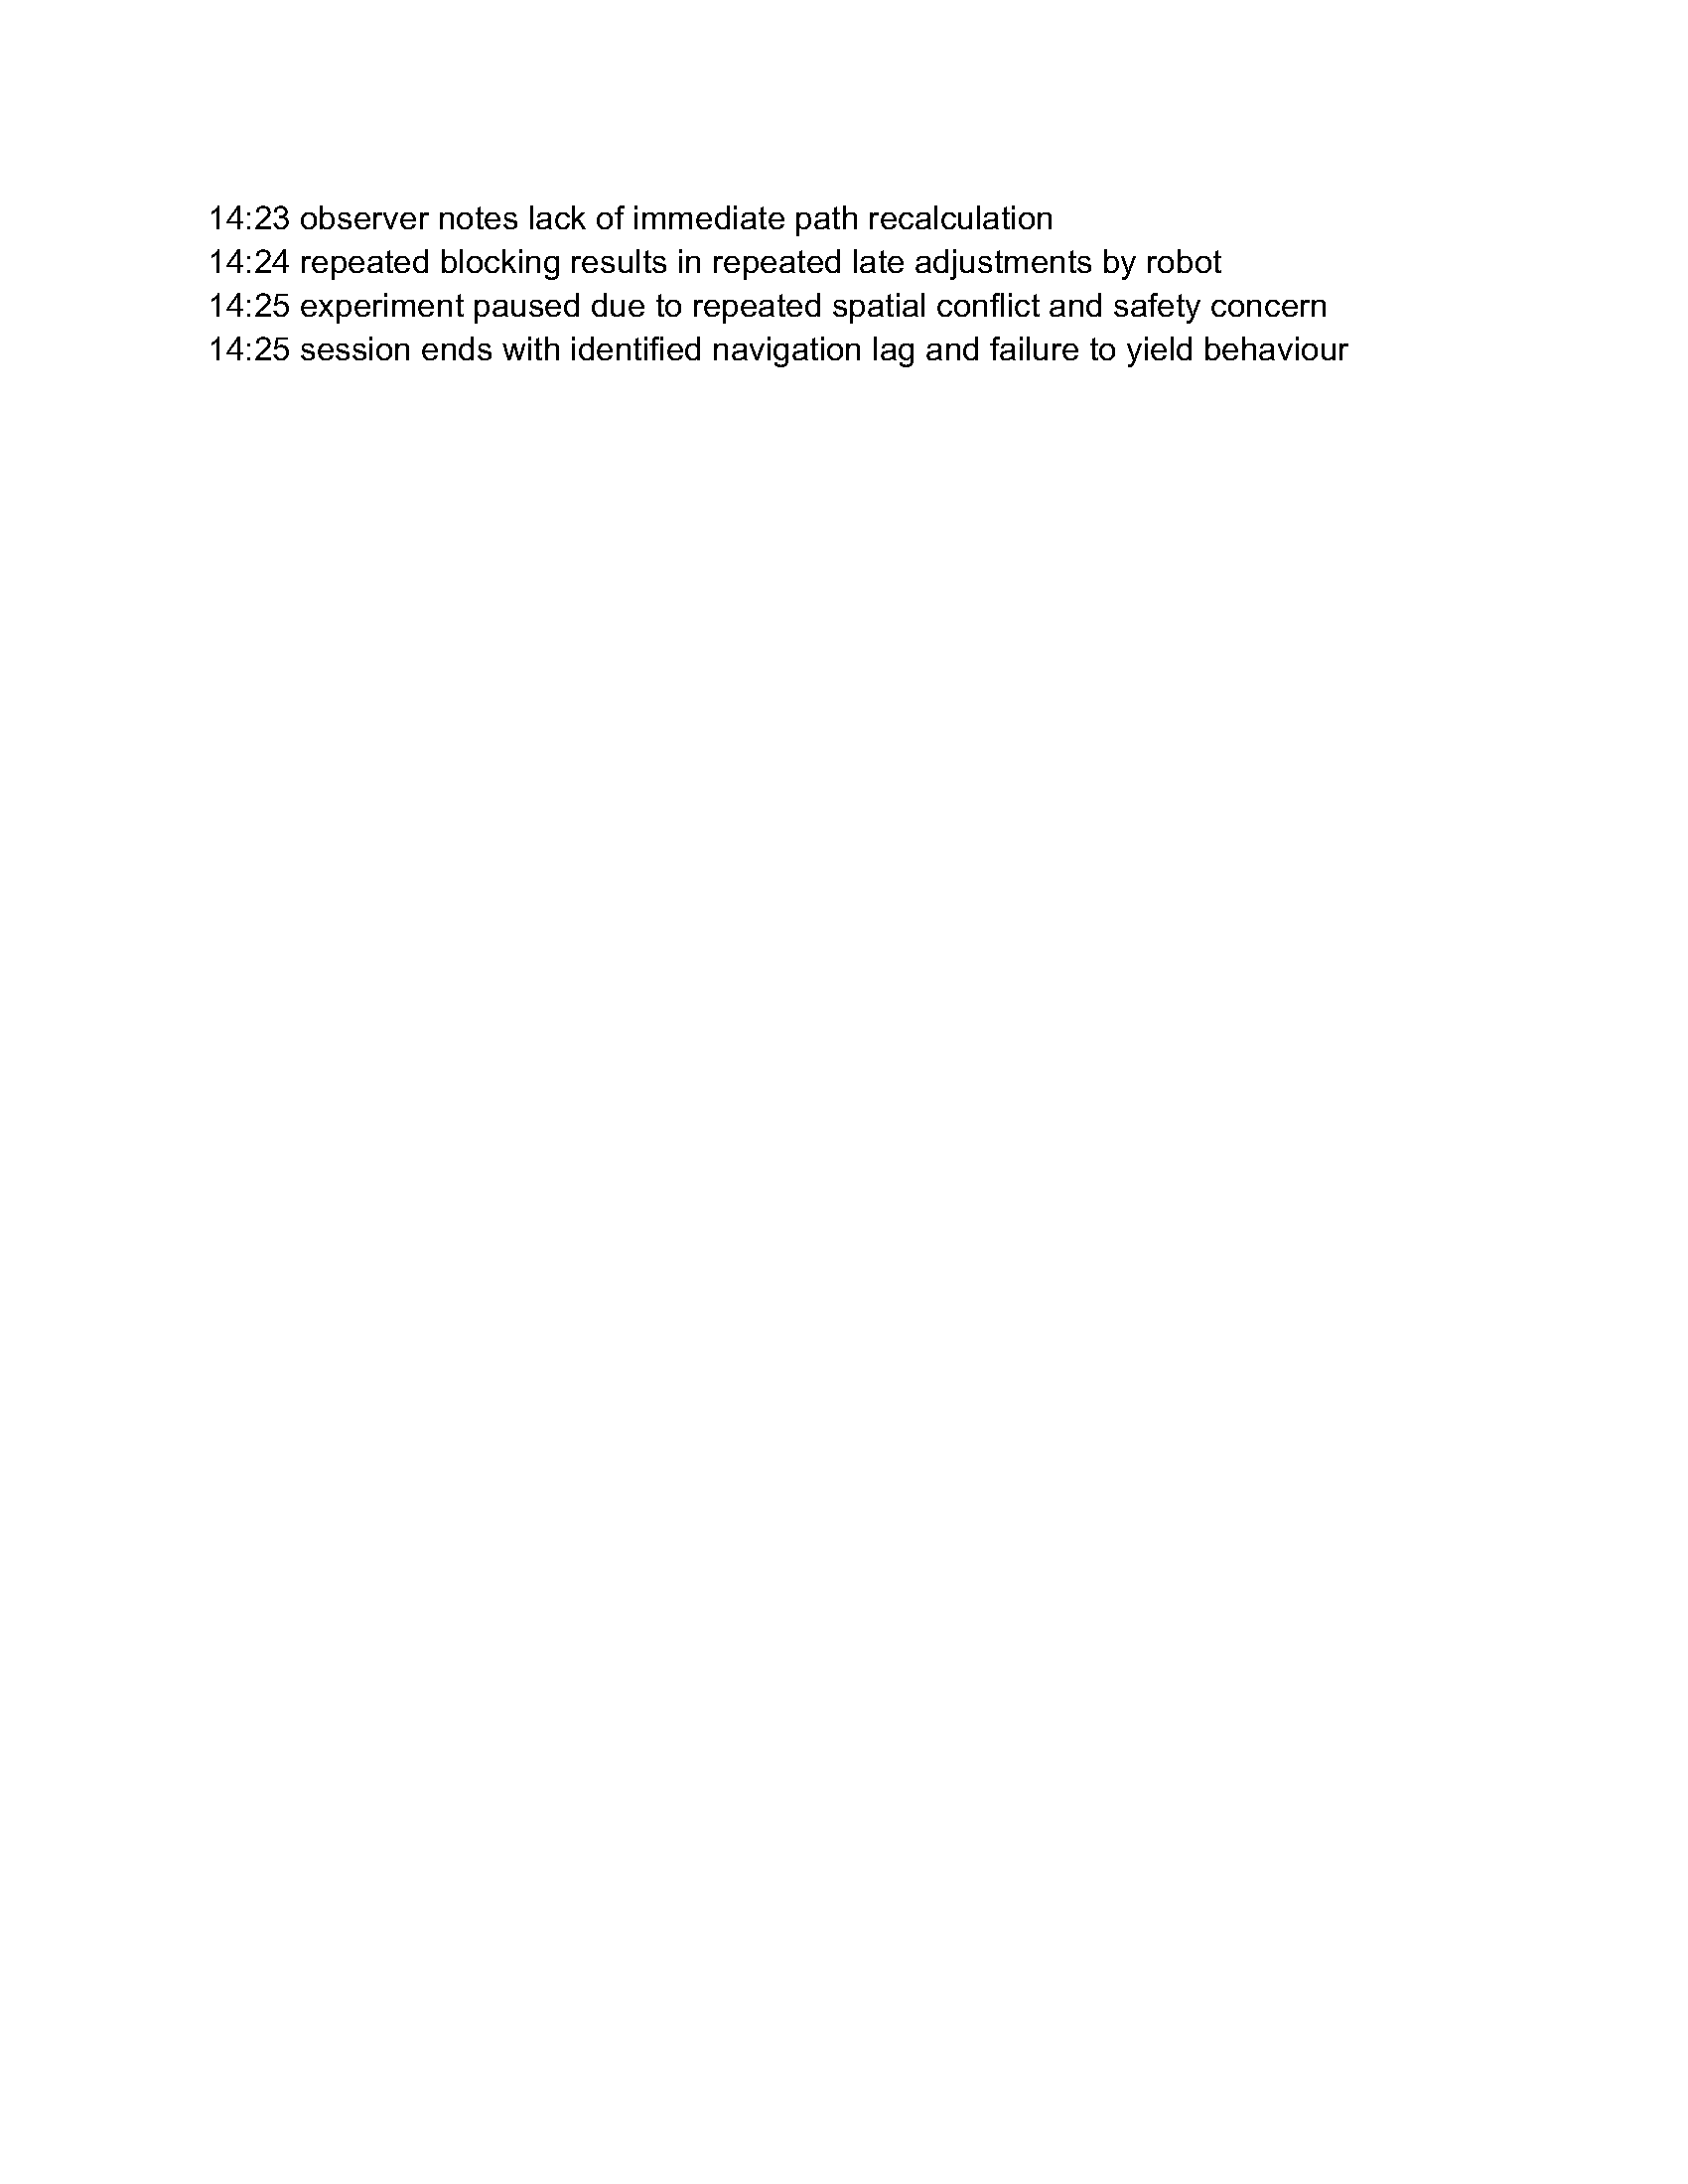
5. Resulting redesign with evaluation
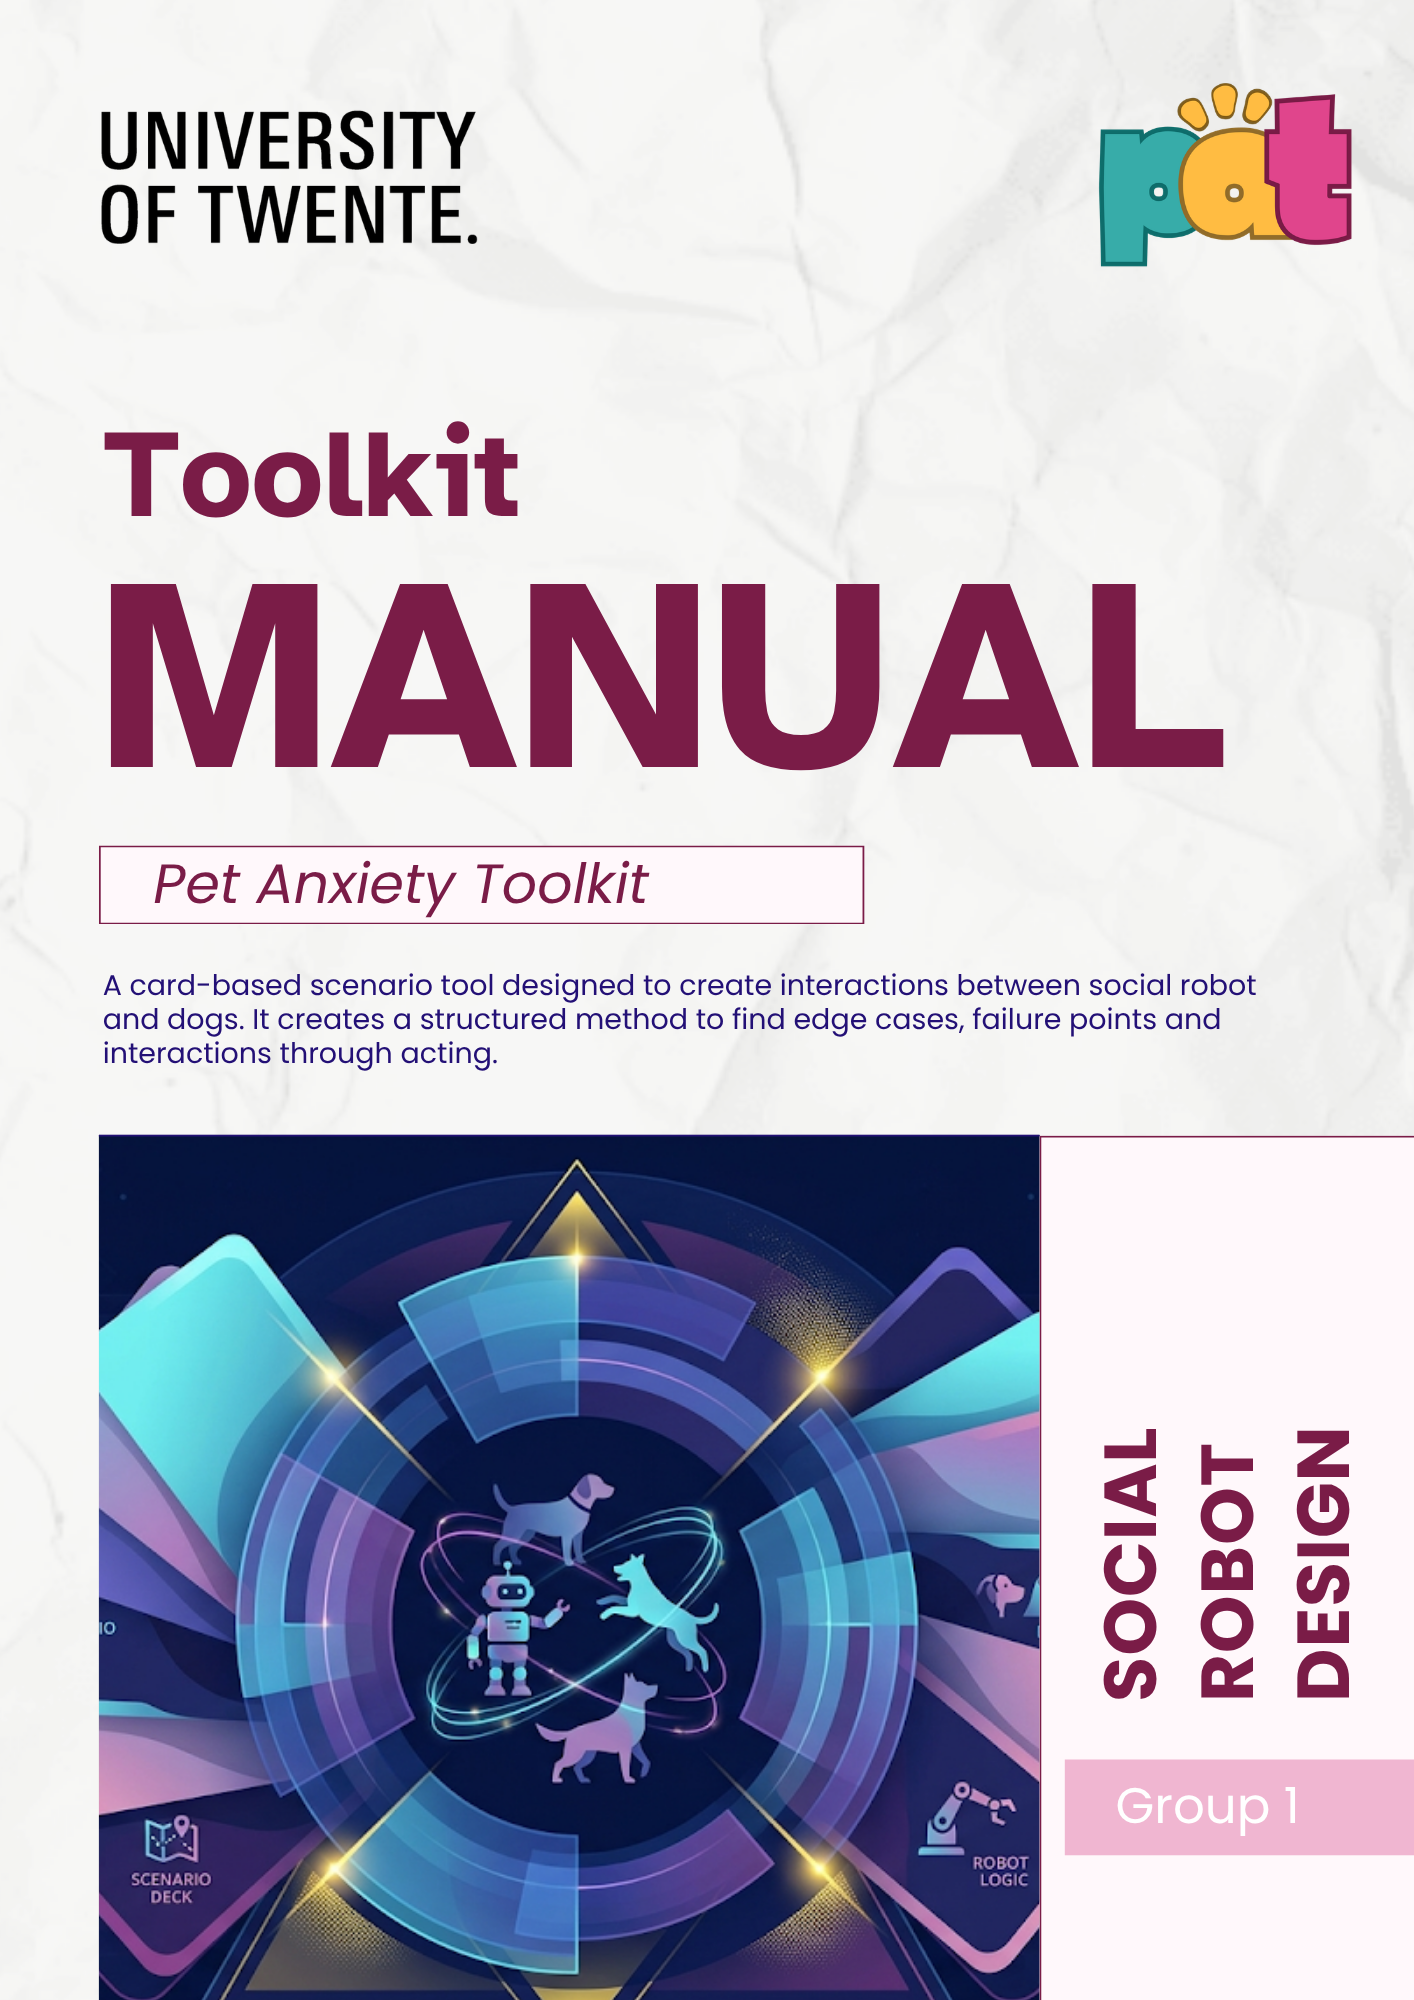
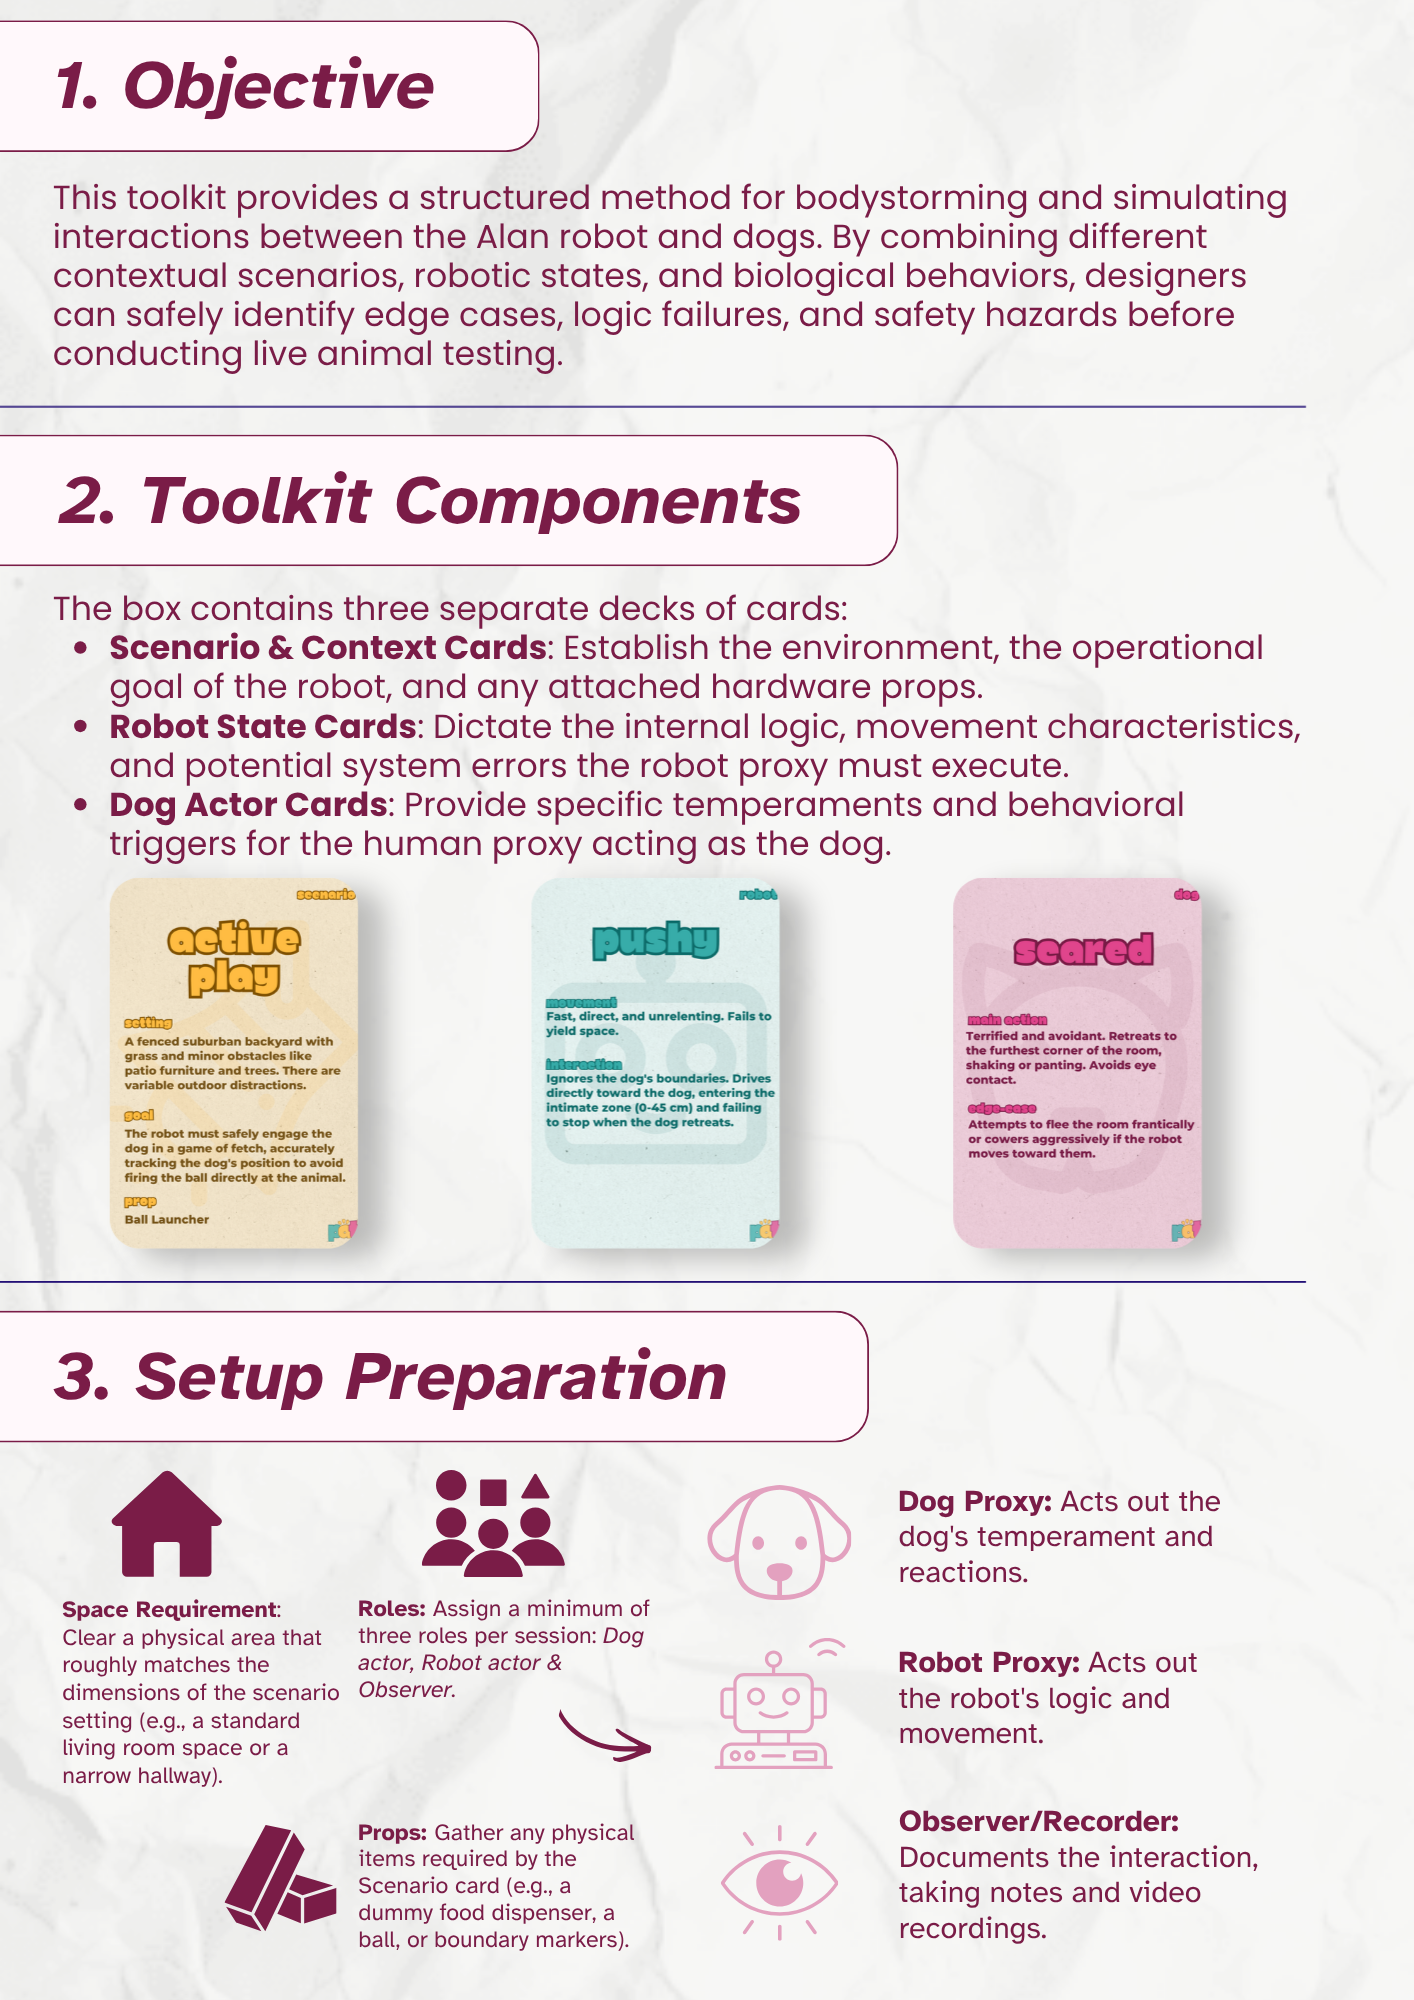
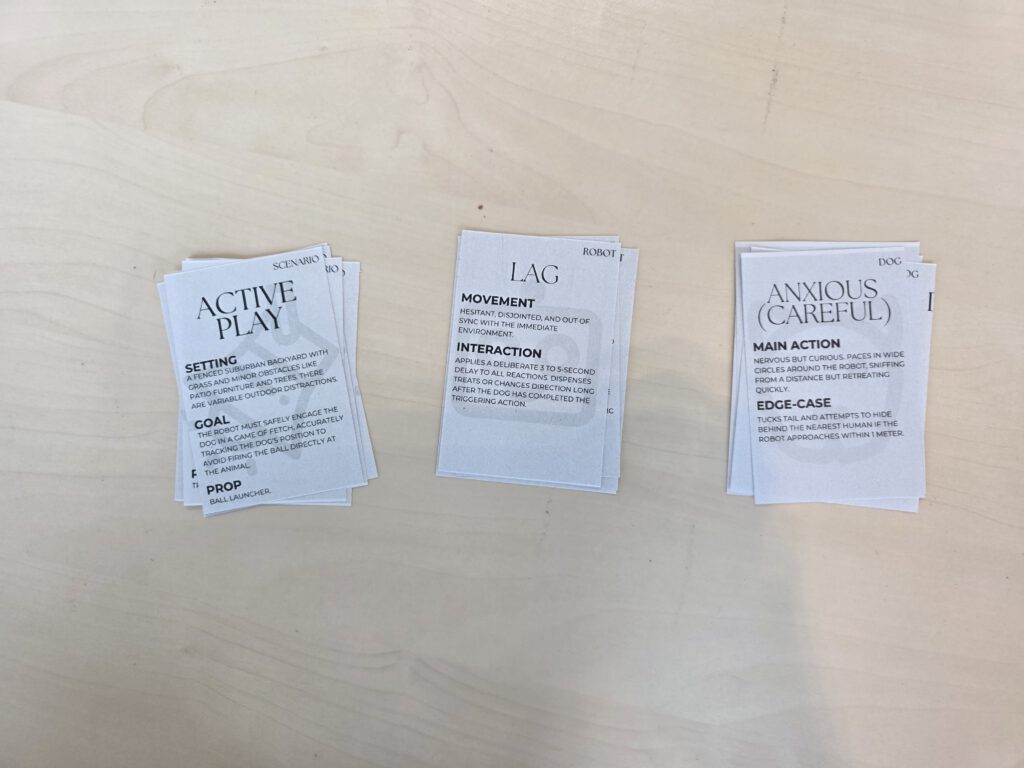
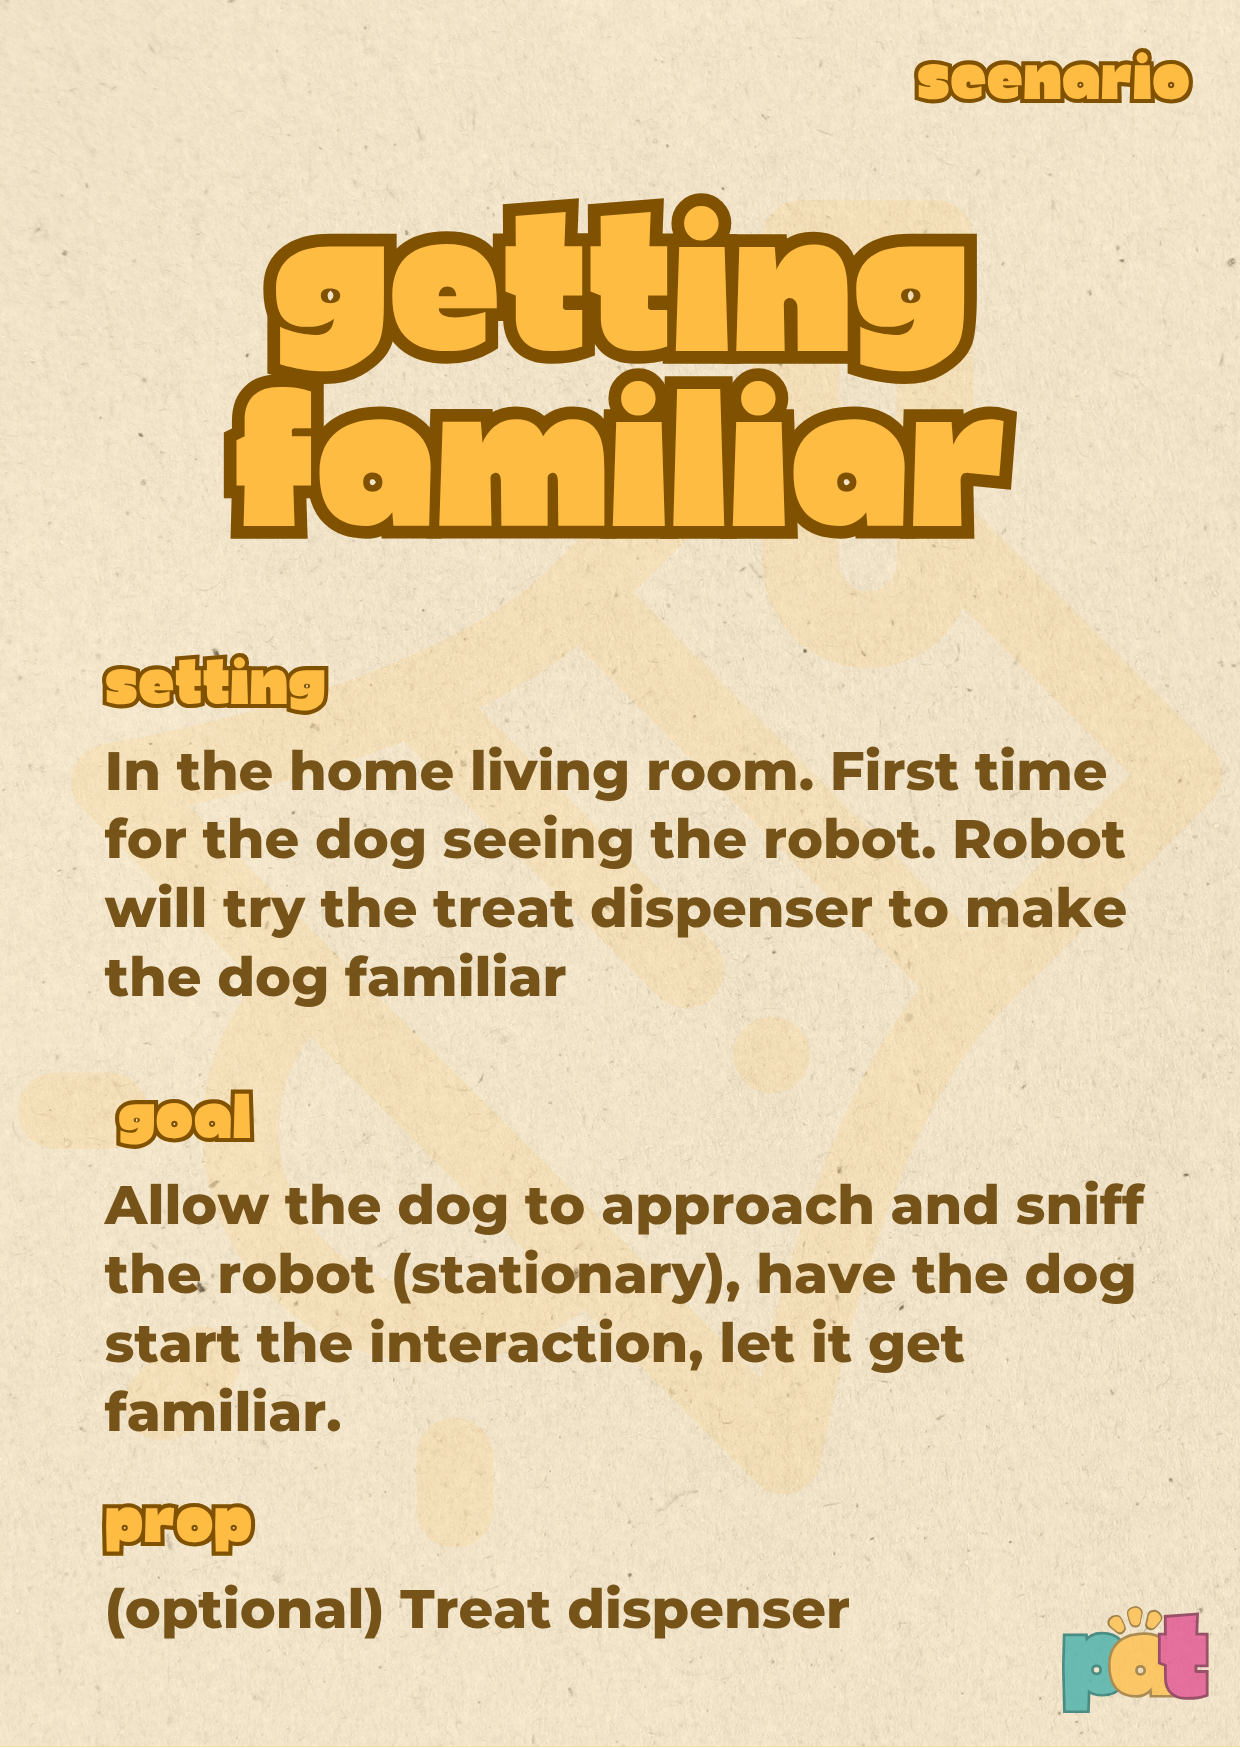
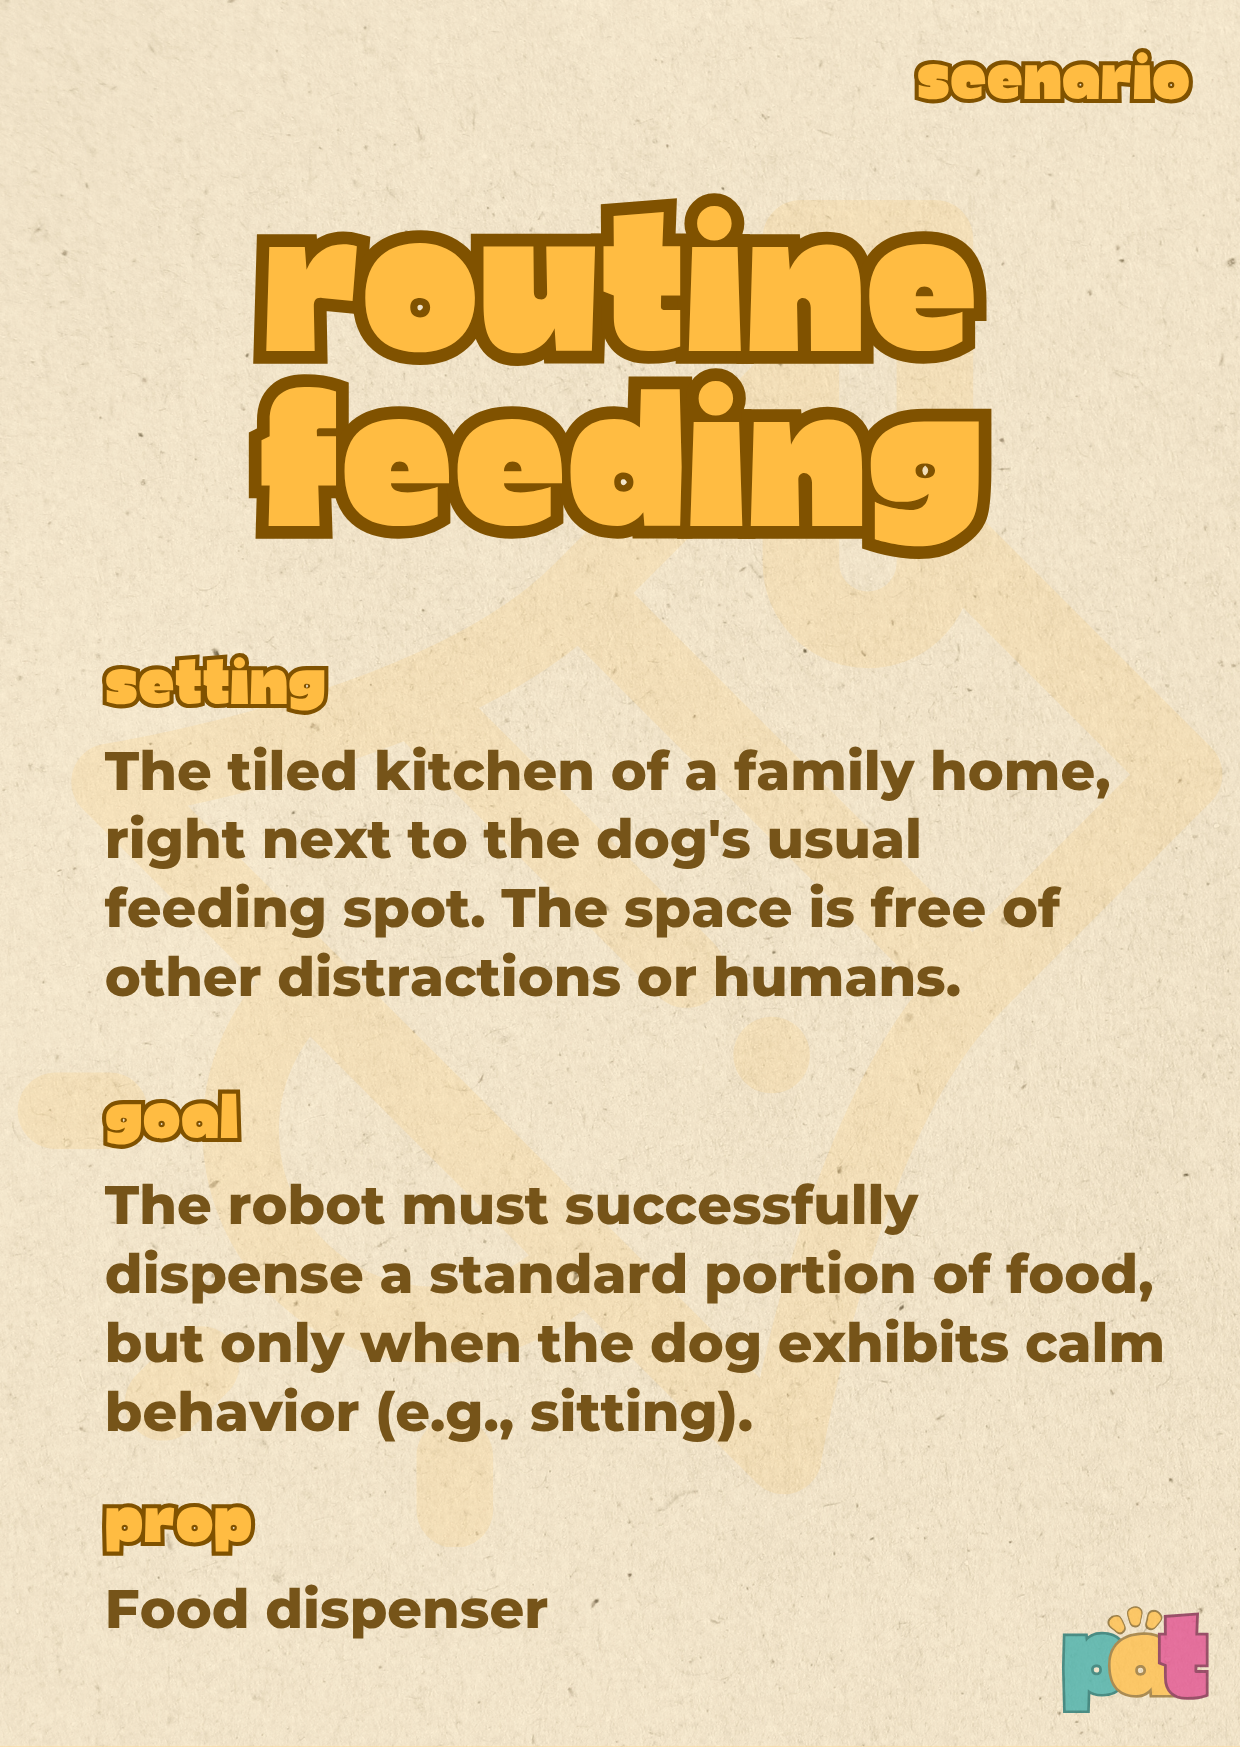
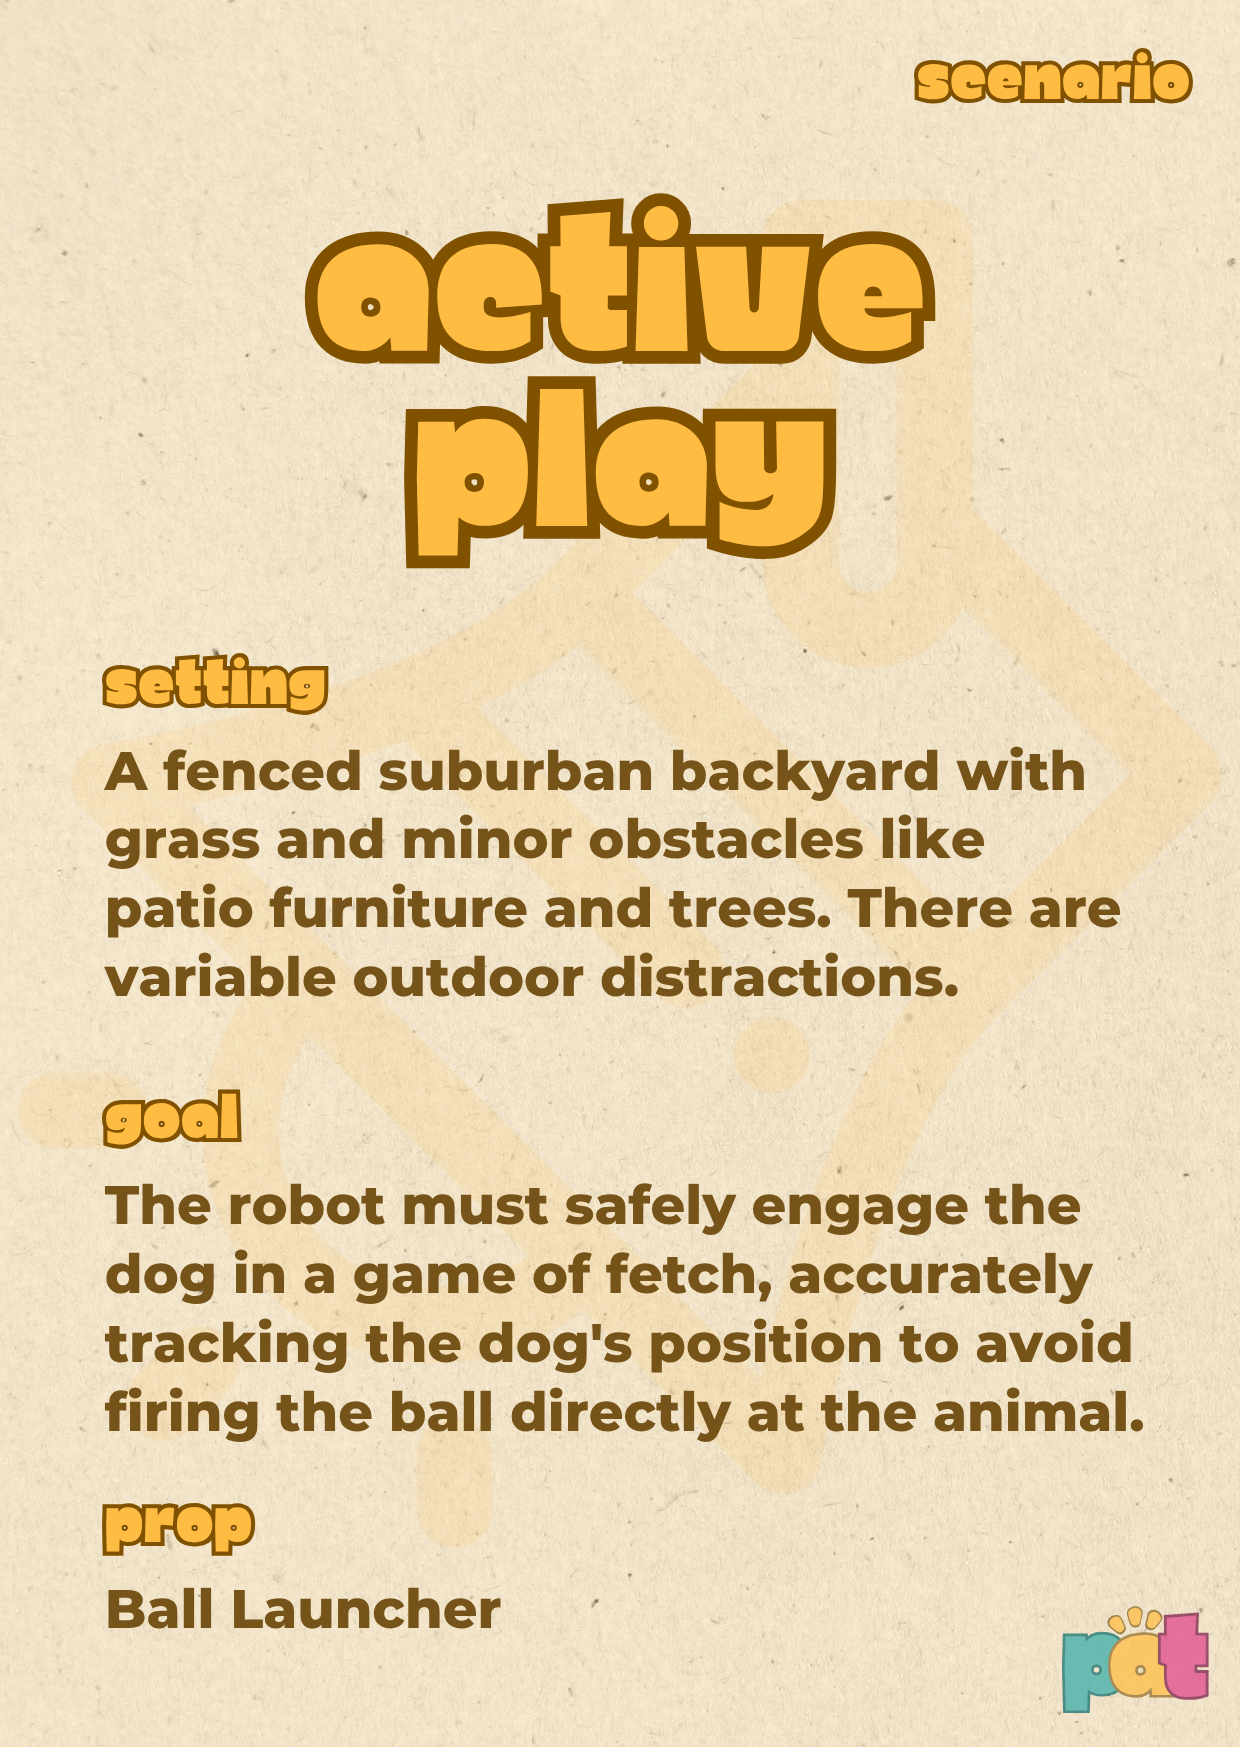
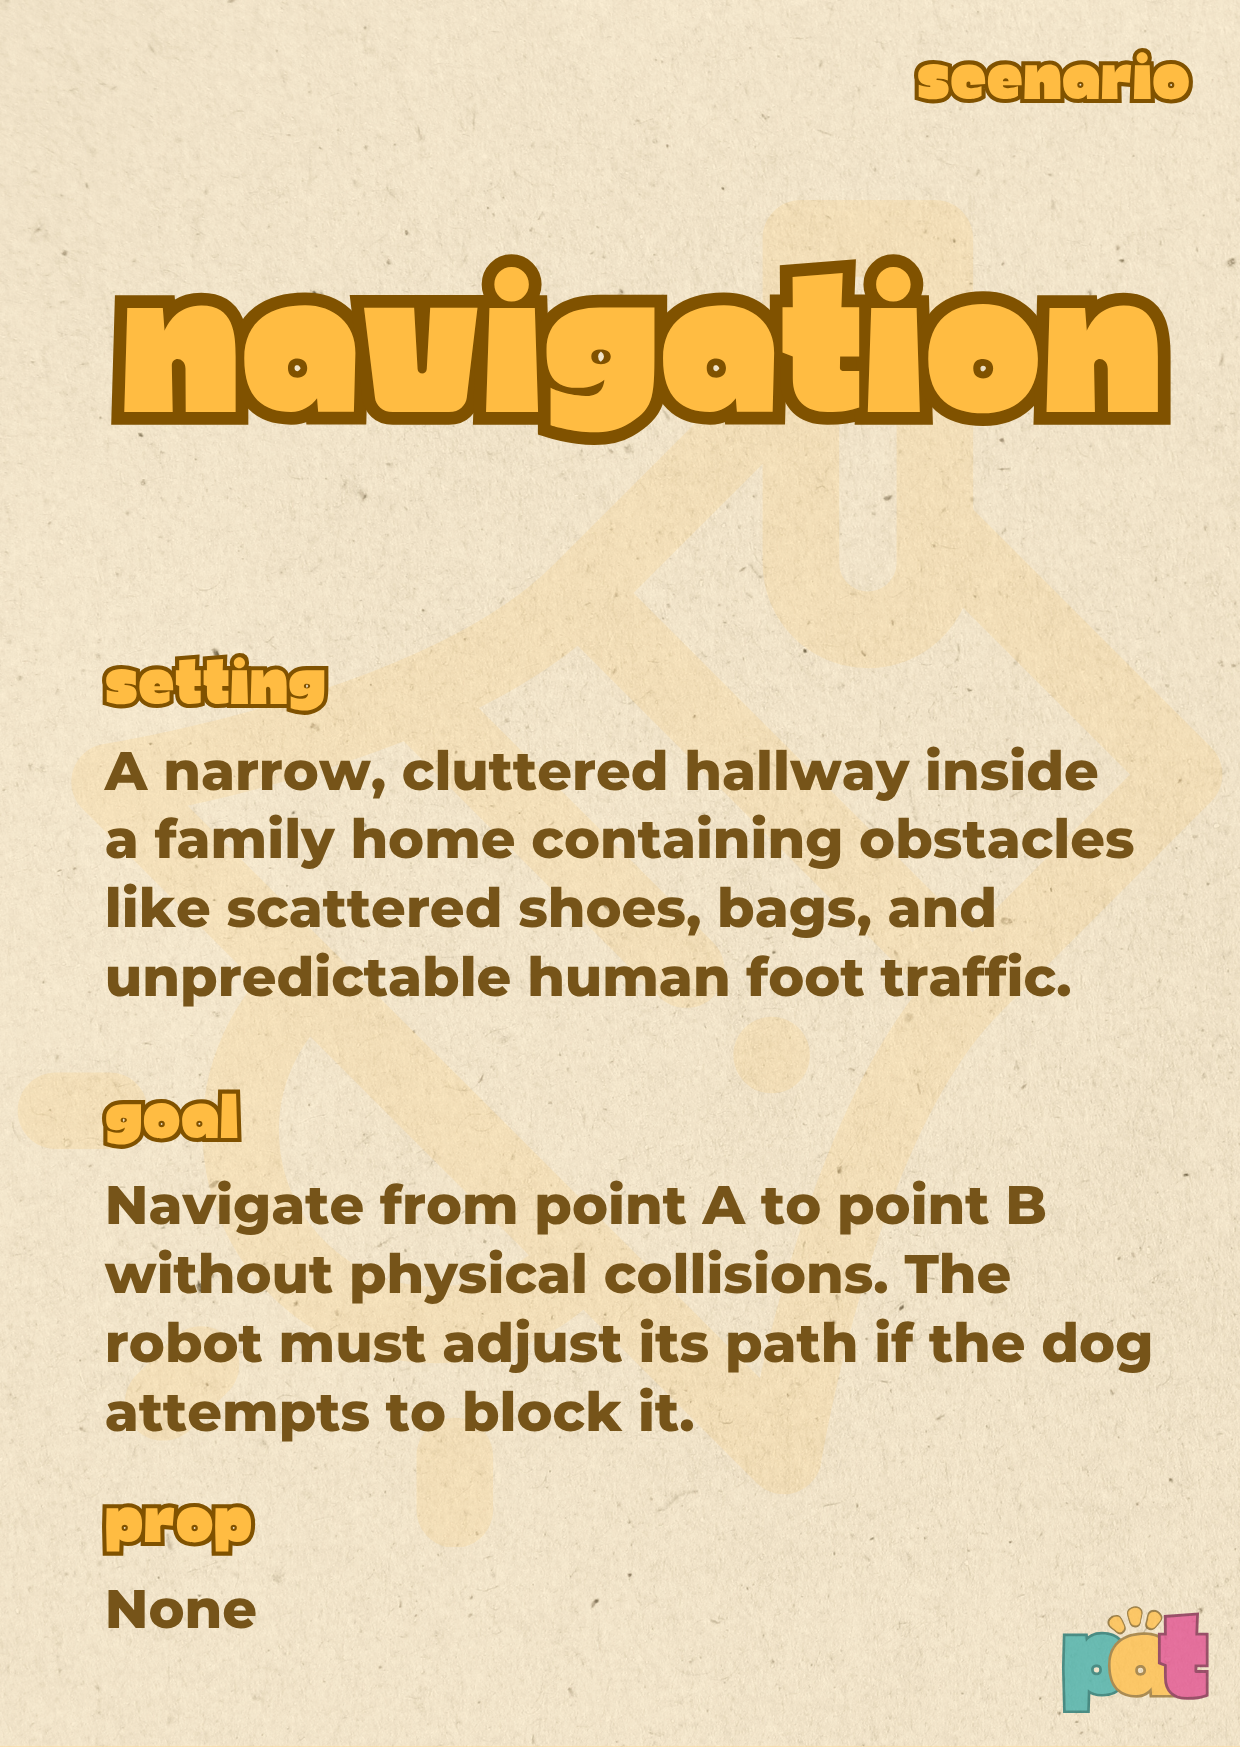
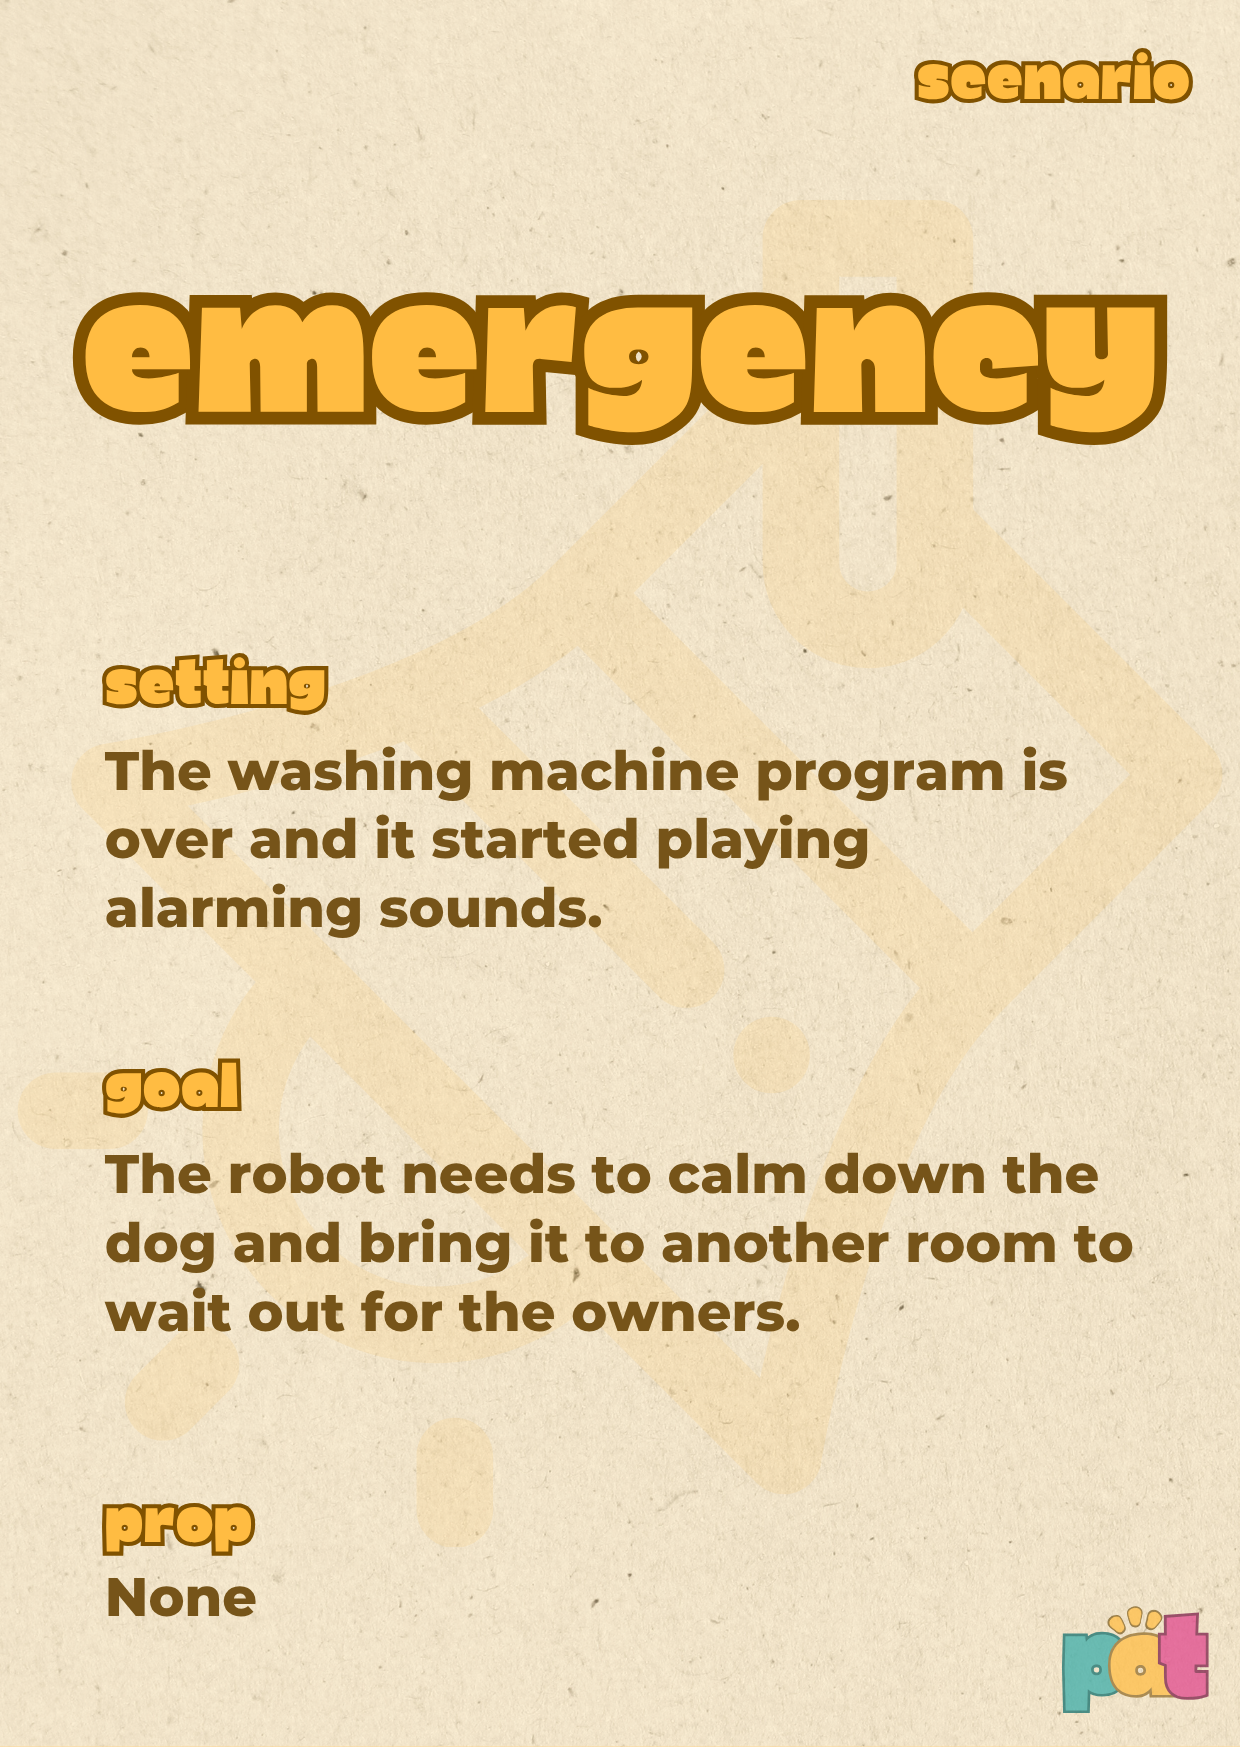
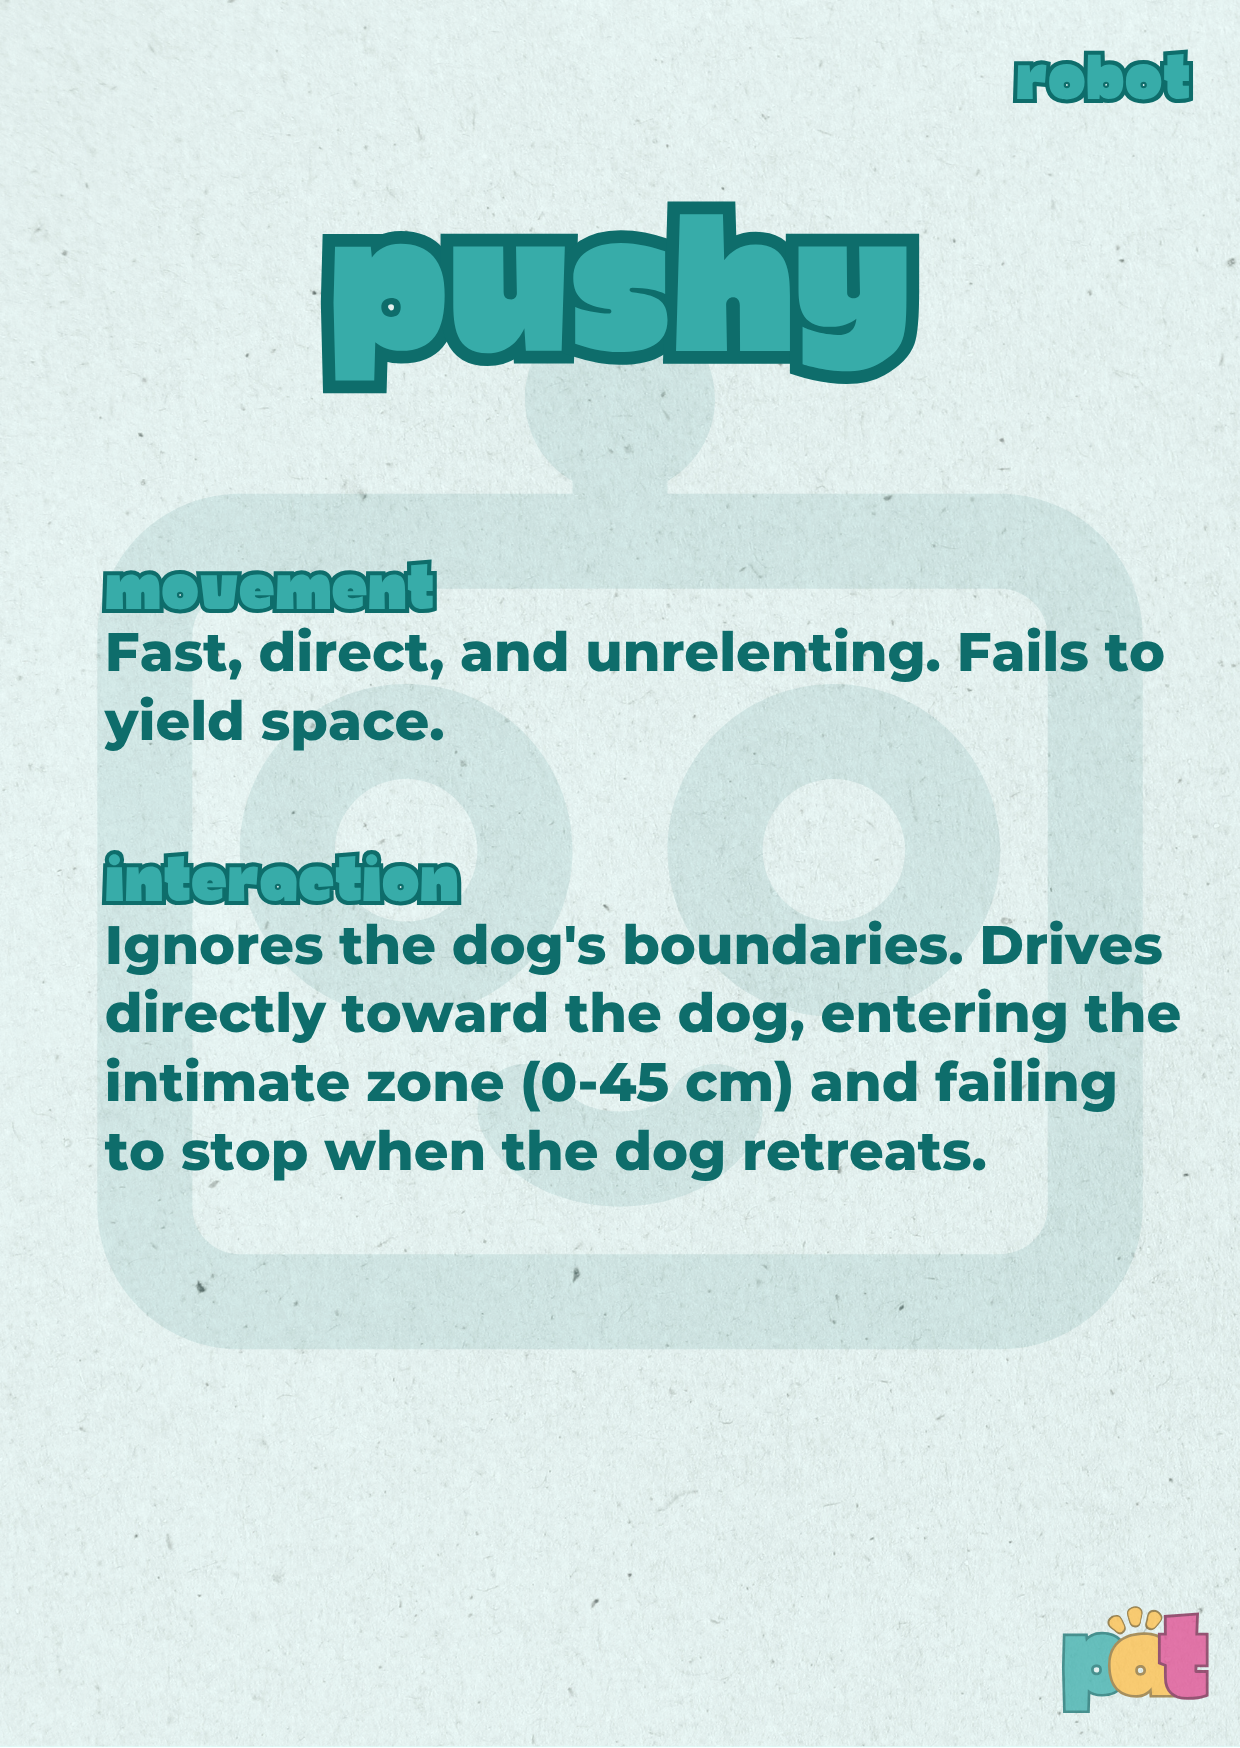
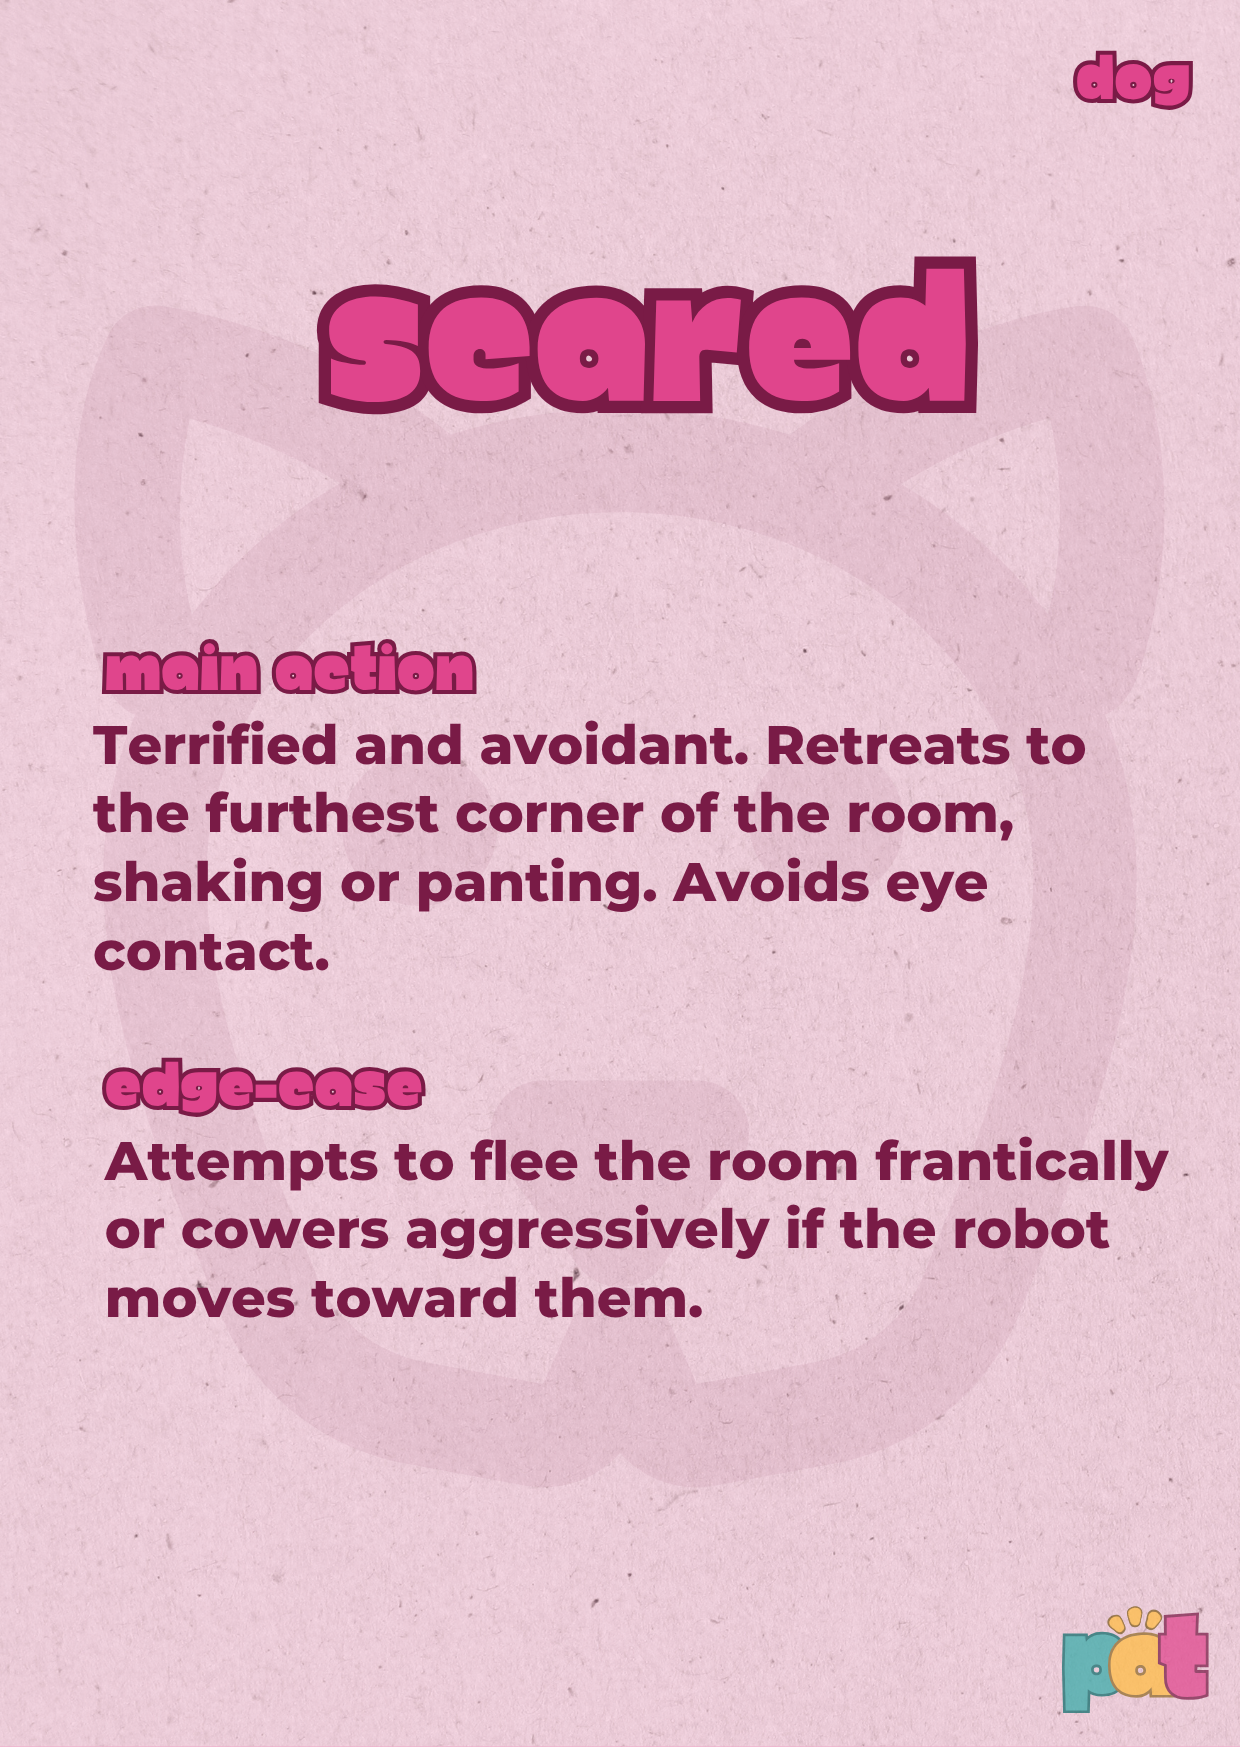
During testing we found a few different aspects that were not working great. Although very obvious afterwards, we did not include a manual for how our tool works and should be used. Therefore we created one to improve upon our design, it can be seen in Figure 3. We also discovered that the first iteration of the scenario cards were not as clear as we would have liked. Therefore we expanded the selection of cards, to have each of the 3 steps consist of 5 cards, we also color coded the cards and improved the clarity of the text on them. The improvements can be seen in Figure 5.
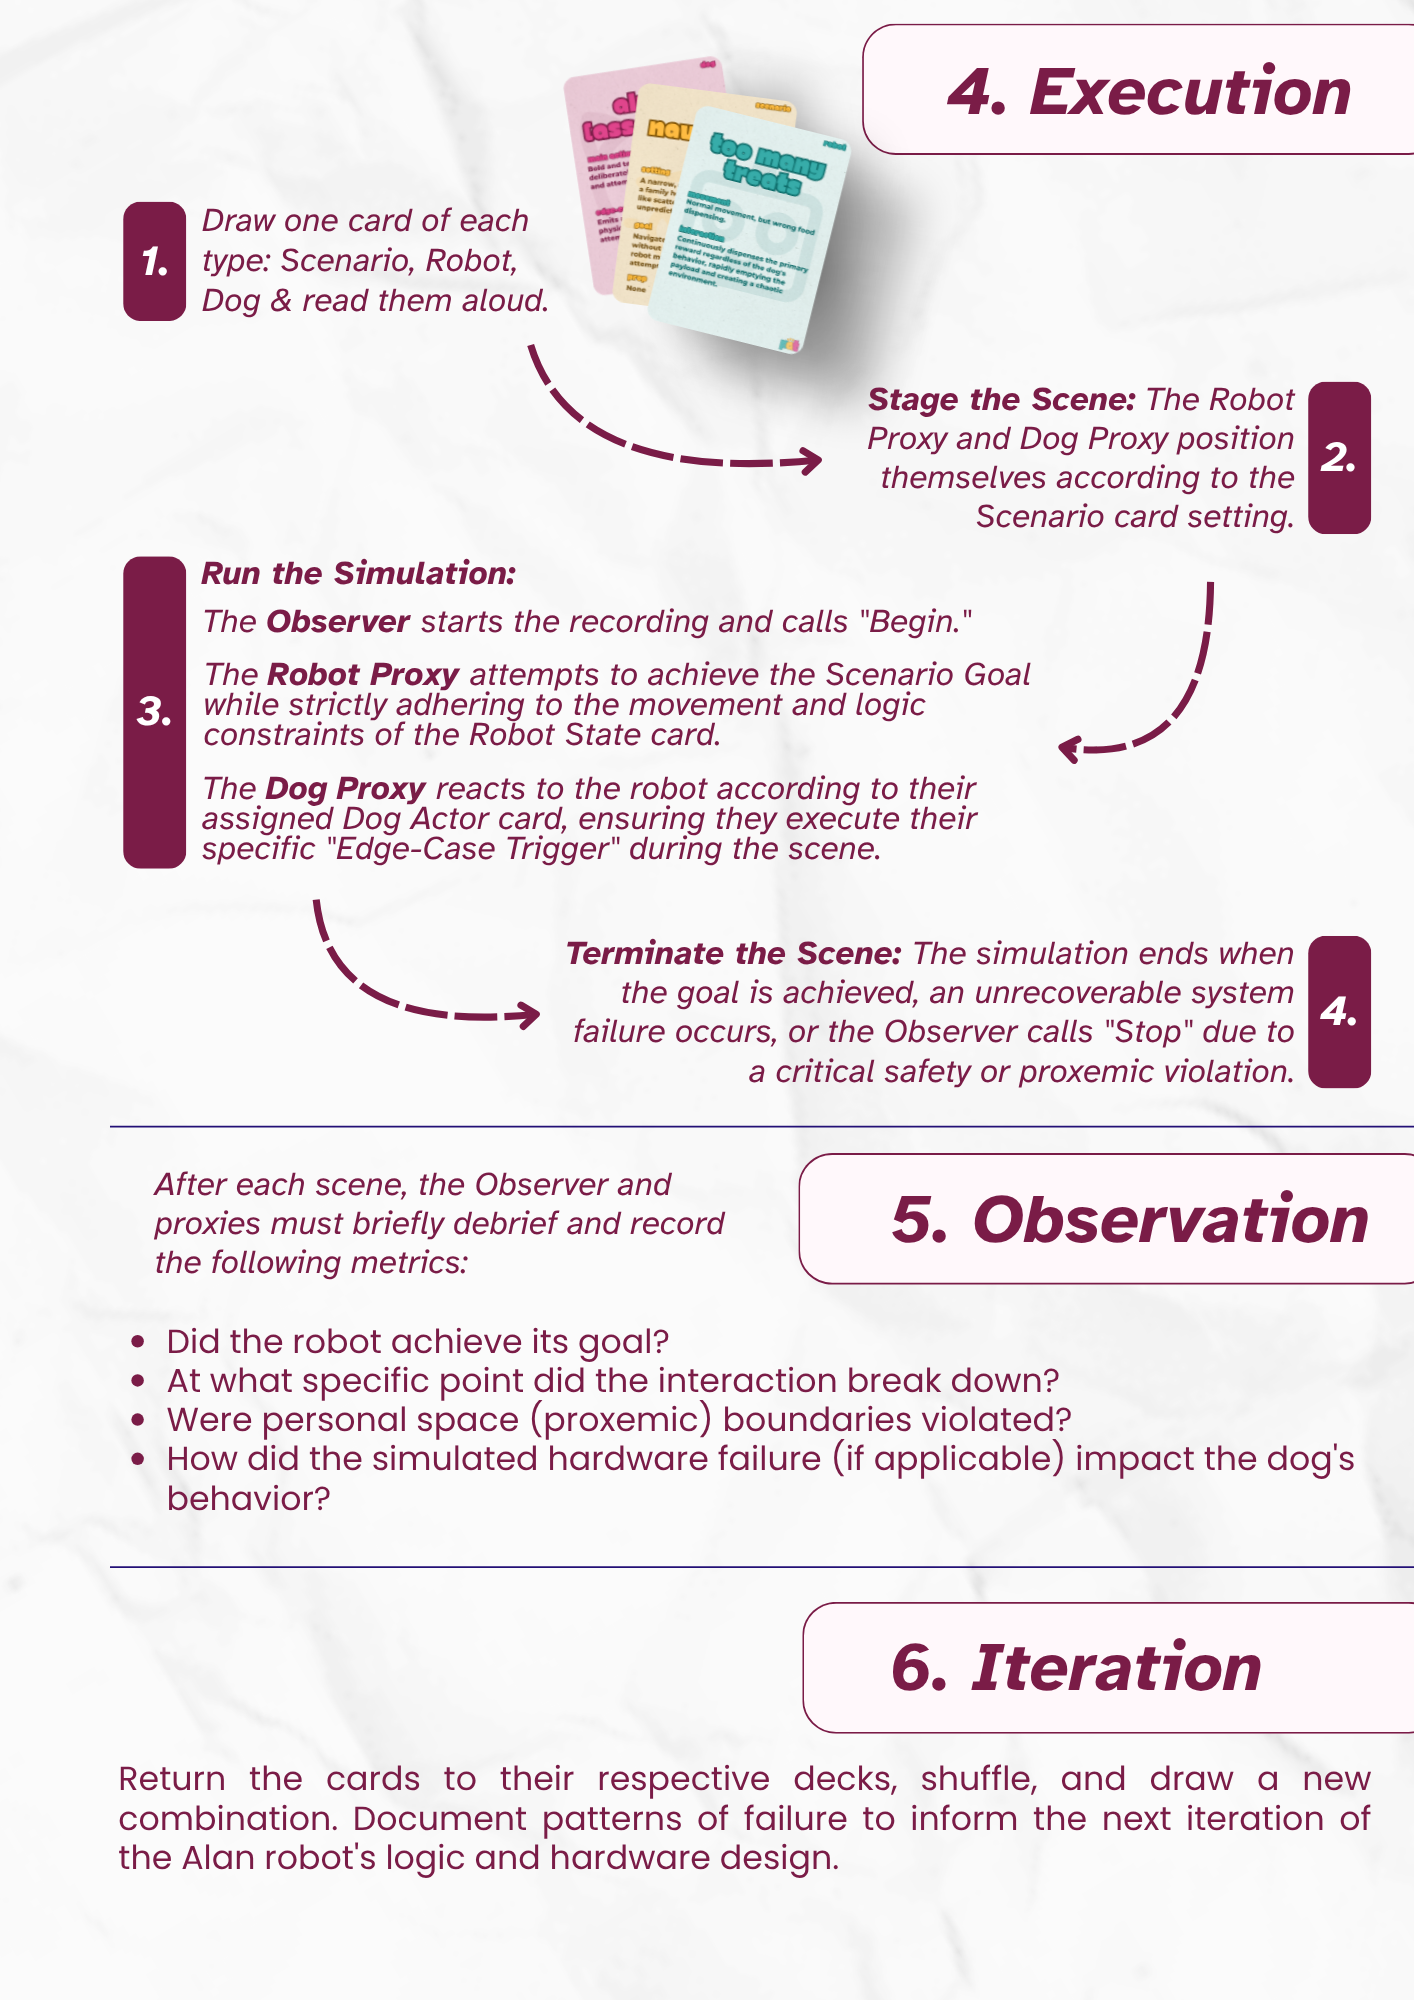
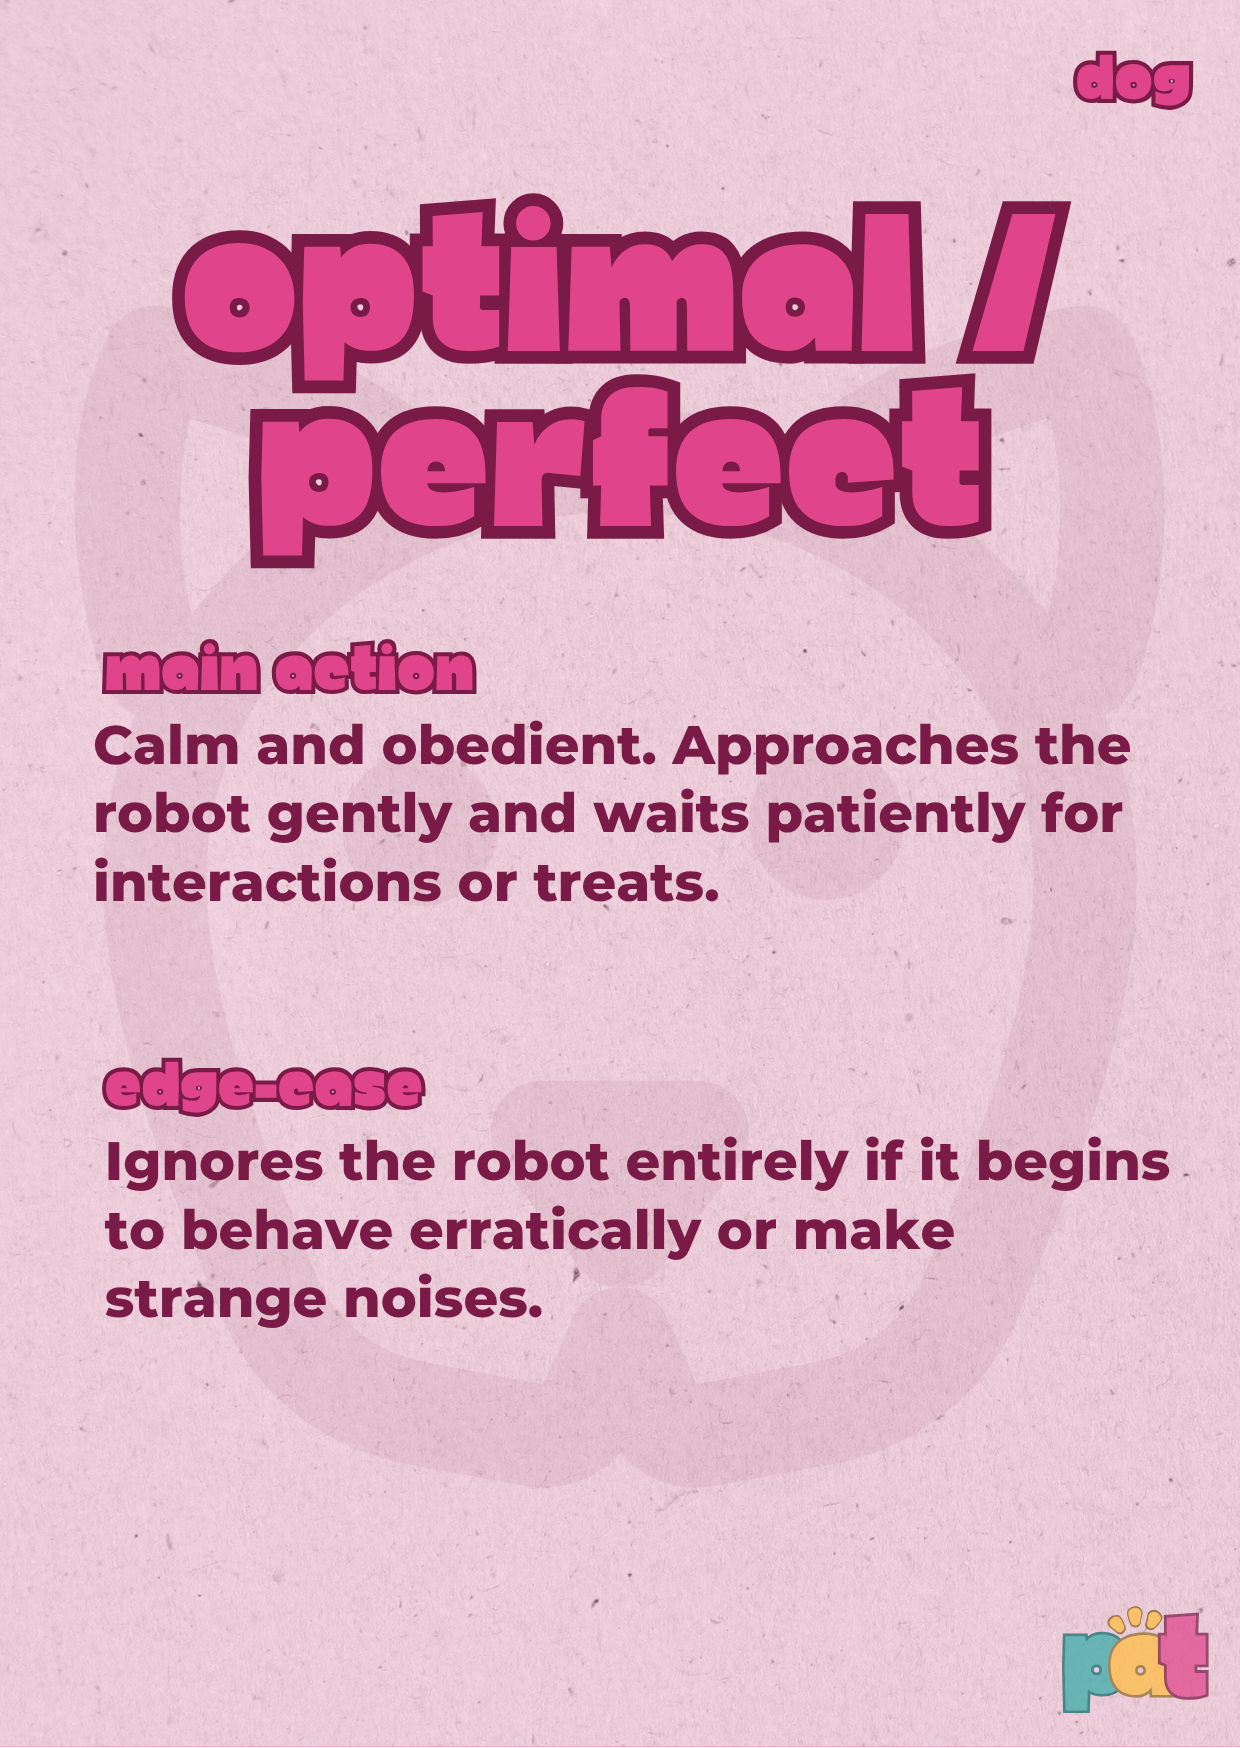
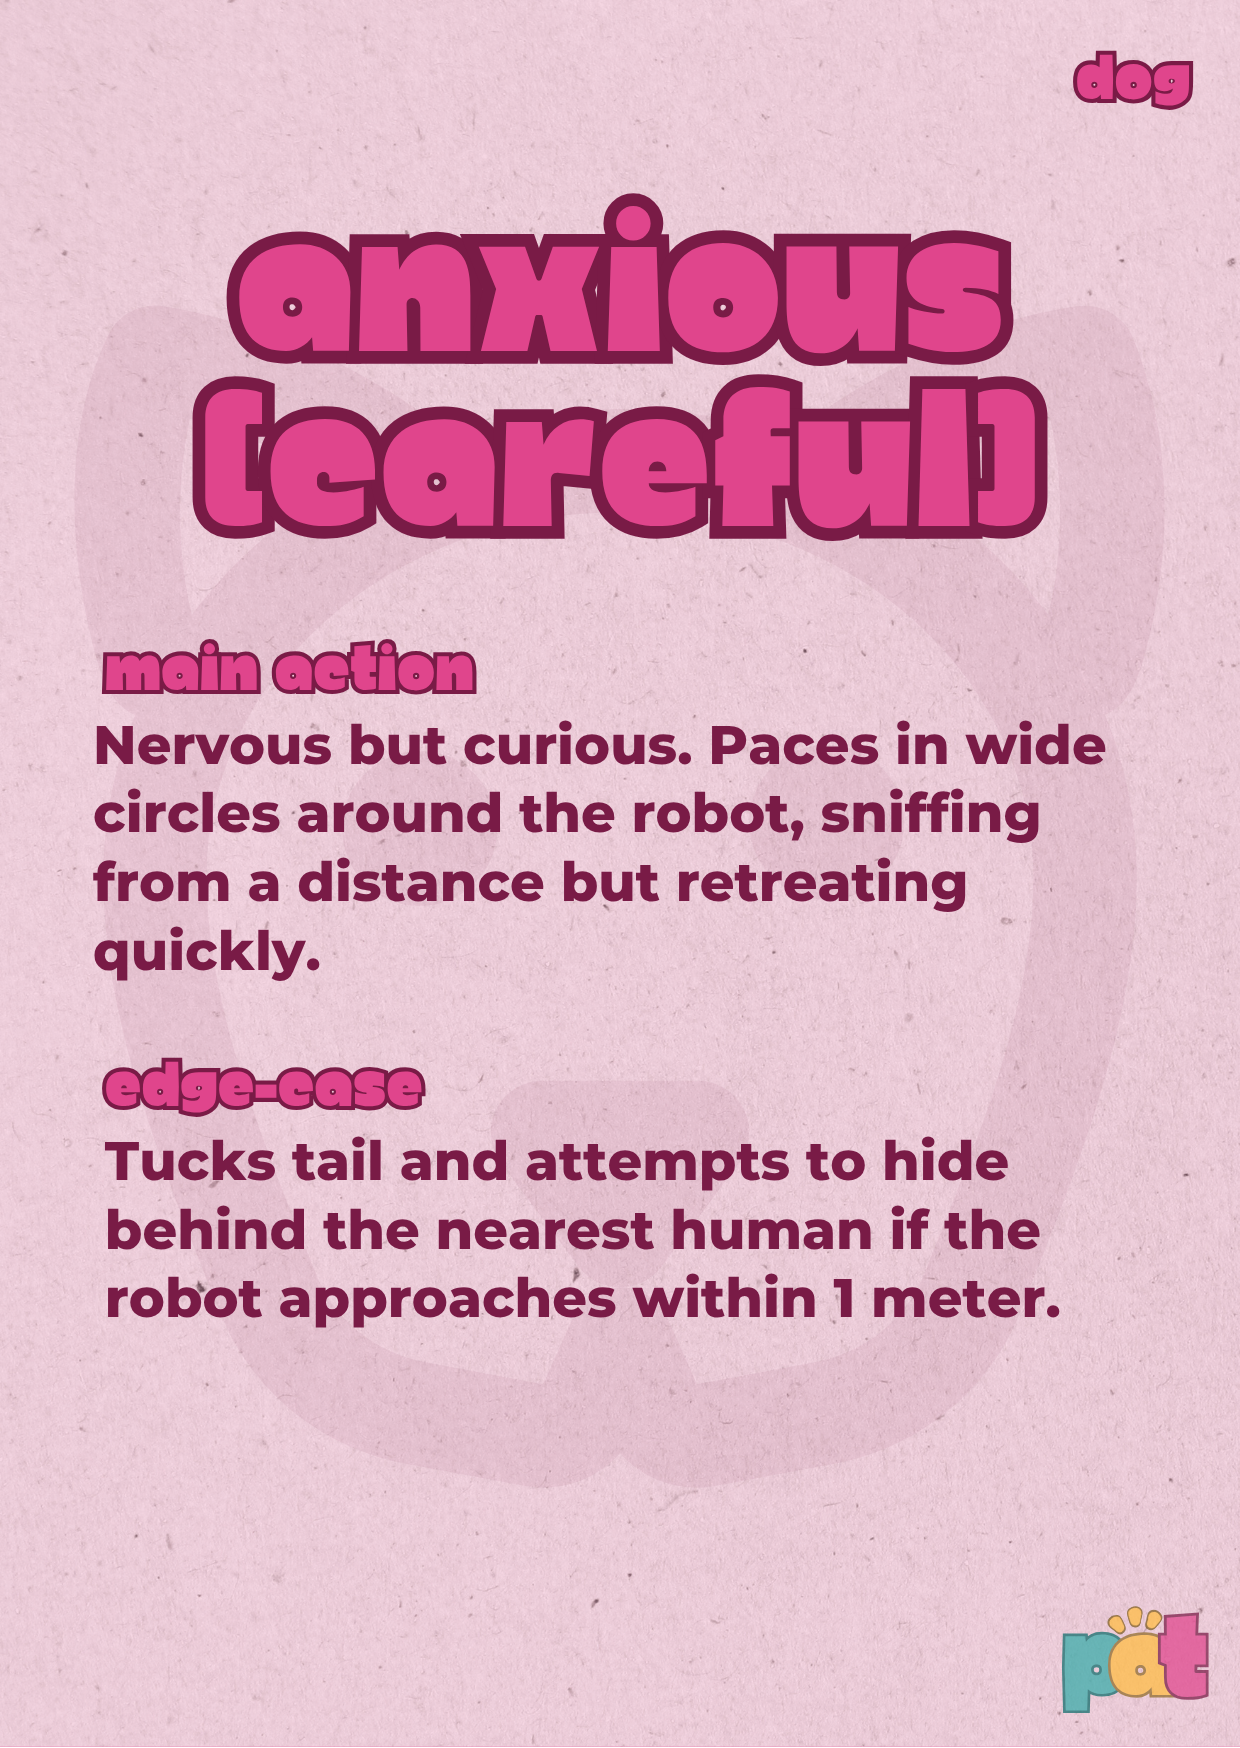
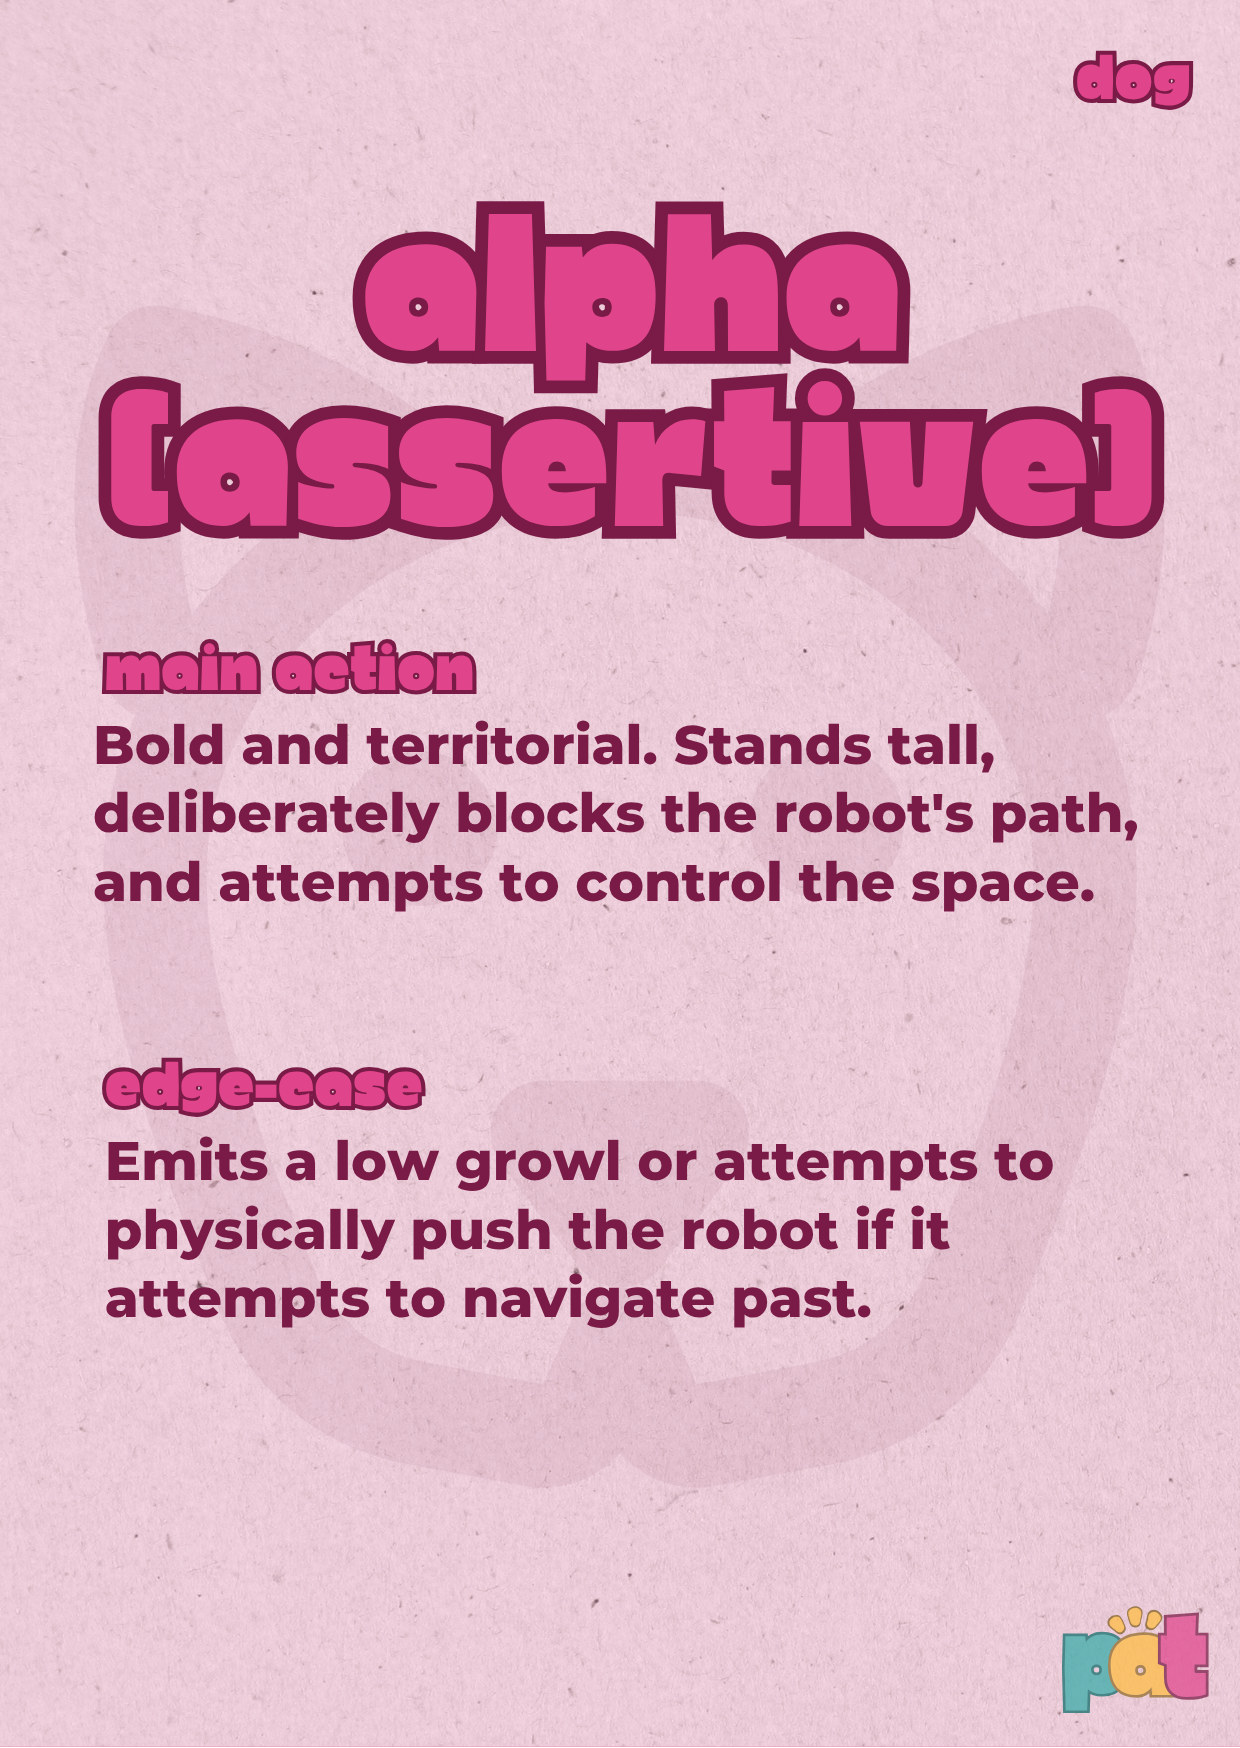
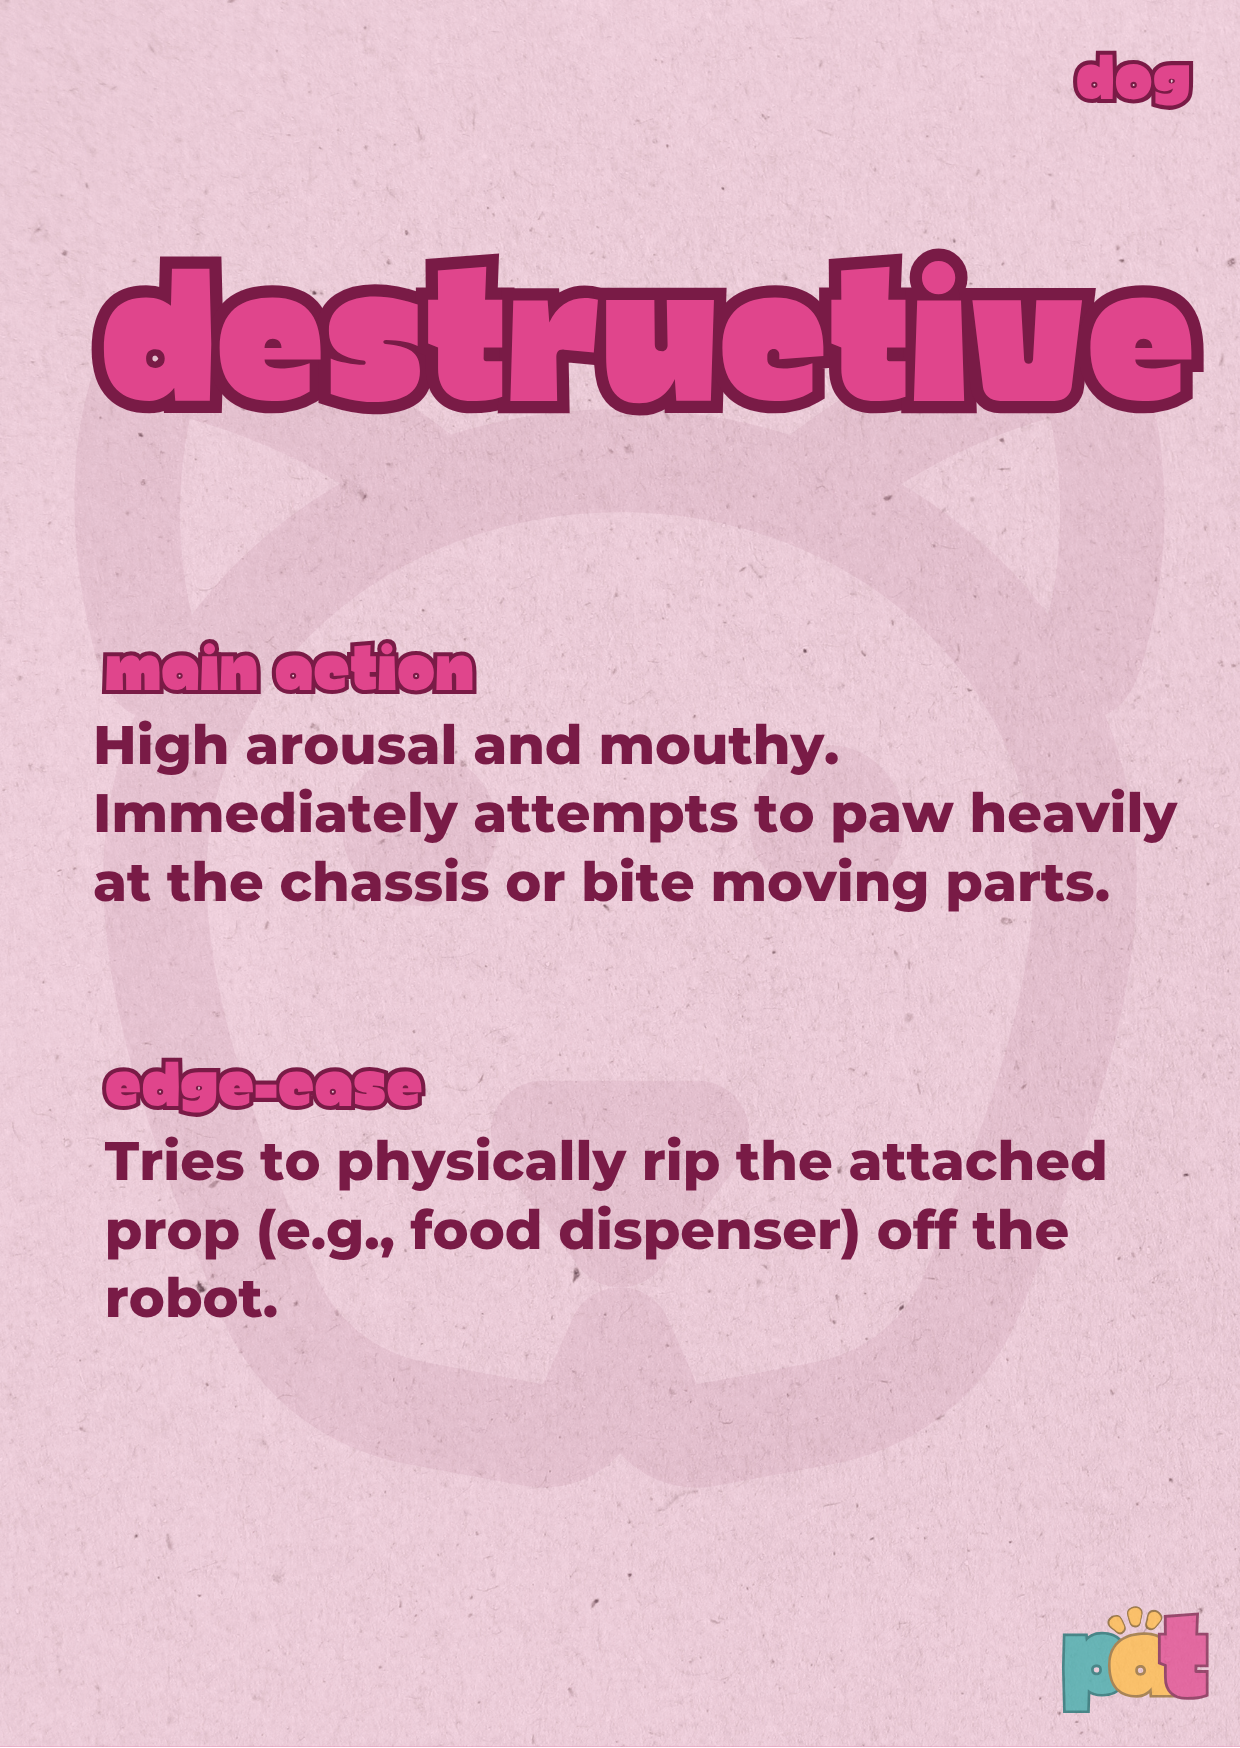
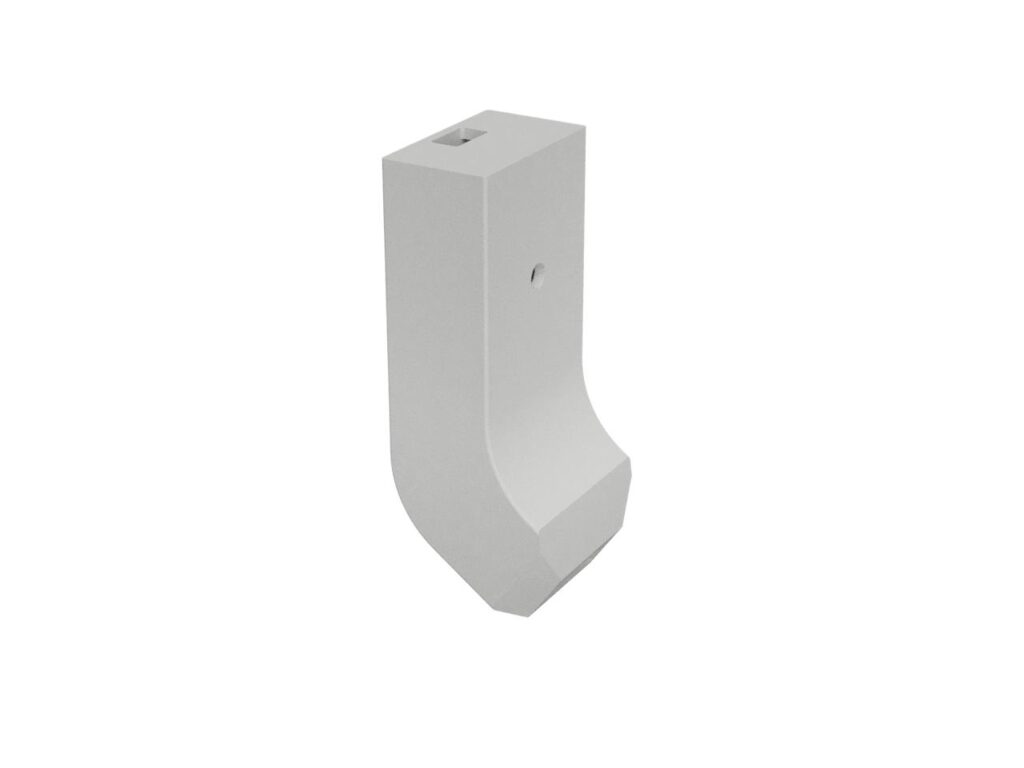
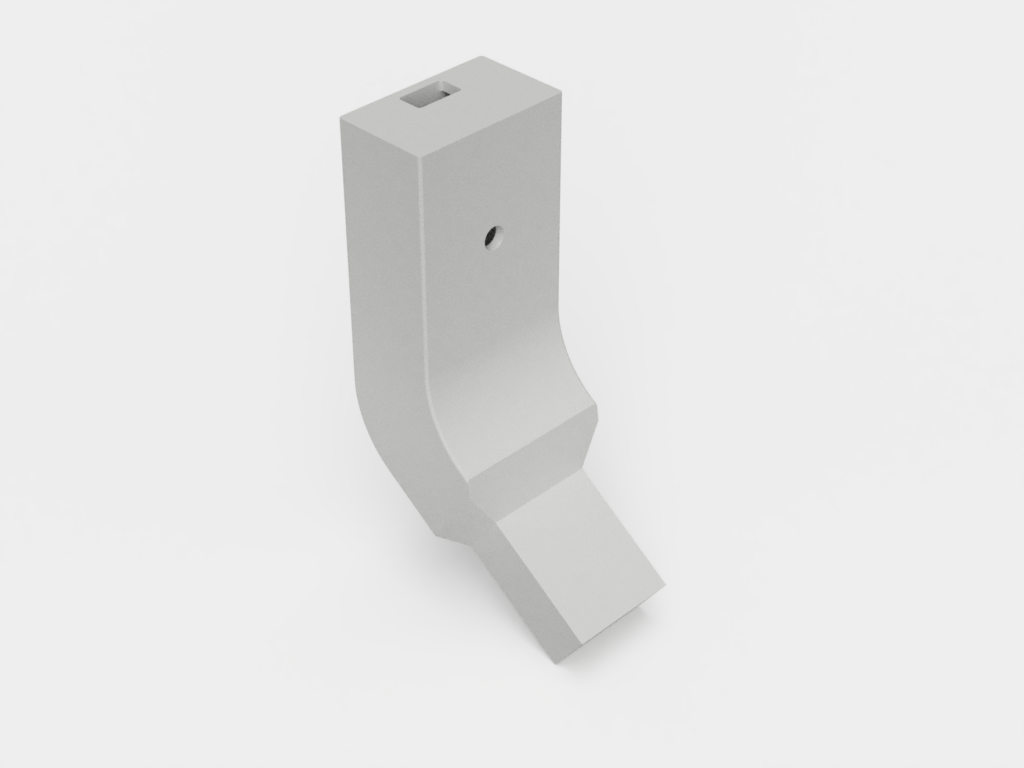
Another minor issue we found during testing was that the treat dispenser drops the treats to close to the body of Alan, therefore we created an iteration that has an extended chute to drop the treats further away from the body. Version 1 can be seen in Figure 6 and the improved version in Figure 7.
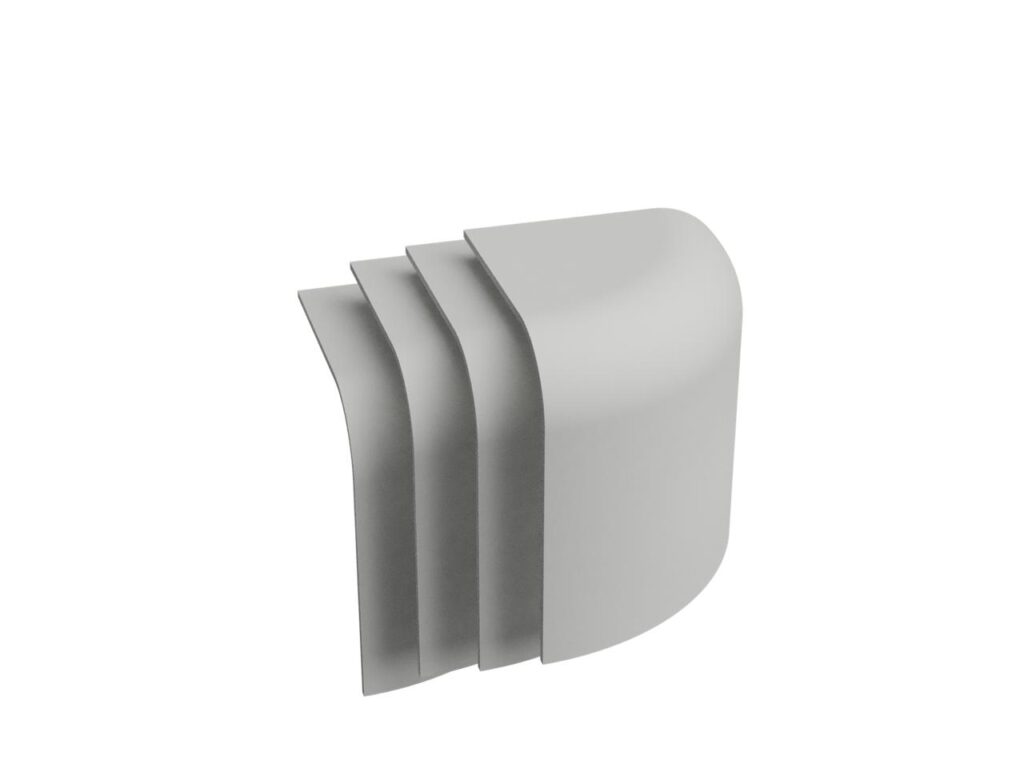
During testing we also found that the cardboard shell for Alan would not be strong enough when exposed to an actual dog. Although this did not surprise us, we did design a harder plastic shell, although we were not able to actually manufacture it due to time and material restraints. The improved shell can be seen in Figure 8.
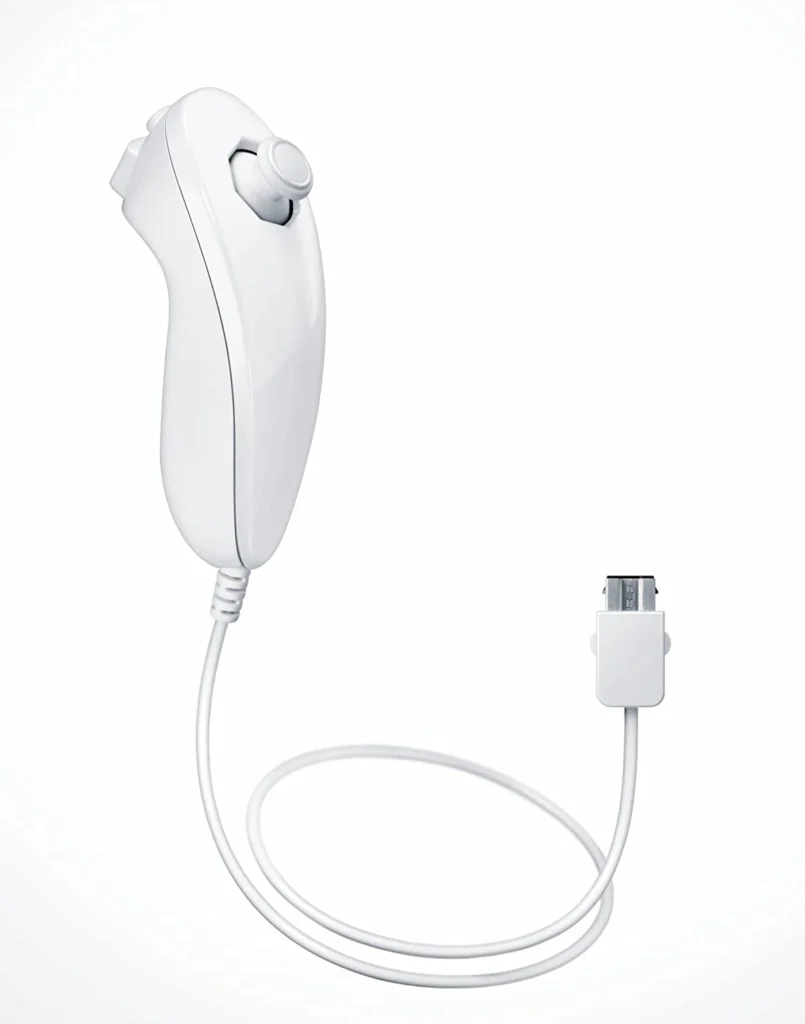
The final and most crucial issue we found in my opinion was the current control method. The Alan robot is currently controlled through a Wii Nunchuck controller (Figure 9). This method of moving the robot, although effective, requires some practice. As we want the toolkit to focus on the behavior and interactions of the robot, and not on how to actually control said robot, this is a problem. I believe that for a further iteration it would be important to improve this, either by having a different controller, or by having software support the movement of the robot. Such that someone who has never controlled Alan can quickly start working with the toolkit, rather than practicing with the controls.
Reflection
I am of the opinion that the prototype for our toolkit effectively captured the elements we intended to implement. It should be stated that is still very much a prototype, but I think it communicates its use. With further development this toolkit should be able to provide designers with an effective method to develop the interaction and behavior in the context of ARI. It follows the principals we discussed in session X following the principles of Phidgets developed by Greenberg and Fitchett. It allows them to test different interaction scenarios in a safe and controlled environment, without risk to an animal. This toolkit could prove useful in the design process for a robot that interacts with dogs or possibly other animals. The insights gained from using the kit can be used as a precursor for testing with actual animals. Working towards a system that includes the animal in the design process, making it inclusive for both the human and animal, as advised by the work of Westerlaken and Gualeni.
References
Figure 9: https://wiisports.fandom.com/wiki/Nunchuk
S. Greenberg and C. Fitchett, Phidgets. 2001, pp. 209–218. doi: 10.1145/502348.502388. Available: https://doi.org/10.1145/502348.502388
M. Westerlaken and S. Gualeni, Becoming with: towards the inclusion of animals as participants in design processes, 3rd ed. 2016, pp. 1–10. doi: 10.1145/2995257.2995392. Available: https://doi.org/10.1145/2995257.2995392

No Comments.